5 Expert Ways to Fix 3D Print Outer Wall Holes (Stop Pitting Artifacts!)
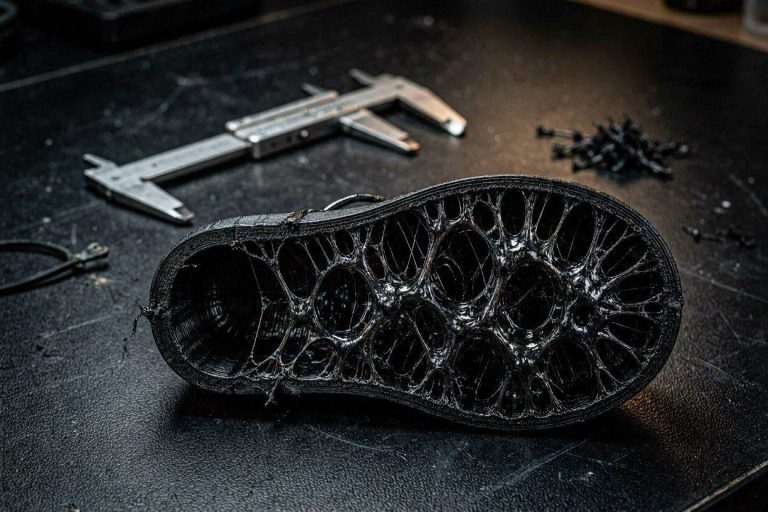
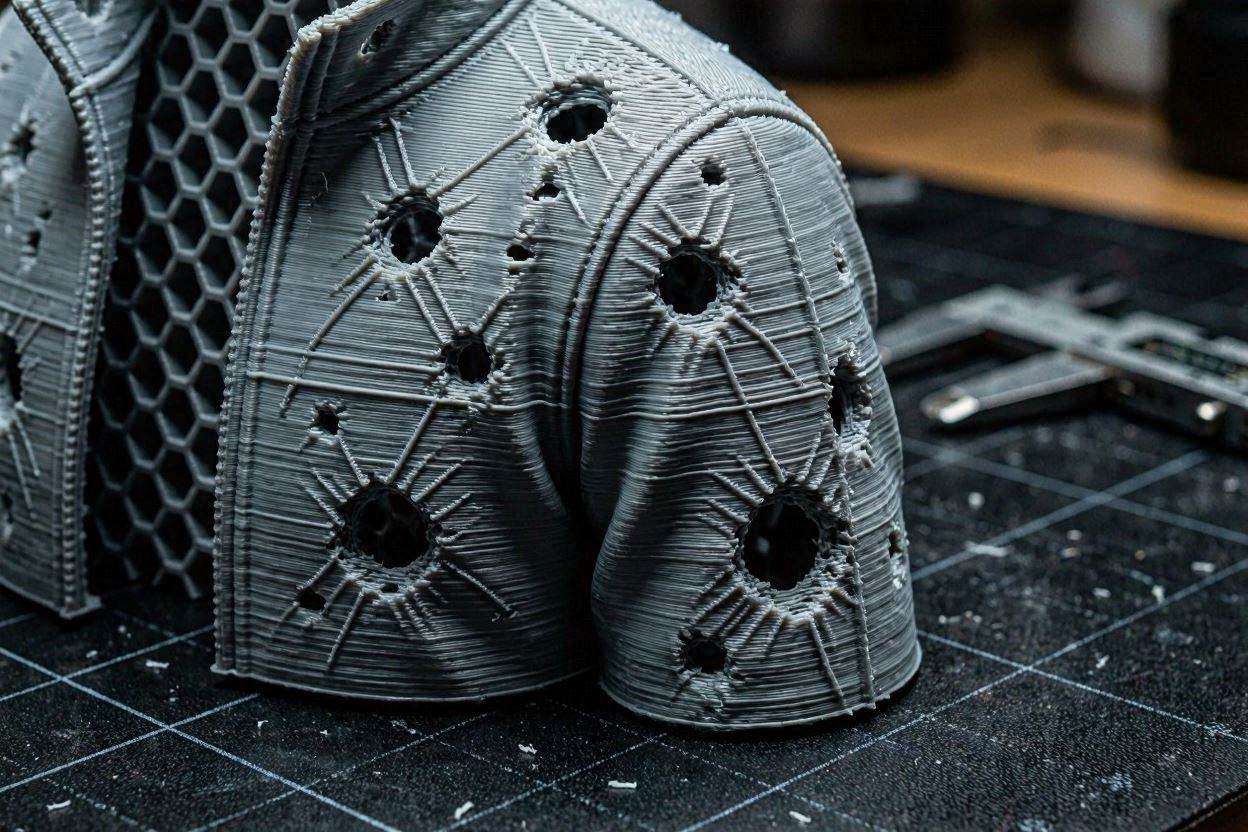
Nothing is more frustrating than pulling a highly detailed, 20-hour print off your build plate, only to discover the outer shell is riddled with ugly, pitted gaps. If you are printing complex geometries—like the detailed jacket model shown above—and finding random, unsupported voids across your perimeters, you are not alone. This specific artifact, often referred to in engineering circles as “chatter” or localized under-extrusion, is a massive bottleneck for operators trying to achieve injection-molded surface quality.
If you are desperately trying to fix 3D print outer wall holes, the problem rarely lies in a simple, single software toggle. Instead, these defects are the physical manifestation of a thermodynamic mismatch colliding with improper kinematic slicer limits. Pushing extremely thin layers (0.08mm) through a standard nozzle (0.25mm or 0.4mm) alters the entire fluid dynamic profile of your extrusion system.
In this comprehensive, deeply technical diagnostic manual, we will deconstruct the exact physics occurring at the tip of your nozzle. We will explore how to perfectly calibrate your layer height ratios, dialect in your Pressure Advance (Linear Advance) values, and balance your volumetric flow limits. By the end of this guide, you will have the exact engineering workflows required to permanently fix 3D print outer wall holes and restore your manufacturing quality to flawless tolerances.
The “Quick Answer” / Key Takeaways Box
- The Layer Height Trap: Printing at an ultra-fine 0.08mm layer height with a standard nozzle forces the plastic into a highly unstable, flattened state, causing inconsistent extrusion and gaps.
- Pressure Advance (PA) Disconnect: PA values are explicitly tied to layer height and speed. If you calibrated PA for a 0.2mm layer height but print at 0.08mm, your corners and outer walls will suffer massive pressure drop-offs (holes).
- Moisture Volatility: Even brand-new Matte PLA contains manufacturing moisture. Wet filament boils in the hotend, creating steam pockets that physically interrupt the flow of plastic, resulting in random pitting.
- The Z-Seam Over-Retraction: If holes only appear at the start of a new layer, your slicer is retracting too aggressively at the Z-seam, creating a vacuum that delays the flow of the next layer.
- The Rule of Halves: To ensure stable volumetric flow and perfectly solid walls, your layer height should generally not drop below 25% to 50% of your physical nozzle diameter.
The Physics of Kinematic Under-Extrusion (Chatter)
Before you begin altering parameters within your slicing software, you must understand the microscopic physics occurring at the tip of your 0.25mm nozzle. 3D printing relies on a highly sensitive balance of thermodynamic melting and volumetric pressure.
When you ask your slicer to lay down an ultra-thin 0.08mm outer wall, it commands the extruder motor to push a microscopic trickle of plastic. At this extreme volumetric low end, the extruder gear is barely turning. The physical resistance inside the hotend (the friction of the melt zone) becomes a massive hurdle.
If the internal pressure drops even slightly—due to a micro-retraction, a slight variance in filament diameter, or a brief speed change—the flow of plastic completely breaks. The nozzle continues to move across the print, dragging empty air for several millimeters before the pressure builds back up. This momentary lapse in extrusion creates the distinct, pitted holes across the outer shell.
To permanently fix 3D print outer wall holes, we must stabilize this internal pressure and ensure a continuous, unbreakable stream of molten polymer.
Step 1: Optimizing the Layer Height to Nozzle Ratio
The most critical diagnostic clue provided in the scenario is the combination of a 0.25mm nozzle and a 0.08mm layer height. While modern slicers will technically allow you to slice a file with these parameters, you are violating the fundamental fluid dynamics of FDM printing.
The Dangers of Ultra-Fine Layering
When you compress molten plastic to a height of 0.08mm, you are forcing the extrusion line to become incredibly wide and flat. The nozzle is physically squishing the plastic into a microscopic film. At this extreme ratio, the internal pressure required to maintain a consistent line becomes highly unstable. The plastic struggles to bond to the layer below it, resulting in random gaps, tearing, and the “chatter” artifact.
The Fix: As a universal rule in additive manufacturing, your layer height should generally remain between 25% and 75% of your physical nozzle diameter.
- For a 0.25mm nozzle, a 0.08mm layer height (32%) is right on the edge of instability.
- The Recommendation: If you are experiencing severe pitting, you must increase your layer height to 0.1mm or 0.12mm. This slight increase provides the hotend with enough volumetric breathing room to maintain a stable, continuous flow, instantly filling the gaps in your outer walls.
If you absolutely must print at 0.08mm or 0.06mm for hyper-detailed miniatures, you must switch to a smaller 0.2mm nozzle to re-balance the volumetric ratio.
Step 2: Calibrating Layer-Specific Pressure Advance
If you have increased your layer height but the holes persist—specifically appearing near sharp corners, overhangs, or speed transitions—you are suffering from uncalibrated Pressure Advance (PA).
Pressure Advance (or Linear Advance in Marlin firmware) is an algorithm designed to anticipate the pressure buildup inside your hotend. It forces the extruder to pull back slightly before the toolhead slows down, preventing blobs on corners. However, this algorithm is extremely sensitive to volumetric changes.
The PA Calibration Disconnect
A critical mistake made by many operators is assuming that a single Pressure Advance K-value works for all print settings. PA values are strictly tied to specific layer heights and print speeds.
If you calibrated your PA value using a standard 0.2mm layer height test, but you are now attempting to print a detailed jacket at 0.08mm, your PA value is massively over-tuned. Because the 0.08mm layer requires exponentially less plastic, the strong retraction commanded by the 0.2mm PA value completely starves the nozzle. The toolhead slows down, the extruder pulls back too hard, and a massive hole is left in the outer wall.
The Fix: To effectively fix 3D print outer wall holes, you must run a dedicated Pressure Advance calibration (using the OrcaSlicer Tower or Line method) specifically configured at the 0.08mm or 0.1mm layer height you intend to print with. You must manually force the calibration generator to use this ultra-fine layer height to extract the correct, microscopic K-value.
[IMAGE PLACEHOLDER: A screenshot of an OrcaSlicer Pressure Advance calibration grid specifically sliced at a 0.08mm layer height + Alt Text: Calibrating Pressure Advance at specific layer heights to fix 3D print outer wall holes.]
Step 3: Eliminating Hygroscopic Steam Explosions
You noted a massive vulnerability in your workflow: “PLA has not been dried, only just managed to buy a dryer but not used it yet.”
You are utilizing ELEGOO Matte PLA. Matte filaments achieve their non-reflective finish through the integration of microscopic additives (often chalk or elastomer particles). These additives make the polymer incredibly viscous and highly prone to absorbing atmospheric moisture.
Even if the spool was vacuum-sealed from the factory, the filament cooling process during manufacturing often leaves residual water trapped inside the polymer chains.
The Micro-Boiling Effect
When water-logged PLA hits your 220°C hotend, the moisture instantly flashes into steam. This steam expansion creates violent, miniature explosions inside the tiny confines of your 0.25mm nozzle. These steam pockets physically displace the plastic.
As the nozzle travels across the outer wall, a steam bubble pops out instead of plastic, leaving a perfectly round, pitted hole in the perimeter. No amount of software tuning will override the laws of thermodynamics.
The Fix: You must treat dehydration as a mandatory pre-production step. Place your Matte PLA into your active filament dryer at 45°C to 50°C for a minimum of 6 to 8 hours before attempting to print the jacket model again. Bone-dry filament flows with absolute volumetric predictability, instantly eliminating steam-based pitting.
Step 4: Tuning Z-Seam Retraction and Deretraction
If the holes in your outer walls are not entirely random, but rather align vertically or appear sequentially at the start of a new layer perimeter, you are dealing with a Z-seam retraction failure.
When the printer finishes an inner wall and travels to start the outer wall, it executes a mechanical retraction to prevent oozing. When the nozzle reaches the start point of the new outer wall, it executes a “deretraction” (pushing the filament back into the hotend).
If the deretraction speed is too slow, or if the “Extra length on restart” setting is poorly tuned, the toolhead will begin moving across the outer wall before the nozzle is fully repressurized. This leaves a distinct, under-extruded hole at the start of every single layer loop.
The Fix: Navigate to the Extruder tab in your slicer settings.
- Reduce Retraction Distance: If you are using a direct-drive toolhead, ensure your retraction length is not exceeding 0.8mm to 1.2mm. Pulling the plastic too far back requires too much time to repressurize.
- Add Extra Prime on Restart: Locate the parameter titled Extra length on restart (or Extra Prime Amount). Input a microscopic value, such as 0.05mm³. This commands the extruder to aggressively push a tiny burst of plastic into the melt zone exactly as the nozzle touches down, instantly repressurizing the system and closing the gap.
How to Hide the Z-Seam Using Scarf Joints in OrcaSlicer
Step 5: Throttling Max Volumetric Speed for Ultra-Fine Detail
When printing highly detailed models (like the folds of a jacket) at ultra-fine layer heights, the toolhead undergoes rapid, erratic speed changes. It accelerates down a straight fold and immediately slams on the brakes to navigate a sharp recess.
If your overall print speed is set too high (e.g., Inner Walls at 80 mm/s and Outer Walls at 40 mm/s), the rapid shifting between these velocities causes immense volumetric turbulence inside the hotend. The pressure simply cannot stabilize, leading to the “chatter” artifact and random holes across the complex geometry.
The Volumetric Cap
To permanently fix 3D print outer wall holes on complex geometries, you must act as a mechanical governor. You must limit the maximum volumetric speed (MVS) of the filament profile.
The Fix: Navigate to your Filament Settings in your slicer. Locate the Max volumetric speed parameter. If the default is set to 12 mm³/s, aggressively throttle this down to 8 mm³/s or even 6 mm³/s for this specific highly detailed print.
By capping the absolute volume of plastic the hotend is allowed to process per second, you force the slicer to calculate incredibly smooth, synchronized toolpaths. The sudden, violent speed transitions are artificially smoothed out, ensuring the internal nozzle pressure remains perfectly constant across the entire outer shell.
The Permanent Fix: High-Ticket Upgrades (Monetization Section)
While advanced slicer tuning and rigorous desiccation will mitigate the vast majority of surface pitting, printing highly viscous matte polymers through microscopic 0.25mm nozzles eventually exposes the thermodynamic limitations of stock hardware. Software algorithms cannot permanently fix a poorly engineered filament path.
To achieve absolute, injection-molded surface perfection without spending hours tweaking slicer profiles for every new spool, you must upgrade your extrusion ecosystem. Professional print farms do not battle flow rate inconsistencies; they eliminate them with industrial-grade components.
1. Upgrade to a High-Flow CHT Nozzle
Standard brass nozzles feature a single, smooth internal bore. When attempting to push viscous matte PLA through a tiny 0.25mm orifice, the thermal transfer is highly inefficient. The core of the filament often remains semi-solid, creating massive back-pressure that leads to under-extrusion chatter and outer wall holes.
You must upgrade to a premium CHT (Core Heating Technology) nozzle. These advanced components feature internal copper splitters that divide the filament into three separate pathways inside the melt zone. This exponentially increases the heated surface area, ensuring the plastic melts instantly and homogenously.
By installing a premium CHT nozzle (available through industrial suppliers via the ShareASale or MatterHackers affiliate networks), you completely eliminate internal hotend back-pressure. Your machine will extrude ultra-fine layers with absolute, liquid precision, eradicating chatter instantly.
2. Implement Active Filament Desiccation Ecosystems
As established, moisture is the absolute destroyer of extrusion dynamics. Storing your spool in a plastic tub with passive silica gel is entirely insufficient for engineering-grade or matte polymers. Silica gel can only maintain current humidity; it cannot draw deeply embedded moisture out of the polymer matrix.
You must upgrade to a premium, active, heated filament desiccation system. High-end units like the Sunlu S4 allow you to actively bake the moisture out of four spools simultaneously at 50°C to 70°C. More importantly, these systems feed the bone-dry filament directly from the heated chamber straight into your extruder via sealed PTFE tubing.
By purchasing an industrial-grade dry box through reputable networks on Impact or PartnerStack, you guarantee that your PLA never touches humid room air. Dry filament flows with absolute predictability, permanently locking in your highly sensitive layer height calibrations.
Quick-Action Preventative Maintenance Checklist
To maintain your flawlessly solid outer walls and protect your hardware investments, implement this strict preventative maintenance protocol before your next major production run:
- Dry Before Every Detailed Print: Never assume matte or silk PLA is dry. Always run your spool through an active heating cycle for at least 6 hours before loading it into the toolhead for a high-detail job.
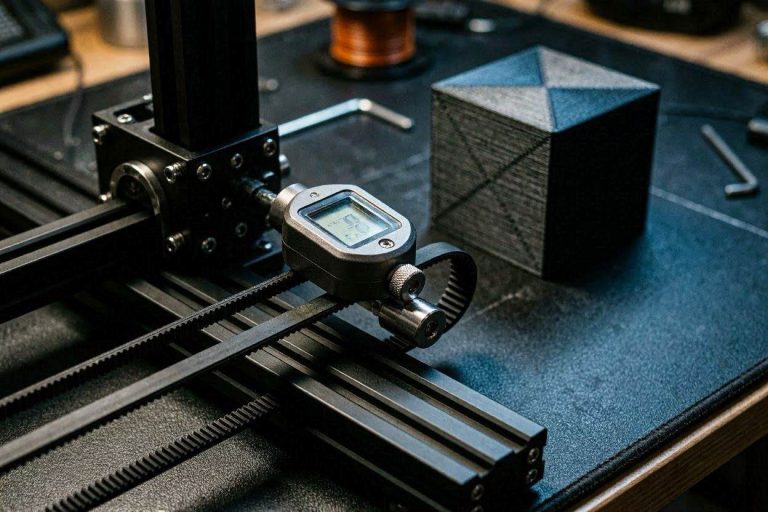
- Audit Your Filament Diameter: Cheap filament fluctuates in diameter. If a 1.75mm spool drops to 1.68mm, your extruder will under-extrude, causing instant pitting. Measure your spool with digital calipers and input the exact average diameter into your slicer profile.
- Clean the Extruder Gear Knurling: Ultra-fine layer printing requires microscopic precision from the extruder gears. If the teeth are caked with plastic dust, the gears will slip during critical micro-retractions. Unload the filament and scrub the gears with a stiff nylon brush every 50 hours of printing.
- Perform a Cold Pull: Pushing viscous matte filament through a 0.25mm nozzle frequently leaves burnt residue inside the heat break. A partial clog alters nozzle pressure, causing immediate chatter. Run a nylon cold pull weekly to extract carbonized debris.
By treating your 3D printer as a high-precision fluid dynamics system and respecting the severe limitations of ultra-fine layer heights, you will completely eliminate frustrating surface gaps. Stop accepting pitted prints and start manufacturing with elite, industrial-grade perfection.