How to Calibrate Pressure Advance for Flexible Filaments (TPU Guide)
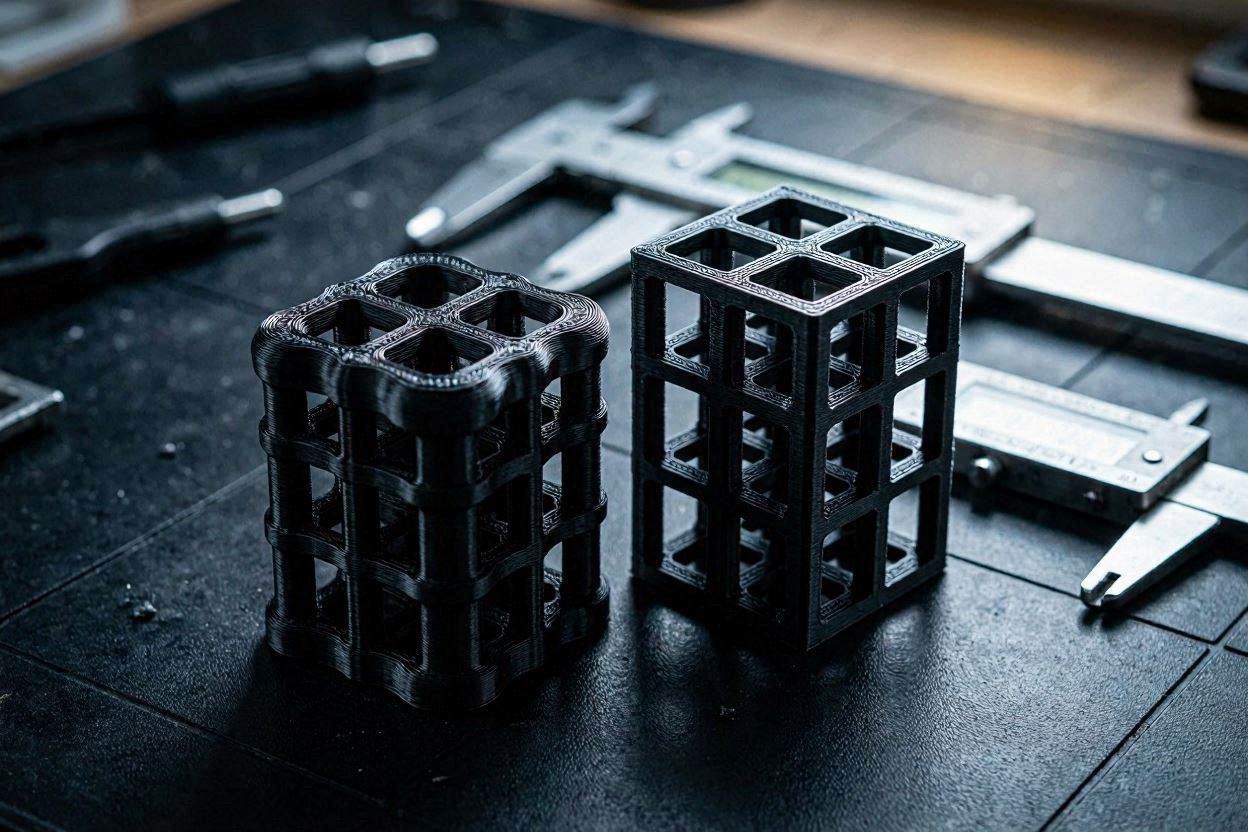
Printing rigid polymers like PLA or ABS is an exercise in basic thermodynamics. Printing flexible elastomers like TPU or TPE, however, requires a complete paradigm shift in how you manage kinematic asset yields. If you have recently attempted to print a flexible part, you likely noticed that the straight walls look decent, but the 90-degree corners are severely swollen, bulging outward like an over-inflated balloon.
This geometric failure occurs because flexible filaments do not behave like solid rods; they behave like physical springs. When your toolhead decelerates to navigate a corner, the extruder motor stops pushing, but the highly compressed TPU “spring” inside the toolhead decompresses, violently forcing excess plastic out of the nozzle.
To permanently eradicate this artifact and restore strict dimensional tolerances to your flexible parts, you must master algorithmic pressure compensation. In this deeply technical diagnostic manual, we will explore the unique fluid dynamics of elastomers and teach you exactly how to calibrate pressure advance for flexible filaments using modern slicing software.
The “Quick Answer” / Key Takeaways Box
- The Compression Factor: TPU compresses under extruder gear pressure. You need significantly higher Pressure Advance (PA) K-values for flexible filaments than you do for rigid plastics.
- Avoid the Pattern Method: The standard horizontal “line test” for PA calibration fails with TPU because the material oozes too much, making the lines unreadable.
- Use the Tower Method: The vertical PA Tower is the only accurate way to measure corner pressure relief on elastomers.
- Dry Before Testing: Wet TPU creates steam pockets that cause false pressure spikes, completely invalidating your calibration data.
- Direct Drive vs. Bowden: Direct-drive setups typically require a TPU K-value between 0.04 and 0.15. Bowden tube setups may require massive K-values approaching 0.8 to 1.2.
The Physics of Elastomer Extrusion
To successfully calibrate pressure advance for flexible filaments, you must first understand the mechanical handicap your extruder is fighting.
When you print a rigid filament like PLA, the extruder gears bite into a hard plastic rod. Every millimeter the stepper motor turns translates into a nearly 1:1 ratio of plastic entering the melt zone. The filament does not flex or bend inside the heat break.
TPU (Thermoplastic Polyurethane), especially softer variants like 85A or 90A, acts entirely differently. When the extruder motor accelerates, the gears push down on the filament. However, because the melt zone provides physical resistance, the flexible filament compresses and bulges slightly inside the PTFE tube or extruder housing.
- Acceleration Phase: The motor turns, but the nozzle is temporarily starved of plastic because the energy is being used to compress the TPU “spring.” This causes under-extrusion at the start of a line.
- Deceleration Phase: The toolhead slows down for a corner and the motor halts. However, the compressed TPU spring now violently releases its pent-up kinetic energy, pushing molten plastic out of the tip while the toolhead is stationary. This deposits a massive blob exactly on the apex of the corner.
How Pressure Advance Compensates
Pressure Advance (Klipper) or Linear Advance (Marlin) is an algorithmic firmware feature that anticipates this compression. It commands the extruder motor to push extra filament during acceleration to pre-load the spring, and it physically pulls back the filament before deceleration to relieve the spring tension.
Because TPU is much softer than PLA, the spring effect is exponentially larger. Therefore, when you calibrate pressure advance for flexible filaments, you will find that your required K-values are drastically higher than your standard rigid profiles.
[IMAGE PLACEHOLDER: An engineering diagram comparing a rigid rod of PLA to a compressed, coiled spring representing TPU inside a direct drive extruder + Alt Text: Diagram explaining why you must calibrate pressure advance for flexible filaments differently than rigid plastics.]
Why the Pattern (Line) Method Fails for TPU
If you have performed PA calibrations before in OrcaSlicer or Mainsail, you likely used the “Pattern” or “Line” method. This method prints a series of rapid horizontal lines on the bed with varying speed transitions.
Do not use the Pattern Method for TPU. Because elastomers are inherently stringy and prone to heavy oozing, the rapid start-and-stop movements of the Pattern test result in a smeared, web-covered mess. The molten TPU will drag between the lines, completely obscuring the speed transition zones you need to inspect. To accurately calibrate pressure advance for flexible filaments, you must use the Tower Method.
Step 1: Environmental and Slicer Preparation
Before you generate the diagnostic G-code, you must isolate your hardware variables. Algorithmic software cannot fix chemical contamination or baseline flow errors.
- Desiccate the Polymer: TPU is insanely hygroscopic. If the filament contains moisture, it will boil in the hotend, creating steam explosions that mimic pressure surging. You must bake your TPU at 55°C for a minimum of 8 hours before running this calibration.
- Lock in Volumetric Flow: Ensure your baseline Extrusion Multiplier (Flow Rate) is accurately tuned for the specific spool of TPU. If you are globally over-extruding by 5%, your corners will always bulge, regardless of your PA value.
- Disable Retractions: For the duration of the PA Tower test, navigate to your slicer’s override settings and turn Retractions to 0mm. You want the raw pressure of the hotend to dictate the corner geometry, completely unassisted by mechanical pull-backs.
Step 2: Generating the PA Tower
Open OrcaSlicer (or your preferred slicer featuring built-in Klipper diagnostic tools).
- Navigate to Calibration -> Pressure Advance -> Tower.
- Select your specific Printer and your TPU Filament profile.
- Setting the Parameters: This is where TPU diverges from PLA.
- If you are using a Direct Drive Extruder (e.g., Bambu Lab, Prusa MK4, Voron StealthBurner): Set the Start PA to
0.00and the End PA to0.20. Set the PA Step to0.005. - If you are using a Bowden Extruder (e.g., older Ender 3): Set the Start PA to
0.00and the End PA to1.20. Set the PA Step to0.020.
- If you are using a Direct Drive Extruder (e.g., Bambu Lab, Prusa MK4, Voron StealthBurner): Set the Start PA to
- Slice the model and send it to the printer.
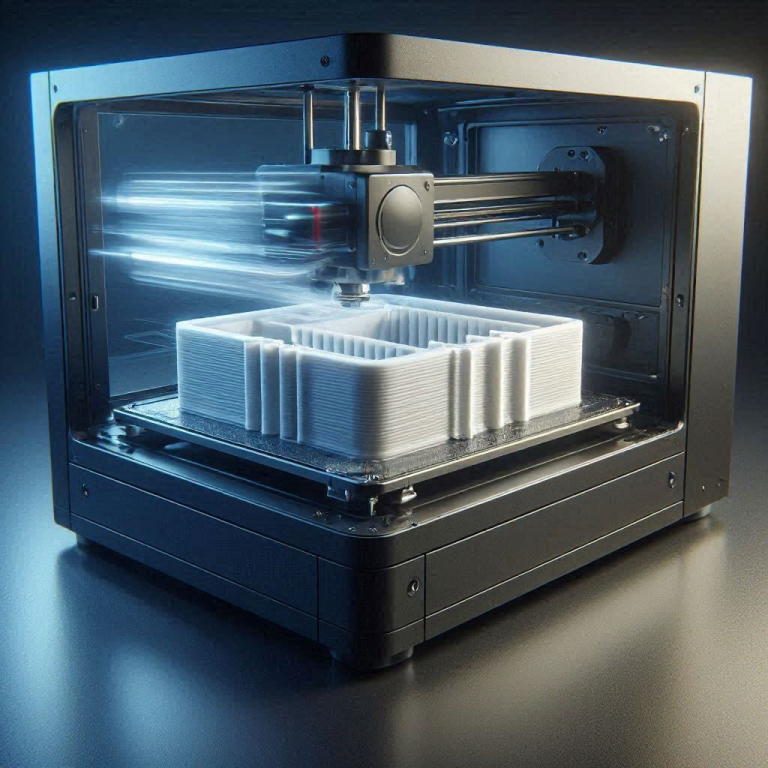
The machine will print a hollow, square column. As the Z-axis rises, the software automatically injects custom G-code at every layer change to incrementally increase the pressure advance K-value.
Placeholder for “How to Fix Bambu A1 TPU Stringing and Z-Seam Scars”
Step 3: Analyzing the Elastomer Tower
Once the tower has finished printing, peel it off the build plate. Do not squeeze it, as TPU will easily deform in your hands. Hold the tower under a harsh, directional work light.
Run your fingernail slowly up the sharpest corner of the tower, starting from the bottom.
- The Bottom Zone (K-Value Too Low): At the base of the tower, the algorithm is applying zero pressure relief. You will feel the corner heavily bulging outward, catching your fingernail. The corners will look soft and swollen.
- The Top Zone (K-Value Too High): Look at the top of the tower. Here, the algorithm is pulling the filament back far too aggressively. The corners will look “chewed up,” featuring visible gaps, missing plastic, and severe stringing where the perimeter lines failed to bond.
- The Golden Zone: Run your finger up the corner until you find the exact geometric transition point where the corner feels perfectly sharp, flush with the flat walls, and features absolutely zero gaps.
Using high-precision digital calipers, measure the exact height (in millimeters) from the absolute bottom of the tower to that perfectly sharp sweet spot.
Step 4: Calculating and Inputting the K-Value
To find your exact calibration metric, use the standard mathematical formula provided by the OrcaSlicer dialog box: PA = Start PA + (Measured Height * PA Step)
Example Calculation (Direct Drive): Let’s assume your perfect corner was located exactly 16.5mm up the tower. If your Start PA was 0.00 and your PA Step was 0.005 (calculated automatically by the slicer based on layer height): PA = 0.00 + (16.5 * 0.005) = 0.0825
Your calibrated K-value for this specific spool of TPU is 0.082.
(Note: If you were testing standard PLA on a direct drive, your value would likely be around 0.02. The massive 0.082 value proves just how much the flexible TPU was compressing inside the toolhead).
Saving to the Proper Profile
Navigate to your Filament Profile in OrcaSlicer (never the Printer Profile, as PA is strictly tied to polymer viscosity). In the Basic Information tab, check the box for Enable pressure advance and input your calculated value. Save the profile as a new preset (e.g., “Generic TPU 95A – PA Calibrated”).
The Affiliate / Monetization Section: Hardware Upgrades for Elastomers
While successfully algorithmic tuning will drastically improve your dimensional yield, pushing highly compressible elastomers at high speeds eventually exposes the limitations of stock hardware. Software cannot permanently bypass a poorly toleranced filament path. To achieve industrial-grade reliability with TPU, you must fortify your physical assets.
1. Zero-Backlash Dual-Drive Extruders
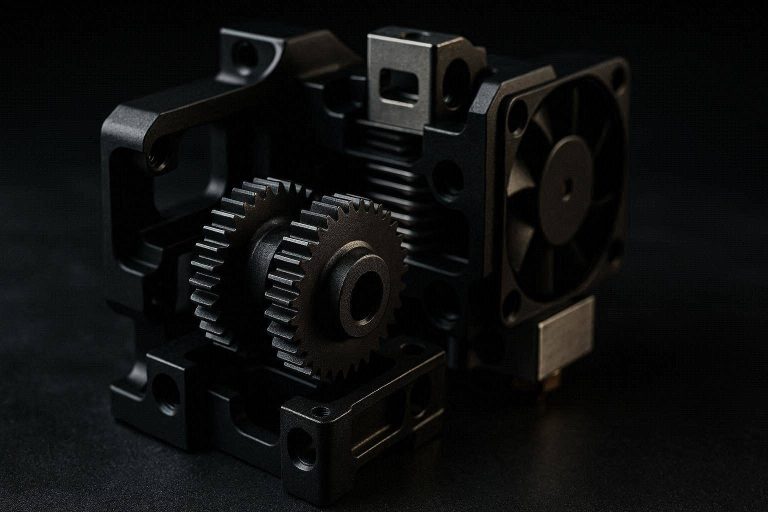
If your 3D printer utilizes a single drive gear pressing the TPU against a smooth idler bearing, the filament will slip. Furthermore, if there is mechanical “slop” between the gears (backlash), the rapid reverse movements commanded by your new Pressure Advance settings will be lost in the mechanical dead-zone.
You must upgrade to a CNC-machined, zero-tolerance dual-drive extruder. Extruders utilizing the BMG (Bondtech Mini Geared) architecture grip the soft TPU from both sides simultaneously, completely eliminating slippage. You can source elite aftermarket extruders like the Micro Swiss NG or original Bondtech units directly through industrial partners via the ShareASale or Impact affiliate networks.
2. High-Tolerance Capricorn PTFE Tubing
Even on a direct-drive toolhead, the TPU must travel through a small segment of PTFE tubing between the extruder gears and the heat break. If the internal diameter of this tube is too wide, the flexible filament will buckle and snake back and forth under pressure, destroying your PA calibration.
Upgrading your internal filament path to authentic Capricorn Premium PTFE Bowden Tubing guarantees a strict 1.9mm internal diameter. This confines the TPU perfectly, forcing 100% of the kinetic energy downward into the nozzle rather than allowing it to compress sideways.
3. Active Heated Filament Desiccation
As previously stated, wet TPU boils in the nozzle, creating unpredictable pressure surges that override K-values. Passive silica gel boxes cannot draw embedded moisture out of thick TPU strands. You must secure your inventory in an active, heated filament dryer like the Sunlu S4. Maintaining elastomers at a constant 55°C ensures that the fluid dynamics of the polymer remain absolutely perfectly stable for the entire duration of the print.
[EXTERNAL LINK: Klipper Official Documentation on Pressure Advance and Elastomer Physics]
Quick-Action Preventative Maintenance Checklist
To maintain your flawlessly sharp corners and protect your hardware calibration, implement this strict preventative maintenance protocol before printing flexible materials:
- Re-Calibrate Per Spool: TPU chemistry varies wildly between manufacturers. A 95A TPU from Ninjatek will require a drastically different K-value than a 95A TPU from Overture due to proprietary resin additives. You must run a fast PA Tower for every new brand you purchase.
- Clean the Extruder Gear Knurling: Because TPU is soft, the knurled teeth of the extruder gears will eventually carve microscopic shavings of rubber off the filament. Over time, these shavings pack into the gear teeth, reducing their ability to bite. Use a stiff brass brush to clean the gears every 50 hours of TPU printing.
- Audit Hotend Cooling: TPU is prone to heat creep. Ensure the microscopic fan aimed at your cold-end heatsink is running at 100% RPM without bearing whine. If heat creeps up the heat break, the TPU will melt prematurely inside the gears, causing an immediate, catastrophic jam.
By treating your elastomers as highly volatile fluid dynamic assets, and executing a rigid, tower-based pressure calibration, you will completely eliminate bulging corners and stringing. Lock down your K-values and start manufacturing flexible parts with elite, industrial-grade precision.
One Comment