How to Fix Prusa MK4 Error #13207: Bed MINTEMP Fixed Fast!
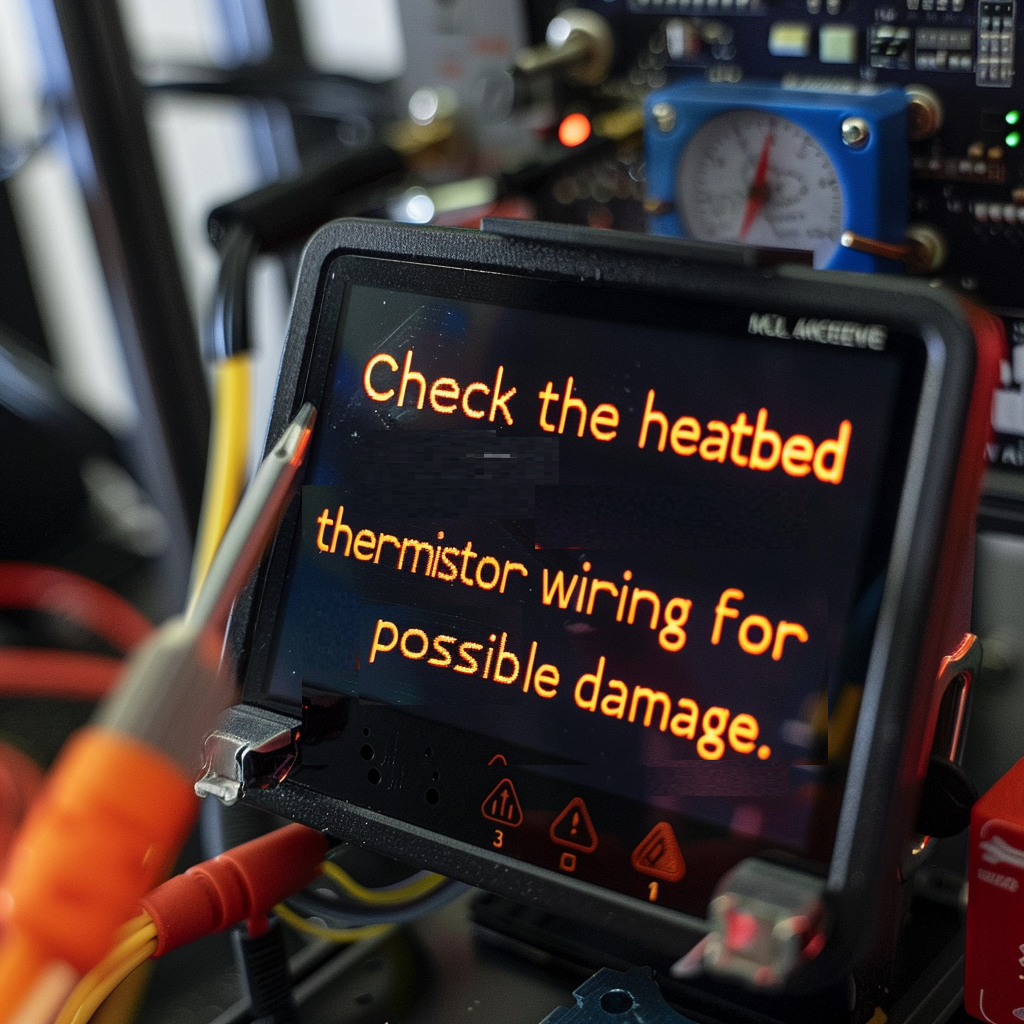
Are you suddenly dealing with the frustrating Prusa MK4 error #13207 bed mintemp code flashing on your LCD screen? This critical thermal failure completely halts your 3D printing process to prevent catastrophic hardware damage. It can happen out of nowhere, ruining an otherwise perfect print.
Fortunately, diagnosing this specific fault is straightforward if you know where to look. Here is the exact diagnostic workflow to get your machine running again.
The “Quick Answer” / Key Takeaways Box
- The Problem: The printer’s mainboard detects maximum electrical resistance from the heatbed. This indicates the ambient room temperature is below 15°C (59°F) or the thermistor wire has snapped.
- The Quick Fix: Warm up the room or gently use a hairdryer on the heatbed to bypass the low-temperature startup check.
- The Hardware Fix: Use a multimeter to test for an open circuit. If broken, replace the NTC thermistor underneath the heatbed.
What Causes the Prusa MK4 Error #13207 Bed MINTEMP?
The Original Prusa MK4 utilizes a high-precision NTC (Negative Temperature Coefficient) thermistor to monitor the temperature of the heated bed. “NTC” means that as the temperature drops, the electrical resistance increases. When the resistance hits its absolute maximum limit, the firmware triggers the Prusa MK4 error #13207 bed mintemp code.
This is a hard-coded safety feature built into the system. If the mainboard reads an impossible temperature (like absolute zero), it assumes the thermistor is disconnected or broken. It immediately disables the heating element to prevent a thermal runaway fire hazard.
Environmental vs. Hardware Failure
The most common cause is simply printing in a cold garage or basement. The firmware requires a minimum ambient temperature of 15°C (59°F) to initialize. If the ambient temperature is perfectly fine, the issue is strictly hardware-related.
The constant Y-axis movement of the heatbed can cause fatigue in the thermistor wires. Over thousands of hours, this leads to a micro-fracture or a complete open circuit inside the wire insulation.
Step-by-Step Troubleshooting Guide
Follow these precise diagnostic steps to isolate the fault. Do not immediately start disassembling the heatbed until you rule out environmental factors.
Step 1: The Ambient Temperature Check
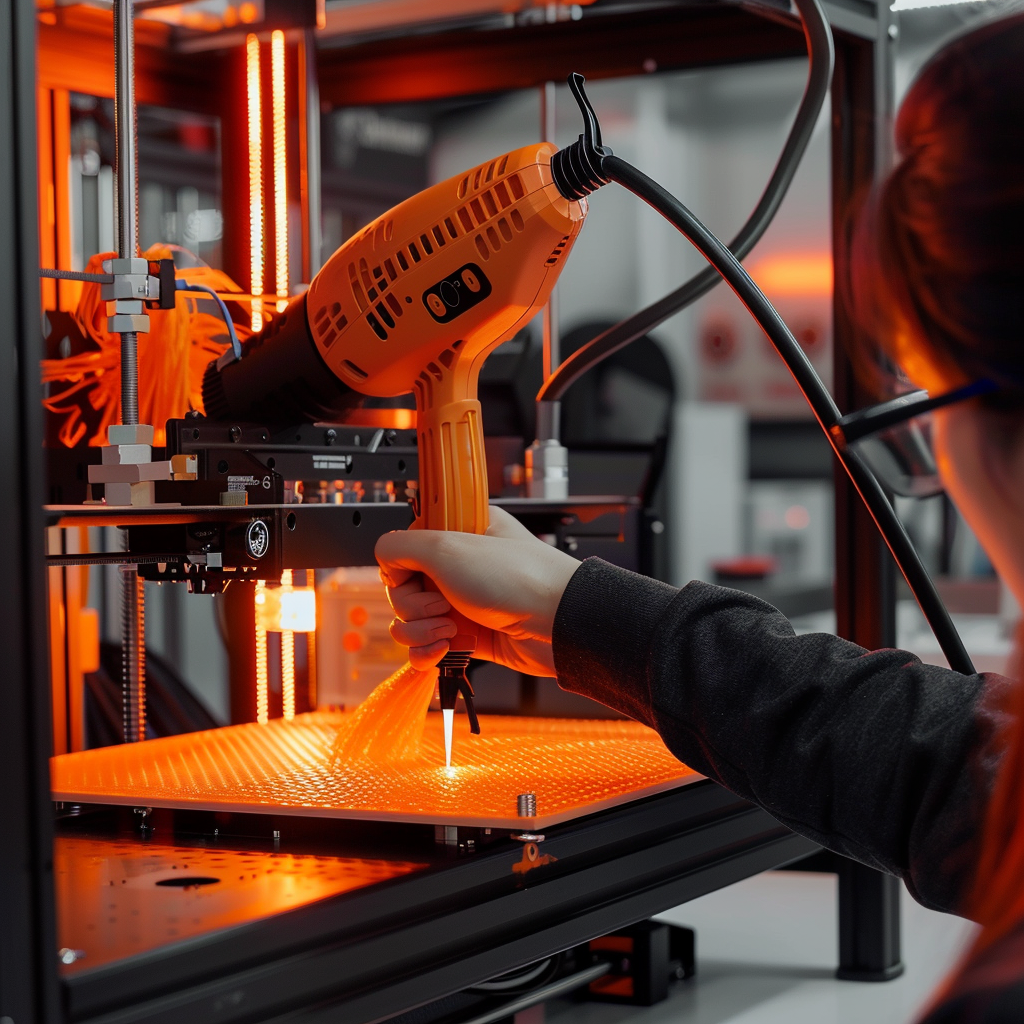
Before ripping apart your heatbed, verify the room temperature. If your workspace is freezing, gently warm the center of the heatbed with a hairdryer for 60 seconds.
Restart the machine. If it boots up normally and reads the temperature, the hardware is fine. You simply need to warm your room before starting a print.
Step 2: Wiggle Test the Connector
Navigate to the LCD temperature menu on your MK4. Gently wiggle the thermistor wire bundle at the back of the heatbed where it connects to the frame.
If the temperature reading jumps wildly or the error momentarily disappears, you have a cold joint. This confirms a broken wire inside the insulation that is losing contact as the bed moves.
Step 3: Inspect the xBuddy Mainboard
The MK4 uses the 32-bit xBuddy mainboard. The heatbed thermistor plugs into a specific port labeled “bed_therm” on the bottom right quadrant of the board.
Power off the machine and remove the M3 screws holding the xBuddy cover door. Unplug the bed thermistor cable, inspect the crimped metal pins, and firmly reseat it until it clicks. Sometimes, printer vibrations can slowly work this connector loose.
Step 4: Multimeter Continuity Testing
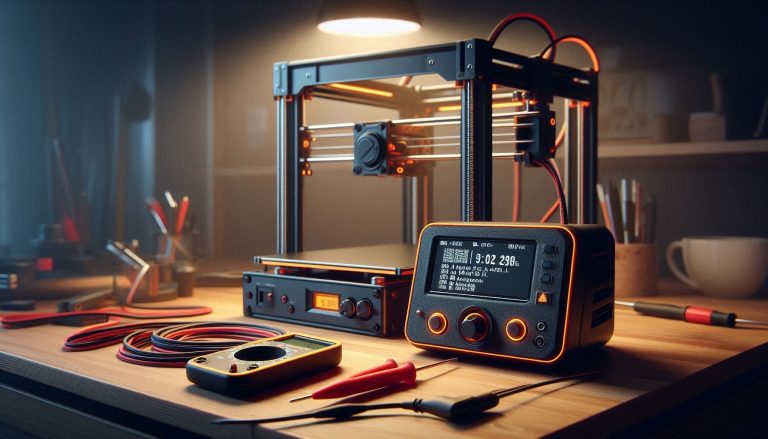
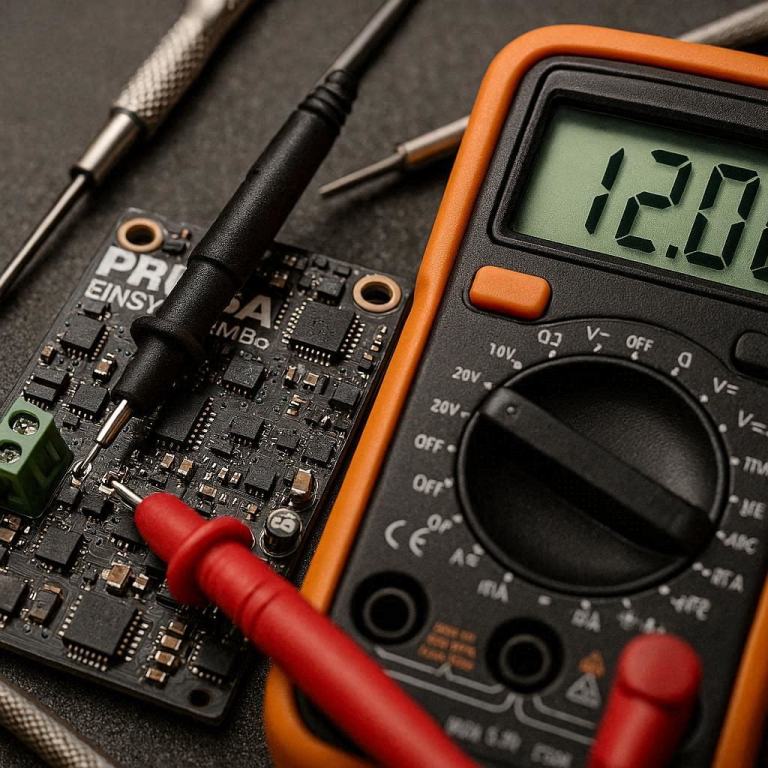
If the wire is firmly seated, disconnect the heatbed thermistor cable from the xBuddy mainboard entirely. Set your digital multimeter to the resistance (Ohms) setting.
Probe the two pins on the thermistor connector. At room temperature, it should read approximately 100k Ohms. If it reads infinite resistance (open line), the thermistor is completely dead.
The Permanent Fix: Premium Thermistor Replacement
If your multimeter confirms an open circuit, you cannot repair the wire safely. Splicing thermistor wires alters their electrical resistance and ruins temperature accuracy. You must replace the entire thermistor.
Do not buy generic, unbranded thermistors from cheap marketplaces. Their temperature curves will not match the MK4 firmware, leading to extrusion and adhesion failures. Purchase the official Original Prusa Heatbed Thermistor directly through the manufacturer or a certified distributor like MatterHackers.
Linking directly to premium, authorized resellers ensures you receive an OEM part that instantly clears the error code without requiring custom firmware compiling.
Read our ultimate guide on fixing Prusa MK4 Nextruder clogs.
How to Prevent This in the Future
To stop this from happening again, focus on thermal stability and mechanical strain relief.
First, ensure the braided cable sleeve at the back of the bed is tightly secured with zip ties. The printed strain relief part must absorb the Y-axis movement, not the delicate thermistor wires. Leave a tiny amount of slack in the wire before it enters the heatbed terminal.
Secondly, if you print in a cold environment, invest in a dedicated 3D printer enclosure. This keeps the ambient temperature stable and entirely prevents the cold-start MINTEMP check failure from ever triggering.
Review the official Prusa 3D printing handbook for advanced calibration techniques.