How to Fix Creality K1 Error 501: 7 Steps to Clear Throat Fan Abnormalities
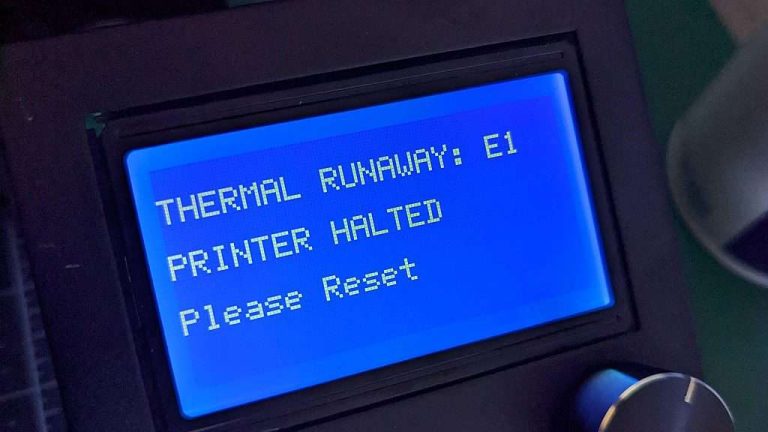
Encountering the Creality K1 Error 501 can immediately bring your high-speed printing projects to a grinding halt. This specific fault code, often displayed on the touchscreen as “Throat fan abnormal,” acts as a critical safety net for your machine. The throat fan (also known as the heat break fan) is responsible for keeping the upper portion of your hotend cool. When it fails, the printer triggers the Creality K1 Error 501 to prevent catastrophic heat creep, which would otherwise melt filament far too early in the extrusion path and cause severe, deep-seated clogs. In this comprehensive guide, we will break down the precise mechanical failures that trigger this error and provide you with a foolproof, step-by-step diagnostic workflow to permanently resolve it.
The Quick Answer: Fixing the Throat Fan Error
- Identify the Fault: The error indicates that the mainboard is no longer receiving the correct RPM feedback from the toolhead’s throat cooling fan.
- Check the Hardware: Remove the toolhead cover and visually inspect the fan. A common assembly issue involves the cooling block mounting screw backing out and physically locking the fan blades. Creality Official Store
- Verify the Connection: Unplug and firmly reseat the tiny JST terminal connecting the fan to the nozzle breakout board.
- Replace if Necessary: If the fan does not spin when the hotend is manually heated to 60°C, the internal motor is dead and requires a full replacement.
What Causes the Creality K1 Error 501?
Understanding the root cause of this abnormality is vital before tearing into your toolhead. The Creality K1 series utilizes a highly integrated toolhead circuit board that monitors the operational state of its components. The Creality K1 Error 501 is triggered when this board detects zero rotation or massive resistance from the throat fan.
There are three primary culprits behind this failure. The first is a loose terminal wire. The extreme acceleration and vibration characteristic of Core-XY machines can gradually wiggle the delicate fan connector out of its socket on the small toolhead board. The second cause is physical obstruction. During factory assembly or subsequent user maintenance, one of the screws securing the cooling block can slip or loosen, protruding directly into the fan blades and locking them in place. The final, and most frustrating, cause is total component failure. Like all high-RPM moving parts, the bearings or microscopic copper coils inside the fan can simply burn out after hundreds of hours of high-temperature operation.
Creality Official Store
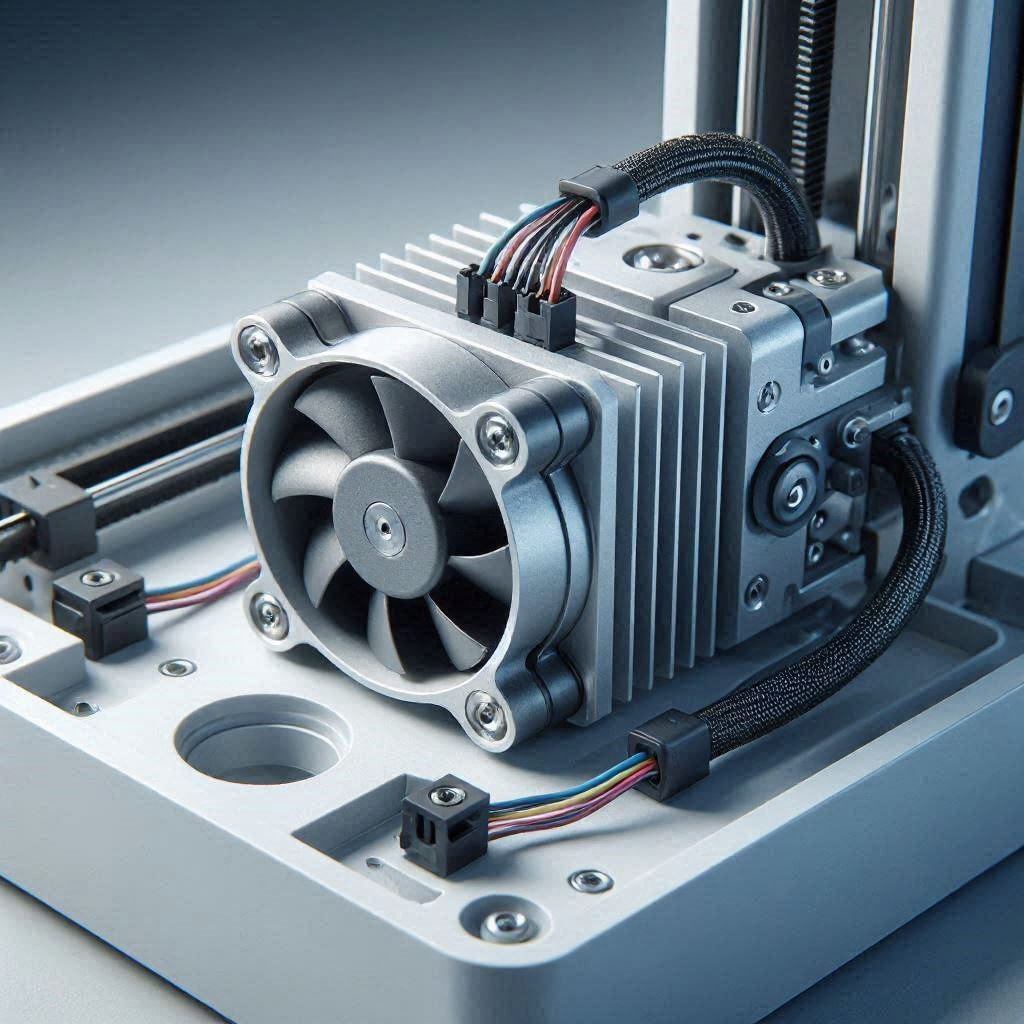
[IMAGE PLACEHOLDER: A close-up diagram or clear photo showing the exact location of the throat fan terminal on the Creality K1 toolhead circuit board. Alt Text: Creality K1 Error 501 toolhead wiring diagram.]
Step-by-Step Troubleshooting Guide for the Throat Fan
Tackling the Creality K1 Error 501 requires patience and a methodical approach. Do not forcefully rip cables or overtighten screws, as the toolhead components are exceptionally fragile.
Step 1: Safe Toolhead Disassembly
Before attempting any repairs, completely power down the machine and unplug it from the wall. Allow the hotend to cool to room temperature to avoid severe burns. Once safe, unclip the front plastic shroud of the K1 toolhead. This cover is held on by simple plastic tabs and sometimes a small retaining screw, depending on your exact manufacturing batch. Gently pull it away, being highly cautious of the part-cooling fan wire attached to the shroud.
Step 2: The Physical Obstruction Check
With the throat fan fully exposed, take a flashlight and inspect the clearance between the fan blades and the aluminum cooling block. The most notorious cause of the Creality K1 Error 501 is a rogue screw. Check the screws that secure the heat sink. If one has vibrated loose and dropped into the path of the fan blades, carefully extract it with a magnetized hex key. Apply a microscopic drop of medium-strength threadlocker to the screw and secure it tightly to ensure it never backs out again.
Step 3: Verifying the Terminal Connection
Locate where the throat fan’s cable plugs into the small breakout board on the toolhead. Core-XY printers change direction violently, and if the factory did not apply enough securing glue to the connector, it can easily pop out. Pinch the connector, pull it out entirely, inspect the pins for any bending or scorch marks, and plug it back in until you feel a definitive click.
Step 4: The 60-Degree Diagnostic Test
Now, power the machine back on. Do not attempt to start a print. Instead, navigate to the temperature control screen and manually command the nozzle to heat up to 60°C. In the K1’s firmware architecture, the throat fan is programmed to automatically engage the moment the hotend crosses the 50°C threshold. Listen closely and watch the fan. If it spins up smoothly to full speed, the issue was merely a loose connection. If it twitches, grinds, or remains completely dead while the Creality K1 Error 501 immediately flashes on the screen again, the fan is electrically dead.
Step 5: Tracing the Wiring Harness
If the fan is dead, you must rule out the toolhead board before buying a replacement fan. Inspect the main wiring harness ribbon cable that runs from the toolhead to the mainboard at the base of the printer. Look for deep creases, pinch points, or exposed wire. A fractured wire inside the main harness can prevent power from reaching the toolhead board entirely.
Step 6: Testing with a Multimeter
For advanced users, grab a digital multimeter. Set it to measure DC voltage. With the hotend commanded to 60°C, carefully probe the two pins on the toolhead board where the fan plugs in. If the multimeter reads roughly 24V, the board is perfectly fine and supplying power, confirming the fan itself has failed. If the reading is 0V, the small toolhead board has a blown circuit, and you will need to replace the entire breakout board.
Step 7: Swapping the Component
When replacing the fan, ensure you purchase a 24V fan with the exact same dimensions (usually a 2510 or 3010 axial fan) and connector type (JST-XH 1.25 or similar, verify your specific model). Unscrew the old fan, route the new cable securely so it does not snag on the moving belts, and plug it in. Run the 60°C diagnostic test one final time to verify the fix.
A comprehensive video tutorial on 3D printer hotend disassembly and fan replacement techniques.
The Permanent Fix: Premium Upgrades and Component Replacements
If you are repeatedly battling the Creality K1 Error 501, or if you have diagnosed a dead fan, simply replacing it with another cheap, factory-standard unit is a temporary band-aid. Stock fans are notoriously built with sleeve bearings, which quickly degrade in the high-ambient-temperature environment of an enclosed printer printing ABS or ASA.
To permanently eradicate this error and drastically improve the thermal performance of your toolhead, you need to upgrade to premium components.
You should source a dual-ball bearing replacement fan. Dual-ball bearing fans are rated for tens of thousands of hours of continuous operation at high temperatures without losing RPM. Brands like Sunon or Delta manufacture industrial-grade fans that fit these dimensions. You can find these high-end replacements through specialized 3D printing retailers rather than generic marketplaces.
If the issue stems from a failing toolhead breakout board, you will need to replace the entire PCB. Sourcing OEM parts from reputable distributors like MatterHackers (via their affiliate network) or directly from authorized Creality parts dealers ensures you receive a board with the correct firmware flashing and updated, robust soldering. Do not risk buying unbranded circuit boards, as poor voltage regulation can fry your new fan instantly.
[INTERNAL LINK: A guide on the best filaments for high-speed enclosed 3D printing and how to tune them.]
Preventative Maintenance and Quick-Action Checklist
The best way to handle the Creality K1 Error 501 is to prevent it from ever happening. The harsh environment of a high-speed enclosed printer requires proactive care.
When printing materials like ABS, ASA, or Polycarbonate, the ambient chamber temperature can exceed 50°C. This extreme heat degrades lubricants inside the fan bearings. Furthermore, fine plastic dust—especially if you print carbon-fiber-filled materials—gets sucked directly into the fan housing, accumulating over time and causing severe friction.
Implement this preventative maintenance checklist into your monthly printer routine:
- Use compressed air to blow out the toolhead shroud and heatsink fins every 50 hours of printing.
- Verify the torque on all toolhead mounting screws during your regular belt-tensioning checks.
- Avoid leaving the printer enclosed and powered on at high temperatures for hours after a print finishes; allow the chamber to vent.
- If you hear a high-pitched whining or grinding sound during the initial heat-up phase, replace the fan immediately before it fails mid-print and causes a catastrophic hotend clog.
By maintaining a clean toolhead and ensuring your wiring is secured against the violent vibrations of Core-XY kinematics, you will keep your hotend running cool and completely avoid the dreaded Error 501.