How to Fix Bambu Studio Filling Internal Holes (The “Split to Objects” Error)
In the realm of additive manufacturing, your digital CAD files are your foundational assets. When you meticulously design a part in SolidWorks to include hidden internal voids—such as precise tolerances for embedded magnets—you expect those voids to translate perfectly to the build plate.
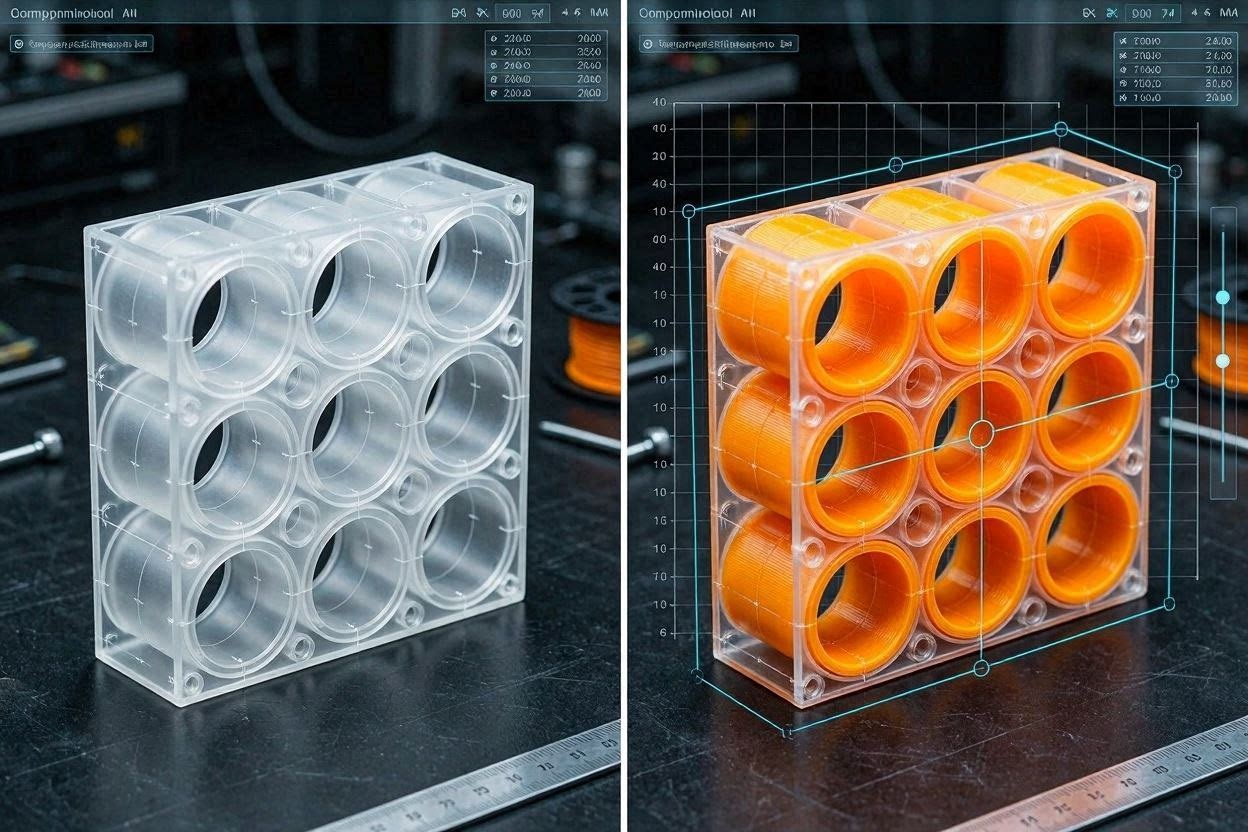
However, a highly frustrating operational bottleneck occurs when importing these assets into modern slicing software like Bambu Studio or OrcaSlicer. Often, the moment an operator clicks “Split to Objects,” the slicer algorithm panics. Instead of preserving the empty internal holes, the software generates entirely new, solid cylindrical bodies to fill those voids. Your magnet holes are ruined, and your production run is compromised.
If you are struggling with Bambu Studio filling internal holes, the issue rarely lies in your original CAD geometry. Instead, you are dealing with a complex failure of mesh topology and normal vectors. In this diagnostic guide, we will break down the exact mathematical logic your slicer uses to define “solid” versus “empty space,” why the split function destroys this logic, and the precise workflows required to protect your digital assets.
The “Quick Answer” / Key Takeaways Box- Bambu Studio split to objects filling holes
- The Root Cause: STL files are just infinitely thin walls. Slicers determine what is “solid plastic” and what is “empty air” using directional arrows called Normal Vectors.
- The Split to Objects Trap: Internal holes are disconnected from the outer hull. When you “Split to Objects,” the slicer isolates the hole. An isolated hole is interpreted as a standalone object, forcing the slicer to turn it into a solid cylinder.
- The Primary Fix: If you do not actually want separate objects, do not click Split to Objects. Leave the mesh combined as imported.
- The “Split to Parts” Alternative: If you are trying to assign different colors to a multi-material print, use “Split to Parts” instead. This preserves the geometric relationship of the internal voids.
- Export as STEP: Abandon the outdated STL format. Exporting from SolidWorks as a STEP (.step) file transfers true solid-body mathematics, completely eliminating normal vector ambiguity.
The Physics of 3D Meshes: Understanding Normal Vectors
To fully resolve this anomaly and protect your manufacturing yield, you must understand how slicing software reads a digital file.
When you export a file from SolidWorks as an STL, you are stripping away all of the complex solid-body mathematics. An STL file is nothing more than a hollow shell made of infinitely thin, 2D triangles (polygons). Because these walls are infinitely thin, the slicer has no inherent way of knowing which side of the wall is the “inside” (where plastic should be extruded) and which side is the “outside” (where empty air exists).
To solve this, every single triangle in an STL file is assigned a Normal Vector. A normal vector is an invisible mathematical arrow that points strictly perpendicular to the surface of the polygon.
The Golden Rule of Slicing: The normal vector always points toward empty air. The side opposite the vector is assumed to be solid plastic.
How Internal Holes Work
When you design an internal magnet hole, you are creating a secondary, isolated sphere or cylinder of polygons entirely trapped inside your main object. For the slicer to understand that this internal shape is a void, the normal vectors on the walls of that hole must point inward toward the center of the hole (indicating that the center is empty air). The opposite side of that wall (pointing outward) touches the solid plastic of your main part.
The Catalyst: Why “Split to Objects” Ruins Your Print
Now that we understand mesh normals, we can diagnose exactly why your Bambu Studio software is generating solid plastic parts inside your magnet voids.
The Split to Objects command in Bambu Studio is designed to find disconnected “islands” of polygons and separate them so you can move them independently on the build plate.
Because your internal magnet hole does not physically touch the outer walls of your main print, it is technically an isolated island. When you click Split to Objects, the slicer rips that internal void out of the main mathematical group.
Once that void is isolated as its own object, the slicer applies standard topological rules to it. A standalone object cannot have normal vectors pointing inward at nothing; it must have an outer shell. The slicer automatically assumes this new, isolated cylinder is supposed to be a printed part. It flips the normals, fills the void with plastic, and you are left with a solid cylinder sitting exactly where your magnet was supposed to go.
3 Strategic Fixes to Protect Your Internal Voids
To bypass this software behavior, you must adjust your digital asset pipeline. Implement one of these three strategies before your next production run.
1. Do Not Split (Or Use “Split to Parts”)
The simplest solution is to avoid the button entirely. If you designed a single functional bracket in SolidWorks, there is no operational need to split it into objects in the slicer. Keep the mesh unified as a single import.
If you clicked the split button because you wanted to assign a different filament color to a specific area, you clicked the wrong button. You must use Split to Parts.
- Split to Objects: Separates meshes into completely independent, movable items on the build plate (destroys voids).
- Split to Parts: Keeps all meshes locked in their exact geometric relationship as a single object, but allows you to assign different extruder colors to the different internal parts (preserves voids).
2. Export as STEP Files (The Professional Standard)
If you are designing in professional CAD software like SolidWorks, exporting as an STL is an archaic practice that introduces unnecessary operational risk.
STL files are “dumb” meshes. STEP (.step or .stp) files, however, retain complex Solid NURBS (Non-Uniform Rational B-Splines) data. A STEP file explicitly tells Bambu Studio, “This is a solid body of plastic, and this exact coordinate is a negative volume void.” There are no normal vectors to misinterpret. By simply changing your export format from STL to STEP, you permanently eradicate this error from your workflow.
3. Repair Flipped Normals
If you are forced to use an STL (e.g., downloading a file from a repository) and the holes disappear even without splitting the object, the file possesses “flipped normals” or non-manifold geometry. The designer accidentally saved the file with the arrows pointing the wrong way.
In Bambu Studio, you can often fix this by right-clicking the model and selecting Fix Model (which utilizes Windows 3D Builder API in the background). This algorithm automatically recalculates the boundary edges and flips the erroneous vectors back toward the empty air, restoring your internal voids.
The Affiliate / Monetization Section: Industrial Software Upgrades
Relying on basic STL meshes and manual slicer repairs is a massive drain on operational efficiency. If you are managing a high-volume print farm or developing complex mechanical prototypes, you must invest in industrial-grade software assets to ensure your digital files are mathematically flawless before they ever reach the printer.
1. Premium CAD Subscriptions (Autodesk Fusion)
While SolidWorks is immensely powerful, migrating to a cloud-native platform like Autodesk Fusion (formerly Fusion 360) seamlessly bridges the gap between CAD design and additive manufacturing. Fusion possesses built-in 3D print preparation environments that allow you to generate toolpaths directly from the solid bodies, entirely bypassing the fragile STL conversion process. You can secure commercial licensing for Fusion through enterprise software networks on PartnerStack.
2. Dedicated Mesh Repair Software (Netfabb)
If your business model relies heavily on client-provided STLs or 3D scanned meshes, you will constantly battle flipped normals, non-manifold edges, and internal geometry errors. You cannot rely on a slicer’s basic auto-repair function for mission-critical parts. Upgrading to a dedicated mesh repair software suite like Autodesk Netfabb provides advanced Boolean repair scripts that instantly wrap, seal, and verify the topological integrity of any mesh.
3. Upgrade Your Slicing Hardware
Complex geometric slicing—especially when dealing with millions of polygons and intricate internal voids—requires significant computational processing power. If Bambu Studio freezes or crashes when attempting to split or repair complex objects, your workstation is the bottleneck. Upgrading to a CAD-optimized mobile workstation featuring dedicated NVIDIA RTX Ada Generation GPUs ensures rapid slicing execution and eliminates software timeout errors during complex mesh Boolean operations.
Quick-Action Preventative Maintenance Checklist
To maintain maximum uptime and ensure your internal geometry prints flawlessly every time, adhere to this pre-flight checklist:
- Mandatory Slicer Section Views: Before hitting “Print,” always drag the vertical slider down on the slicer preview screen. Visually inspect the inside of the model to ensure the magnet holes or internal channels are actually hollow.
- Deprecate STL Exports: Update your company’s standard operating procedures to mandate
.STEPor.3MFformats for all internal file transfers. Ban the use of STL files for mechanical parts containing precise internal tolerances. - Verify Boolean Operations in CAD: In SolidWorks, ensure that your “Cut-Extrude” features are properly applied to the main body and not accidentally creating intersecting, un-merged bodies.
- Utilize Negative Volume Modifiers: If you are unsure about the integrity of an imported hole, you can right-click the model in Bambu Studio, add a Negative Part (like a cylinder), scale it to the size of your magnet, and place it manually. The slicer will mathematically force a void at that exact location during slicing.
By treating your digital models as strict mathematical assets and utilizing the correct export pipelines, you can completely bypass slicer interpretation errors. Stop losing prints to filled holes and start manufacturing with elite, predictable precision.