Why Delicate 3D Prints Break: 5 Fixes for Small Feature Strength
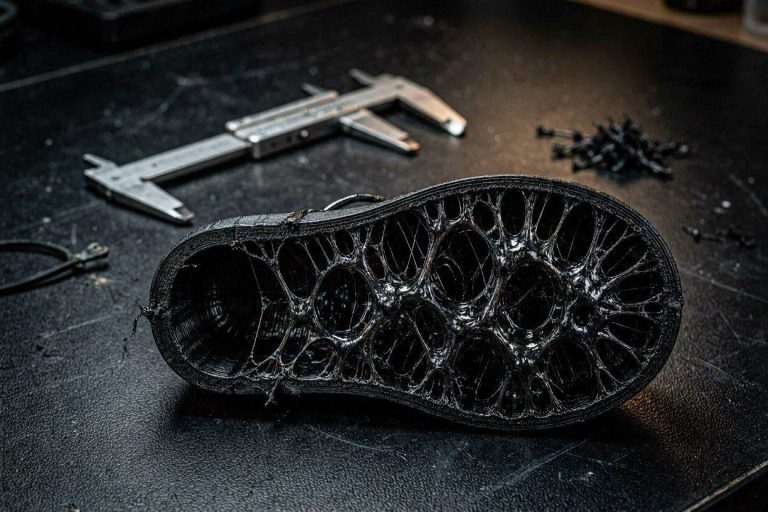
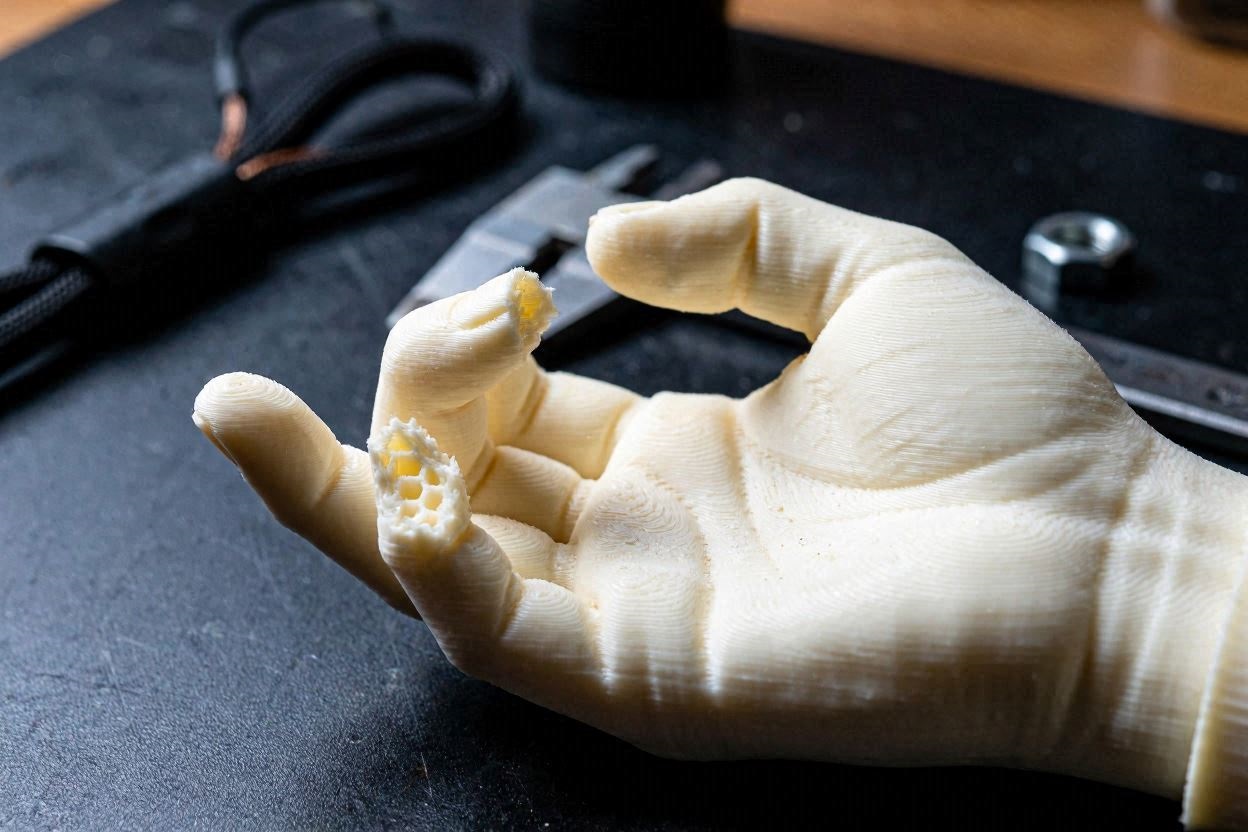
There is a specific kind of heartbreak in 3D printing: you wait hours for a print to finish, only to snap a tiny, intricate finger or a fragile accessory the moment you peel the supports off. If you are new to the hobby, you likely assume you did something “wrong” in the slicer. The reality, however, is that you have likely run into the physical limits of Fused Deposition Modeling (FDM) technology.
When printing delicate features—like fingers, thin swords, or hair strands—you are fighting two battles simultaneously: Geometric Resolution and Anisotropic Strength. In this guide, we will break down why your delicate parts are snapping like dry twigs and provide actionable steps to increase the structural integrity of your prints without needing to be an engineering expert.
The “Quick Answer” / Key Takeaways Box
- The Silk PLA Trap: Silk PLA is beautiful, but it is notoriously brittle. It has significantly lower layer adhesion than standard PLA. For delicate models, switch to standard PLA+ or PETG.
- The Nozzle Limit: A 0.4mm nozzle is the standard, but it has a “minimum feature size.” If a finger is thinner than 0.4mm, the slicer can’t physically print it properly.
- Orientation is Everything: FDM prints are weakest between layers. Tilting your model can change the direction of stress, making delicate parts much stronger.
- The “Chunky-ing” Technique: If you are the designer, thicken your features. If you aren’t the designer, use slicer modifiers to increase the wall count for just the fragile sections.
1. The “Silk” Weakness
You mentioned you are using PLA Silk. Silk PLA is a blend of standard PLA and thermoplastic elastomers (TPEs) that gives it that shiny, metallic finish. While it looks incredible, it is mechanically one of the weakest materials you can print.
Silk PLA has poor “inter-layer adhesion.” This means the layers don’t stick to each other as tightly as they do with standard PLA. When you print a thin finger, those layers are barely holding on. A slight bump or tension during support removal will cause the part to snap right along the layer line.
- The Fix: If structural strength is more important than the shine, switch to a high-quality PLA+ or PLA Pro. These filaments are formulated for toughness and will survive the cleanup process much better than Silk.
2. Nozzle Resolution Limits
You are using a 0.4mm nozzle. This is the industry standard, but it’s a “jack of all trades.” If you are printing a model where a finger is only 0.3mm wide, your 0.4mm nozzle is physically incapable of printing that feature as a solid wall. The slicer will either skip the detail entirely, or it will create a “hollow” or under-extruded mess that is structurally paper-thin.
- The Fix: You don’t necessarily need to buy a 0.2mm nozzle (though it helps). Instead, check your Slicer Preview. Turn on “Line Type” or “Width” coloring. If your delicate parts don’t show up as solid lines in the preview, the nozzle cannot print them. You must either scale the model up or manually thicken the geometry in your CAD software.
3. Mastering Part Orientation
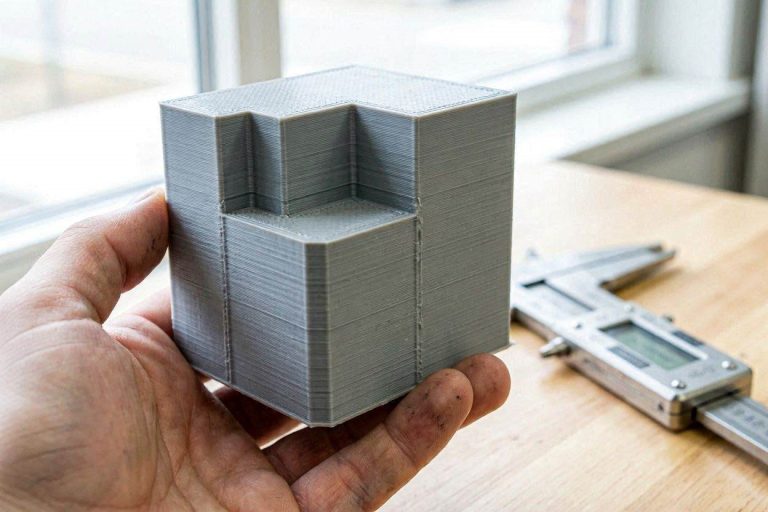
FDM printers print in horizontal slices. This makes every print strongest in the X/Y plane (flat on the bed) and weakest in the Z-axis (vertical). If a finger is printed standing straight up, it is essentially a stack of pancakes that can easily be flicked over.
- The Fix: As you suggested, tilting your model by 30° to 45° is a brilliant move. This rotates the layer lines so they are no longer perpendicular to the stress point. By changing the orientation, you distribute the mechanical force across the strength of the plastic rather than the weakness of the layer bond.
- Note: Tilting often requires supports, which can be tricky to remove from delicate parts. Use “Tree Supports” in Bambu Studio for the best balance of strength and easy removal.
4. Increasing Wall Loops (Perimeters)
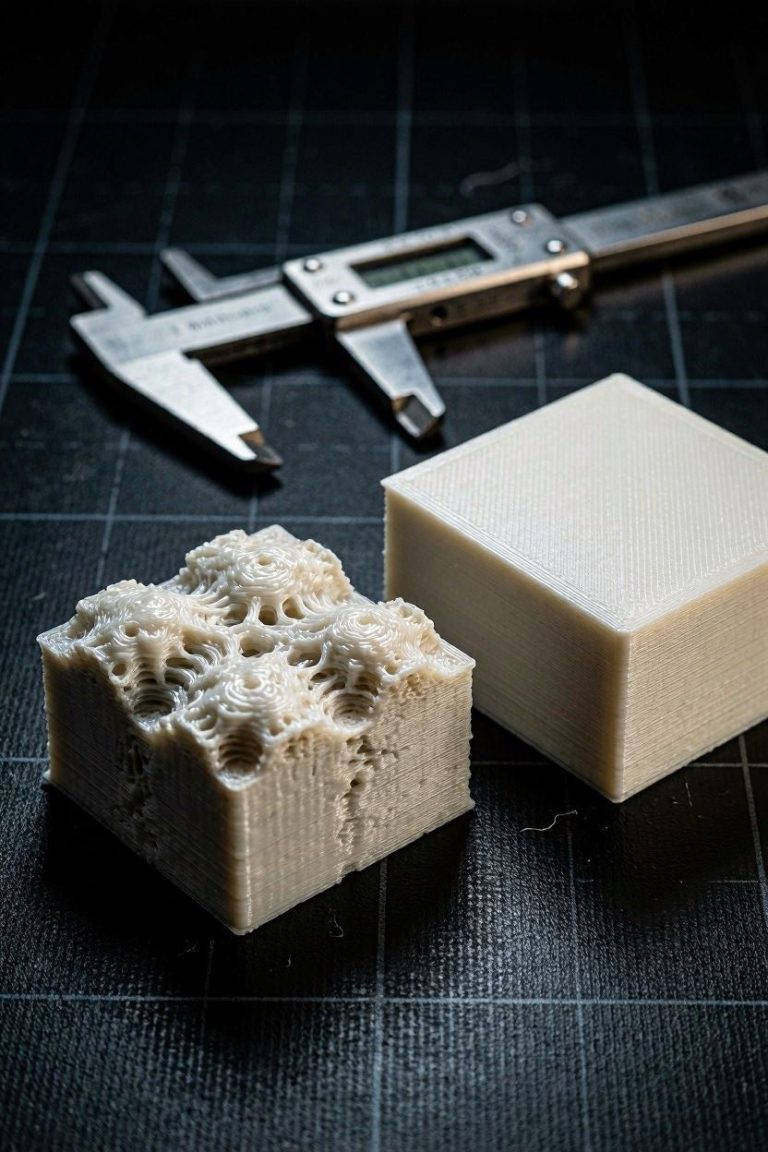
If you print with the default 2 wall loops, your delicate features are essentially “hollow” or just filled with sparse infill. Infill does almost nothing to strengthen a tiny finger.
- The Fix: Increase your Wall Loops (or Perimeters) to 3 or 4. This makes the entire delicate feature solid plastic. It increases print time and filament usage slightly, but it turns a brittle, hollow shell into a solid piece of plastic that can withstand handling.
5. Modifying Geometry (The CAD Solution)
Sometimes, the design itself is simply too thin for the real world. If you are printing a downloaded file, look into simple CAD software like TinkerCAD or Fusion 360.
- The Technique: You can import the STL and perform a “Boolean Union” by placing small cylinders or wedges at the base of the fingers or accessories. This is known as “filleting” or “gusseting.” By simply thickening the area where the delicate part meets the main body, you create a stress-relief point that prevents the part from snapping off.
Summary Checklist for Delicate Prints
- Ditch the Silk: Use PLA+ for structural strength.
- Preview Mode: Check your slicer preview—if the feature isn’t there, it won’t print.
- Tilt the Model: Change the layer orientation to avoid stacking features vertically.
- Thicken the Walls: Use 3+ wall loops to ensure features are solid.
- Use Tree Supports: Provide support for features that overhang, but prioritize a print orientation that minimizes the need for heavy support structures on tiny details.
By making these adjustments, you’ll stop seeing broken fingers and start seeing successful, intact prints coming off your A1 Mini.