7 Technical Steps to Fix Bambu Lab P1S Under-Extrusion (Stop Print Failures!)
When a highly reliable CoreXY machine suddenly begins failing after thousands of hours of flawless operation, the issue is rarely related to slicing software. You are not dealing with a sudden change in configuration profiles or filament brand inconsistencies. You are witnessing the inevitable mechanical degradation of high-friction components.
If you are struggling with patchy, failing layers and trying to fix Bambu Lab P1S under-extrusion, you must shift your mindset from software tuning to mechanical engineering. A machine with 2,700 hours of active print time has pushed dozens, if not hundreds, of kilometers of abrasive thermoplastic through its gears and nozzles.
When cold pulls only offer a temporary reprieve of five to ten prints before the failure returns, you have a physical hardware defect, not a simple filament jam. In this exhaustive technical diagnostic manual, we will deconstruct the exact mechanical failures occurring within your toolhead. By executing these specific teardown procedures and hardware replacements, you will permanently fix Bambu Lab P1S under-extrusion and restore your printer to factory tolerances.
The “Quick Answer” / Key Takeaways Box
- The 2700-Hour Wear Factor: Software settings do not degrade over time. If your prints were perfect and are now failing, your hardware has physically worn down.
- The Cold Pull Illusion: If a cold pull temporarily fixes the issue, you do not have a standard clog. You are temporarily clearing gear dust caused by slipping, worn extruder gears.
- Stainless vs. Hardened: The stock P1S uses stainless steel extruder gears. After 2,500+ hours, the teeth become blunt, causing the filament to slip and grind inside the toolhead.
- Internal Hotend Scarring: Constant thermal cycling and abrasive pigments score the internal bore of the hotend, increasing friction until the extruder motor skips steps.
- Thermistor Degradation: Old temperature sensors can report 220°C while the actual melt zone is only 190°C, leading to severe volumetric flow failures.
Diagnosing the 2,700-Hour Mechanical Failure Point
Before dismantling the toolhead, it is critical to understand the physics of high-volume Fused Deposition Modeling (FDM). Many operators waste hours adjusting flow dynamics, increasing temperatures, or slowing down print speeds when their machine begins to fail. While these adjustments might mask the symptoms temporarily, they do not address the root cause.
At 2,700 print hours, your Bambu Lab P1S has surpassed the expected lifespan of several consumable components within the extrusion pathway. The filament you use, even standard PLA, is essentially a flexible string of plastic embedded with microscopic color pigments. These pigments, particularly titanium dioxide used in white filaments, act as a mild abrasive.
Over thousands of hours, this constant abrasive flow acts like ultra-fine sandpaper against the internal metal pathways of your printer. To effectively fix Bambu Lab P1S under-extrusion, we must physically inspect the areas where this friction is highest. The failure is not in your G-code; the failure is a loss of mechanical grip and thermal efficiency.
The Physics of the Temporary Cold Pull Fix
You noted that executing a cold pull temporarily resolves the under-extrusion for five to ten prints before the catastrophic failure returns. This specific behavioral pattern is the ultimate diagnostic clue. It completely rules out a static, permanent blockage like a piece of metal or stone trapped in the nozzle.
A cold pull works by heating the plastic, allowing it to adhere to internal debris, and then cooling it to a semi-solid state. When you aggressively pull the filament out, it acts as a mold, dragging the internal contaminants out with it. If this works temporarily, it means you are successfully clearing the pathway.
However, the fact that the issue returns so quickly means that new debris is being generated inside the toolhead during those next five prints. This new debris is almost certainly pulverized plastic dust. When the extruder gears lose their grip, they spin rapidly against the static filament, shaving off tiny particles of plastic.
These shavings fall down into the hotend, burn, and cause a partial clog. You cold pull the burnt dust out, but the slipping gears immediately start creating more dust. To definitively fix Bambu Lab P1S under-extrusion, you must stop the gears from slipping and grinding the filament.
Step 1: Teardown and Inspection of the Extruder Gear Assembly
The primary suspect for your specific failure loop is the extruder gear assembly. Unlike the flagship X1 Carbon, which comes standard with hardened steel extruder gears, the stock Bambu Lab P1P and P1S models are equipped with stainless steel gears. While stainless steel is highly resistant to corrosion, it is significantly softer than hardened steel.
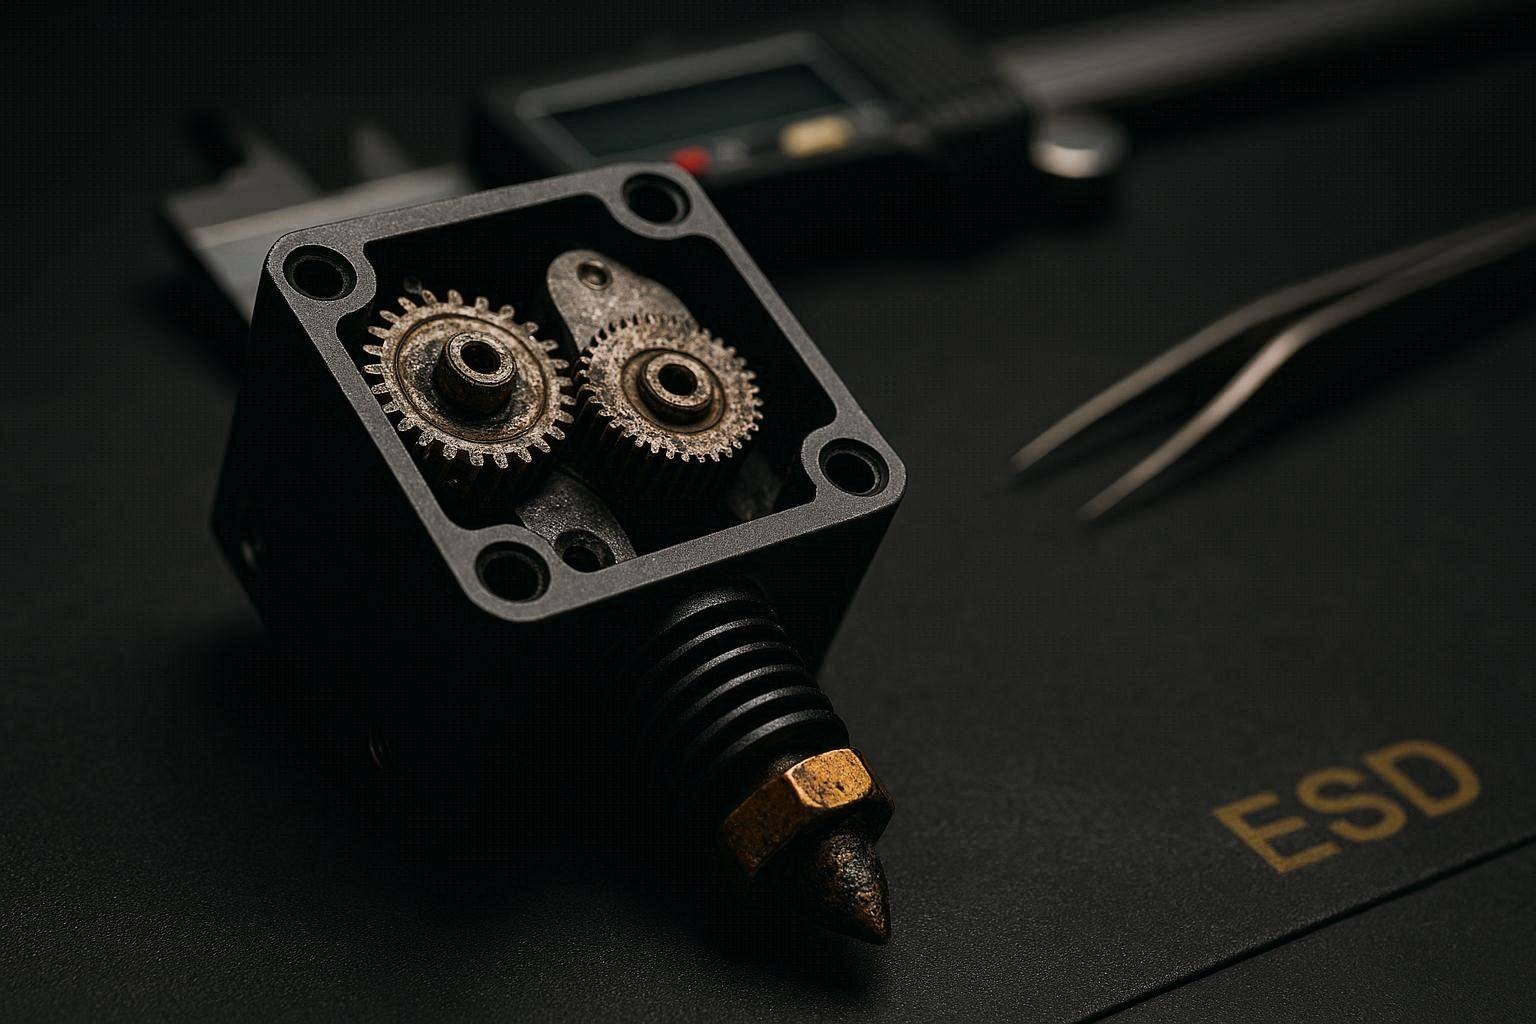
After 2,700 hours of pulling filament, the sharp teeth of the stainless steel gears become blunted and smooth. They lose their ability to bite deep into the filament strand.
Identifying Gear Slippage
When the gears lose their sharp profile, they rely entirely on the spring tension of the idler arm to push the filament through. During high-speed printing or long retractions, this friction is insufficient. The drive motor turns, but the smooth gears simply slide over the filament.
This slipping creates a concave divot in the side of the filament strand. Once this divot is formed, the gears have absolutely nothing to grab onto, and extrusion stops completely. This is what generates the dust that requires you to constantly perform cold pulls.
The Teardown Protocol
To properly fix Bambu Lab P1S under-extrusion, you must disassemble the toolhead.
- Power down the machine and carefully remove the front toolhead cover, disconnecting the fan cable.
- Unscrew the hotend assembly and let it hang safely to the side.
- Remove the three screws securing the extruder unit to the carbon fiber X-axis rod assembly.
- Carefully open the extruder housing.
Inspect the yellow drive gear and the metal idler gear. If the teeth look rounded, shiny, or are packed tightly with white plastic dust, the gears have reached the end of their mechanical lifespan. No amount of cleaning will restore the sharp biting edge required for high-speed extrusion.
Step 2: Evaluating Hotend Internal Bore Scarring
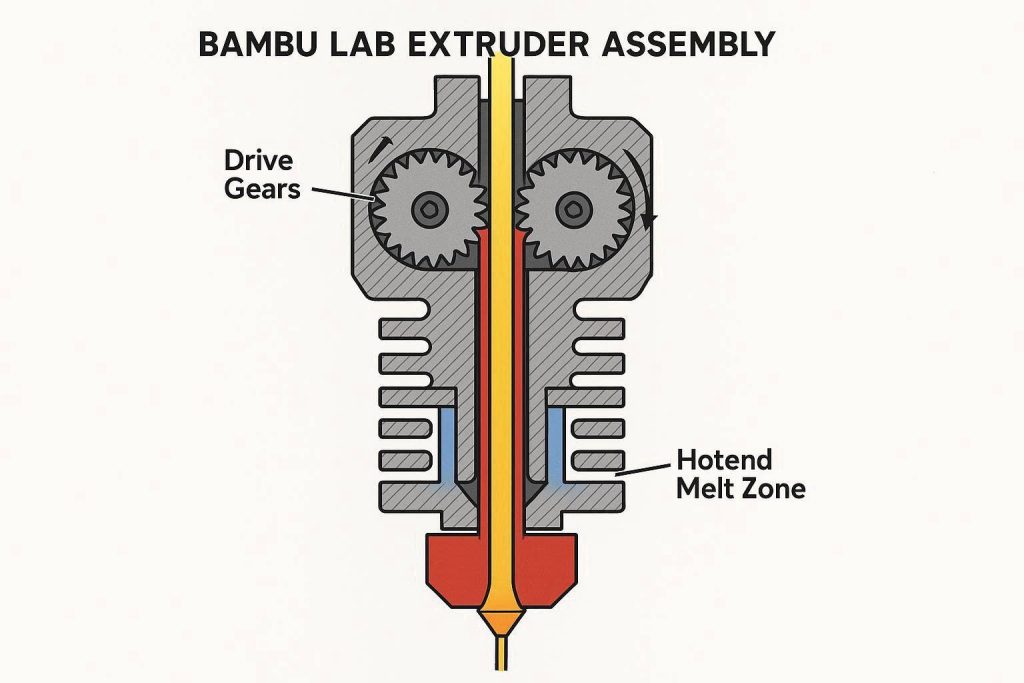
If your extruder gears miraculously appear sharp and functional, the next major failure point is the hotend itself. A complete hotend assembly is a highly sensitive thermal environment. It consists of a stainless steel heatbreak, a ceramic heating element, and a brass or stainless steel nozzle tip.
Inside the heatbreak, the filament transitions from a solid state into a highly viscous liquid. This internal bore must be perfectly smooth to allow the molten polymer to flow freely.
The Degradation of the Melt Zone
Over thousands of hours of heating and cooling, the internal walls of the nozzle and heatbreak experience microscopic expansion and contraction. Combined with abrasive filaments, the smooth internal bore becomes heavily scarred and pitted.
When the internal walls are scarred, the friction inside the melt zone increases exponentially. The extruder gears have to work twice as hard to push the plastic through the rough, pitted chamber. Eventually, the required force exceeds the torque of the stepper motor, resulting in skipped steps (a clicking sound) and severe under-extrusion on the build plate.
Carbonized Buildup and Heat Creep
Furthermore, these internal microscopic pits create dead zones where plastic can become trapped. This trapped plastic sits at 220°C for hundreds of hours, eventually degrading into hard, carbonized rock.
These carbonized deposits restrict the flow path, acting like plaque in an artery. Because they are baked onto the metal, a cold pull will not remove them. They permanently reduce the volumetric flow rate of your hotend. To successfully fix Bambu Lab P1S under-extrusion, you must recognize when a hotend is beyond saving and requires a full replacement.
How to Calibrate Max Volumetric Speed for High-Flow 3D Printing Filaments
Step 3: PTFE Friction and AMS Resistance
The Bambu Lab ecosystem relies heavily on long runs of PTFE (Teflon) tubing to guide the filament from the AMS (Automatic Material System) buffer on the back of the machine, all the way to the toolhead. PTFE is prized for its incredibly low coefficient of friction.
However, PTFE tubing is a consumable item. Over 2,700 hours, the constant back-and-forth sawing motion of the filament—especially during multi-color prints with thousands of retractions—physically grooves the inside of the tubing.
The Hidden Drag Factor
When the inside of the PTFE tube becomes grooved, the friction increases dramatically. The extruder gear in the toolhead is not just pushing plastic into the nozzle; it is also physically pulling the filament all the way from the spool.
If the resistance in the grooved PTFE tube becomes too high, the toolhead extruder has to fight an intense tug-of-war. This excessive drag will cause perfectly good extruder gears to slip, grind the filament, and cause the exact under-extrusion symptoms you are experiencing.
Routing and Replacement
- Disconnect the PTFE tube from the toolhead.
- Manually pull a piece of filament through the tube by hand. If you feel resistance, catching, or a “zipping” sensation, the inner lining of the tube is destroyed.
- You must replace the entire length of PTFE tubing from the hub to the toolhead. Ensure the new tubing has a precise 2.5mm inner diameter to allow smooth travel without excessive internal buckling. This simple swap is often the missing link to fix Bambu Lab P1S under-extrusion.
Step 4: Thermal Sensor Degradation (Thermistor Failure)
Thermoplastics require highly precise, stable temperatures to flow correctly. Your slicing software assumes that when you set the nozzle to 220°C, the actual molten plastic is reaching exactly 220°C.
The machine relies on a tiny glass-bead thermistor clamped against the side of the hotend to report this temperature to the motherboard. Thermistors are highly sensitive electrical resistors that change their resistance based on heat.
The Slow Creep of False Readings
After thousands of hours of intense thermal cycling, the delicate wiring and the internal structure of the thermistor degrade. This degradation rarely results in an immediate, catastrophic failure code. Instead, the thermistor begins to report inaccurate data.
It may tell the motherboard that the hotend is sitting at 220°C, prompting the ceramic heater to stop supplying power. However, the actual physical temperature of the block might only be 185°C. At 185°C, PLA is extremely thick and highly viscous.
Viscosity and Flow Failures
The extruder motor attempts to push this thick, semi-melted sludge through a 0.4mm hole. The immense back-pressure causes the gears to grind the filament, mimicking a clog perfectly. You perform a cold pull, which clears the ground plastic, but the temperature is still physically too low, so the system immediately fails again.
To completely fix Bambu Lab P1S under-extrusion, you must consider the thermal electronics. If replacing the mechanical gears and hotend does not solve the flow rate issue, you must apply fresh thermal paste and install a brand-new thermistor wire assembly.
Step 5: The Moisture Expansion Variable
While we have established that hardware wear is the primary culprit after 2,700 hours, we must rule out extreme environmental contamination. You stated that you are using the “always the same settings and filament.” However, filament degrades depending on how it is stored.
PLA is highly hygroscopic, meaning it acts like a sponge, pulling ambient moisture from the air deep into its polymer chains. Even if the spool has been sitting in the AMS with desiccant beads, the desiccant can saturate and become useless over time.
The Steam Engine Effect
When moisture-laden filament enters the hotend, the trapped water instantly boils and flashes into steam. This steam expands violently inside the confined space of the nozzle, physically pushing the molten plastic out of the way.
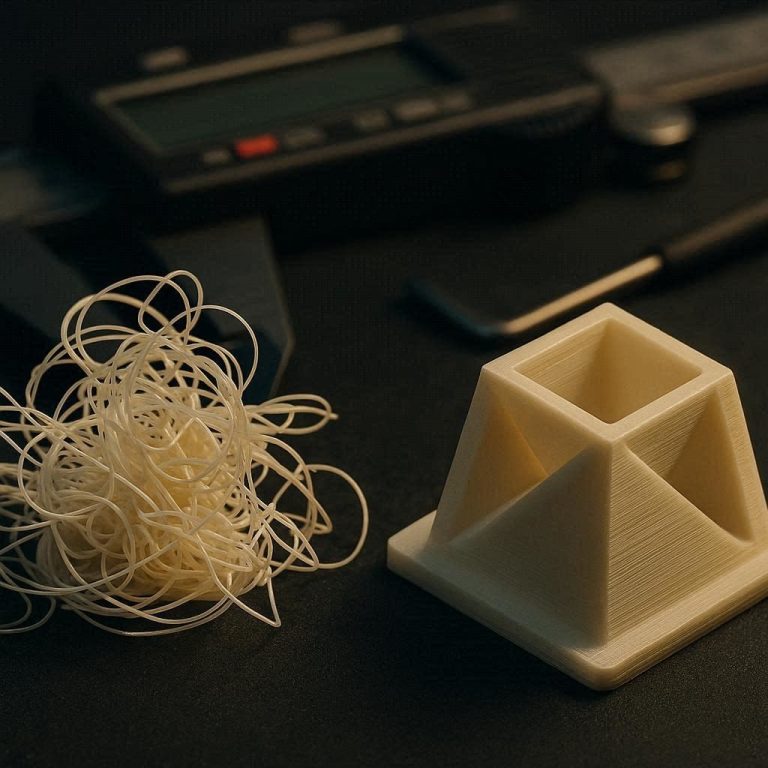
This causes microscopic popping sounds and results in random, severe gaps in your extrusion lines. The steam bubbles interrupt the continuous volumetric flow, creating brittle, stringy prints that look exactly like mechanical under-extrusion.
You must treat active dehydration as a mandatory diagnostic step. Place your spool into an active, heated filament dryer at 45°C for a minimum of 6 hours. If the bone-dry filament still fails to extrude properly, you have definitively proven that the failure requires a hardware replacement.
Official PrusaSlicer Documentation on the Kinematics of Volumetric Flow and Moisture Degradation
The Permanent Fix: Hardware Upgrades
At 2,700 hours, your stock hardware owes you nothing. It has performed admirably, but it is physically exhausted. To permanently fix Bambu Lab P1S under-extrusion, you must completely rebuild the extrusion pathway with premium, wear-resistant components. Do not waste time buying generic replacement parts; you must upgrade the system to match the high-flow demands of modern CoreXY printing.
1. Upgrade to the Hardened Steel Extruder Gear Assembly
The absolute first step is throwing away the worn stainless steel gears. You must purchase the official Bambu Lab Hardened Steel Extruder Gear assembly. This drop-in replacement utilizes highly durable, heat-treated steel that will easily survive another 5,000 print hours without blunting.
These hardened gears will bite aggressively into the filament, entirely preventing the slipping and grinding loop that forces you to constantly perform cold pulls. You can source the official hardened steel upgrade kits directly from authorized industrial suppliers via the ShareASale or PartnerStack affiliate networks, ensuring you receive authentic, high-tolerance parts.
2. Install a Complete Hardened Hotend Assembly
Do not attempt to salvage a 2,700-hour hotend by burning it out with a blowtorch or swapping just the nozzle. The internal heatbreak scarring cannot be repaired. You must purchase a “Complete Hotend Assembly.”
By buying the complete assembly, you receive a brand-new heatsink, a flawless internal heatbreak bore, a fresh ceramic heater element, and a new, highly accurate thermistor. Upgrading to the 0.4mm Hardened Steel Hotend variant ensures that abrasive white PLA pigments will not scar the internal pathways again. Sourcing these complete drop-in assemblies through premium vendors like MatterHackers guarantees minimal downtime and instantly restores your factory volumetric flow rates.
3. Implement Professional Active Desiccation Hardware
To prevent filament moisture from masking future mechanical diagnostics, you must invest in a dedicated, active filament desiccation system. Passive silica gel in the AMS is insufficient for long-term reliability.
Investing in a premium unit like the Sunlu S4 allows you to actively bake the moisture out of four spools simultaneously at temperatures ranging from 50°C to 70°C. Securing this hardware ensures your polymer flows with absolute volumetric predictability, permanently locking in your highly sensitive extrusion mechanics and saving you from constant frustration.
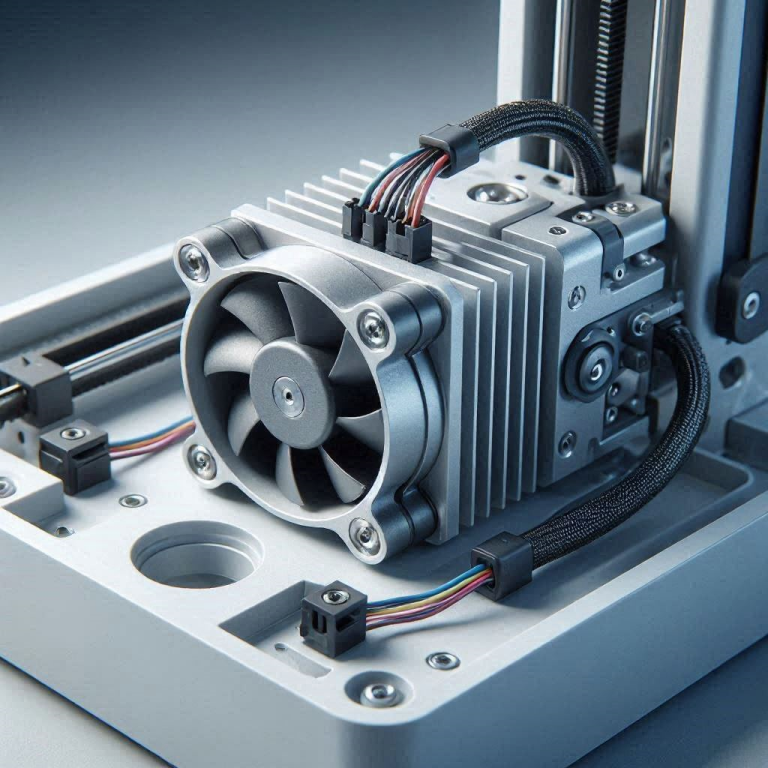
[IMAGE PLACEHOLDER: A professional studio shot of an upgraded Hardened Steel Extruder Gear assembly and a new Complete Hotend installed on a Bambu Lab toolhead + Alt Text: Upgrading your extrusion ecosystem to permanently fix Bambu Lab P1S under-extrusion.]
Quick-Action Preventative Maintenance Checklist
Once you have installed the upgraded hardened steel components and restored your machine to perfect working order, implement this strict preventative maintenance protocol to maximize the lifespan of your new hardware:
- Audit Your PTFE Tubing: Inspect the entire length of your PTFE guide tubes every 1,000 hours. If the filament feels gritty when pulled through by hand, replace the tubing immediately to reduce drag on the extruder motor.
- Lubricate the Extruder Gears: When installing your new hardened steel gears, apply a microscopic amount of synthetic grease to the gear bearings (never the teeth). This reduces friction on the motor shaft and ensures smooth rotational torque.
- Refresh Thermal Paste: If you ever remove the ceramic heater from the hotend block, you must clean it with isopropyl alcohol and apply a fresh coat of high-temperature boron nitride thermal paste. This ensures accurate heat transfer to the new thermistor.
- Perform Routine Cold Pulls: Do not wait for a failure to clean your nozzle. Run a high-tension nylon cold pull every 200 print hours to extract minor carbonized debris before it solidifies into a permanent, flow-restricting clog.
By treating your 3D printer as a high-precision manufacturing tool and respecting the physical limitations of consumable hardware, you will completely eliminate frustrating print failures. Stop struggling with worn-out gears, upgrade your extrusion pathway, and start manufacturing with industrial-grade perfection.