7 Steps to Perform a Prusa MK4 MAXTEMP Error Fix (Permanent Solution)
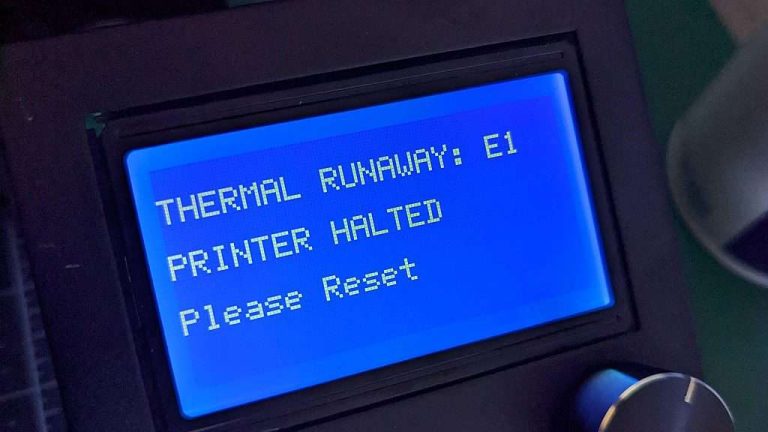
Nothing halts a printing project faster than a sudden thermal shutdown and a blaring alarm. If you are looking for a reliable Prusa MK4 MAXTEMP Error Fix, you are in the right place. This guide will walk you through the exact diagnostic and repair procedures to get your 3D printer safely back online.
The Quick Answer / Key Takeaways
- Safety First: The MAXTEMP error is a crucial safety feature indicating the printer reads a temperature over 300°C, usually due to a shorted thermistor wire.
- Immediate Action: Turn off the printer immediately and let the hotend cool down.
- The Fix: You must inspect the thermistor wires for exposed metal causing a short circuit, test the resistance with a multimeter, and likely replace the thermistor unit.
- Prevention: Proper cable management and avoiding aggressive wire brushing around the heater block prevents this issue.
What Causes the MAXTEMP Error?
A MAXTEMP error is fundamentally different from a MINTEMP error. While a MINTEMP error usually means the wire is completely broken (infinite resistance), a MAXTEMP error triggers when the resistance drops to near zero.
The printer’s mainboard interprets this near-zero resistance as an infinitely high temperature, instantly shutting down the machine to prevent a fire hazard.
In the Prusa MK4, the Nextruder assembly is highly compact. The delicate thermistor wires sit very close to the heater block. The most common cause of this error is the insulation around the thermistor wires wearing away, allowing the bare wires to touch the metal heater block or touch each other. This creates a direct short circuit.
Step-by-Step Troubleshooting Guide
Follow these exact steps to diagnose the root cause of the error. Ensure your printer is fully powered down and unplugged before touching the electronics.
Step 1: Visual Inspection of the Nextruder
Start by examining the hotend assembly. Remove the fan shroud to get a clear view of the heater block. Look closely at the two thin wires entering the glass bead of the thermistor.
If you see bare, shiny copper or silver wire touching the aluminum block, you have found your short. Even a microscopic tear in the fiberglass insulation can trigger the fault when the print head moves.
Step 2: The Multimeter Resistance Test
If a visual inspection reveals nothing, grab your digital multimeter. Disconnect the thermistor cable from the LoveBoard (the breakout board located directly on the MK4 extruder).
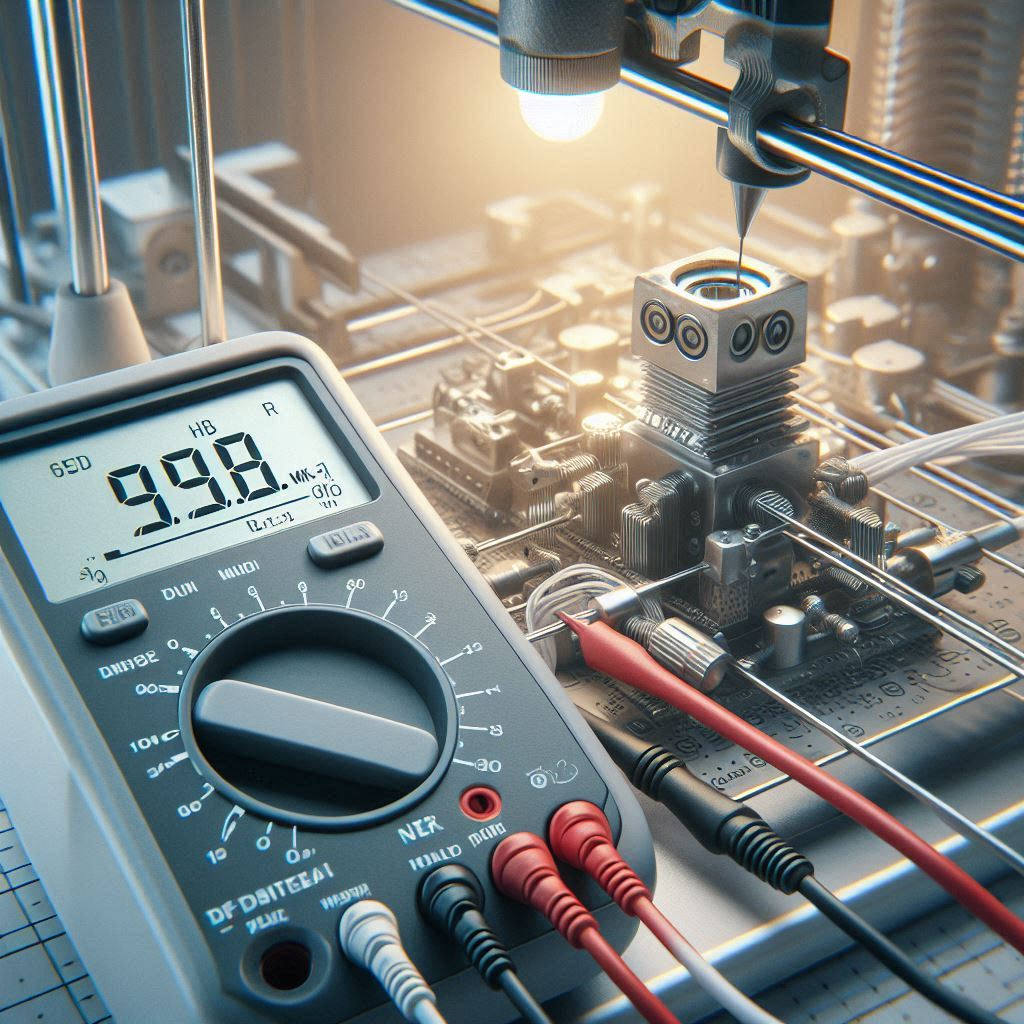
Set your multimeter to measure resistance (Ohms). At standard room temperature (around 20°C to 25°C), a healthy Prusa thermistor should read approximately 100 kΩ (100,000 Ohms). If your multimeter reads close to 0 Ohms, the thermistor is internally shorted and completely dead.
Step 3: Inspecting the LoveBoard Connections
Sometimes the issue is not the thermistor itself, but the connection board. Check the pins on the LoveBoard where the thermistor plugs in.
Ensure there is no stray debris, metallic dust, or bent pins bridging the connection. You can use compressed air to blow out the connector ports carefully.
[IMAGE PLACEHOLDER: A close up of the Prusa MK4 Nextruder with the LoveBoard exposed + Alt Text: Examining the LoveBoard connections during a Prusa MK4 MAXTEMP Error Fix]
Step 4: Testing the Main Cable Bundle
If the thermistor tests fine at the LoveBoard, the short might be in the main wiring harness connecting the extruder to the xBuddy mainboard.
Use your multimeter to check for continuity across the thermistor wires in the main bundle. As the X-axis moves back and forth thousands of times, internal wires can fray and cross.
[INTERNAL LINK: Placeholder for related post “How to test 3D printer stepper motor wiring”]
The Permanent Fix
If you have confirmed a shorted thermistor, do not attempt to tape it up or splice it. The extreme heat of the hotend will melt electrical tape, and splicing alters the electrical resistance, giving you inaccurate temperature readings.
The only permanent, safe solution is a full component replacement.
You need to purchase an official, high-temperature replacement thermistor specifically rated for the MK4 Nextruder. The MK4 uses a specific cartridge-style thermistor that differs from the older MK3 series.
Where to source the parts: To ensure you are getting genuine, dimensionally accurate parts, skip generic Amazon listings. Generic thermistors often have incorrect resistance tables, leading to major print failures.
We highly recommend picking up an official replacement block or thermistor cartridge through dedicated 3D printing retailers like MatterHackers. Upgrading to a premium, pre-assembled Nextruder hotend block is often easier than swapping just the delicate glass bead, saving you time and frustration.
[EXTERNAL LINK: Placeholder for MatterHackers Official Replacement Parts]
Preventative Maintenance Checklist
Once you have installed the new part and cleared the error, use this checklist to prevent the issue from returning:
- Avoid Wire Brushes: When cleaning molten plastic off the nozzle, never use a brass wire brush near the top of the heater block. The bristles easily pierce the delicate thermistor wire insulation. Use a silicone sock instead.
- Check Cable Strain: Ensure the wire routing coming off the Nextruder has a gentle curve. Sharp 90-degree bends will snap the internal copper strands over time.
- Install a Silicone Sock: A high-quality silicone cover for the heater block not only keeps temperatures stable but also provides a physical barrier protecting the wires from errant plastic blobs.