7 Steps to Fix an Orca Slicer Version Update Extrusion Issue in 2026
If you recently upgraded your slicing software and are suddenly experiencing a severe Orca Slicer version update extrusion issue, you are dealing with a classic profile migration failure. Transitioning from an older portable version, like version 2.3.2, to a newer installer-based version, such as 2.4.2, introduces significant changes to the underlying code architecture. When prints start failing immediately after an update, it is rarely a hardware problem.
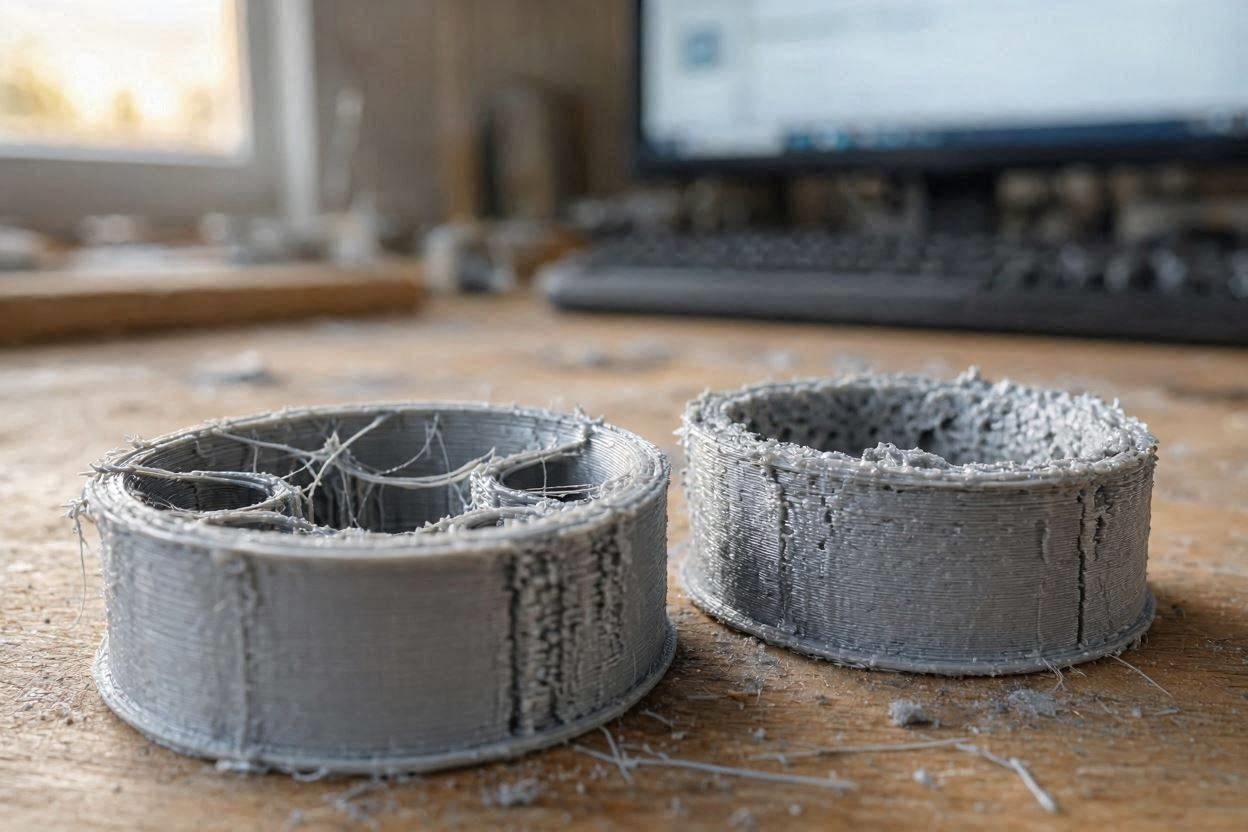
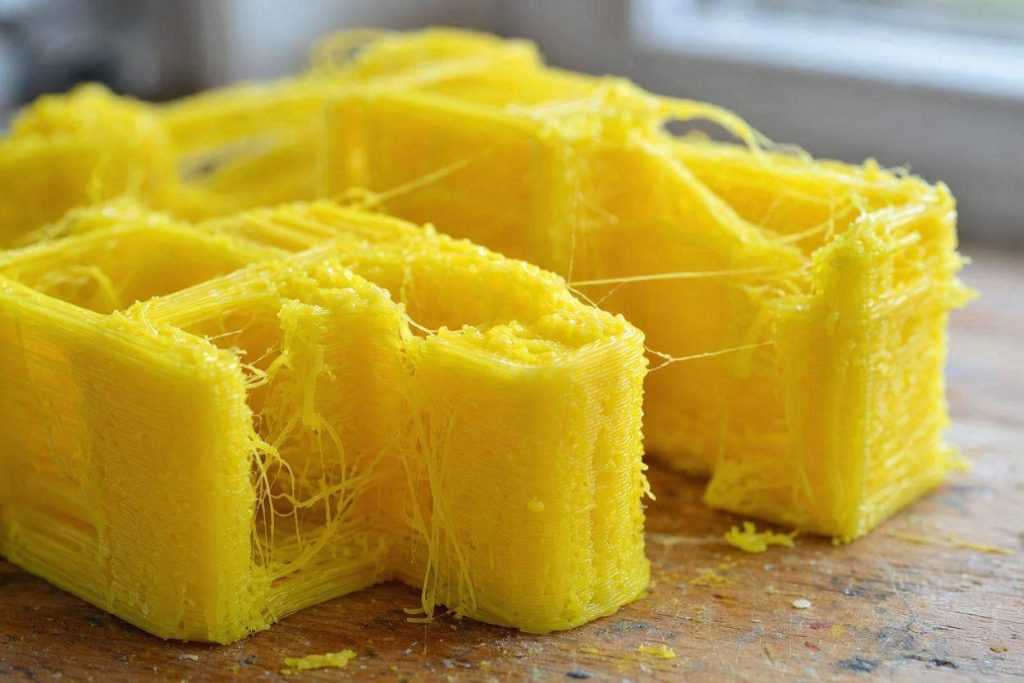
The symptoms are highly specific: your printer suddenly estimates print times at half their normal duration, your hotend clogs, and the resulting parts look like stringy, under-extruded garbage. This happens because manually copying and pasting old user profiles into a new software directory corrupts the internal limiters. Your slicing engine is now bypassing crucial physical limitations, forcing your hardware to operate beyond its mechanical capacity.
This deep technical diagnostic guide will break down the exact JSON profile conflicts causing your failures. We will analyze specific volumetric flow parameters, kinematic variables, and hardware temperature thresholds to permanently resolve this Orca Slicer version update extrusion issue across seven actionable steps.
The “Quick Answer” / Key Takeaways Box
- Never Copy/Paste Old Profiles: Dragging old profile folders from previous versions into a new build overrides new default safety variables, resulting in corrupted speed and flow limits.
- Volumetric Flow is Uncapped: The reason your print time magically halved is that the corrupted profile deleted your Max Volumetric Speed limit. The slicer is trying to force plastic through the nozzle twice as fast as it can melt.
- Temperature to Speed Mismatch: Printing eco-friendly PLA at 205°C is perfect for 60mm/s. It is physically too cold to melt plastic at the 150mm/s+ speeds your corrupted slicer is now demanding.
- Rebuild from Baseline: You must completely delete your imported user profiles and rebuild your configuration manually within the new software interface using our 7-step process.
Understanding the Orca Slicer Version Update Extrusion Issue
To successfully diagnose an Orca Slicer version update extrusion issue, we must examine how the software stores and interprets your specific machine data. Slicers do not just save your settings as a simple text list. They utilize complex JSON (JavaScript Object Notation) file hierarchies that link your printer, your filament, and your process settings together.
Every time developers release a major update, they add new features to these JSON files. This might include new variables for scarf seams, improved bridging algorithms, or updated pressure advance calculations. The base architecture of the file physically changes.
When you take a JSON profile generated in an older version and forcefully paste it into the new directory, the new software engine gets confused. It looks for lines of code dictating critical speed limits, fails to find them in your old file, and defaults to “zero.” In slicing terminology, setting a speed limit to zero often means “unlimited.”
Why Your Print Time Magically Halved
The most alarming symptom of this specific Orca Slicer version update extrusion issue is the sudden drop in estimated print time. If a part took two hours on Monday and the exact same model takes one hour on Tuesday after a software update, your machine did not magically become faster. Your safety limits were deleted.
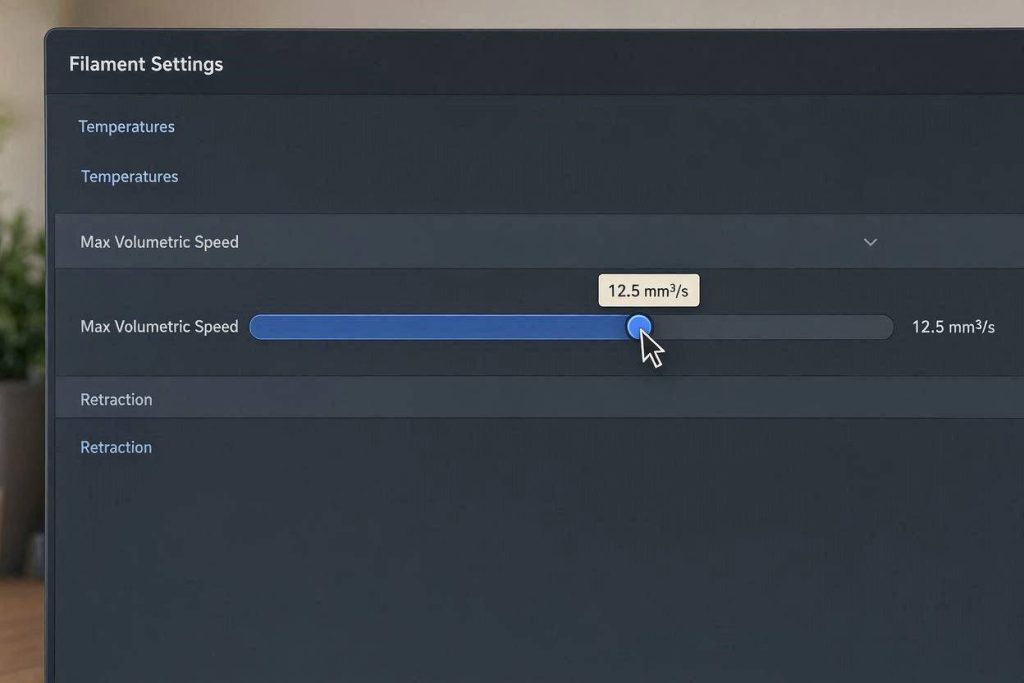
The primary safety limit in modern slicing is the Max Volumetric Speed (MVS), measured in cubic millimeters per second (mm³/s). This metric tells the slicer exactly how much molten plastic your specific hotend can push out before the extruder gears start grinding. A standard consumer hotend caps out around 12 to 15 mm³/s.
When you copied your old profiles, the new software lost track of this MVS limit. It looked at your acceleration limits, saw that the firmware can handle fast movements, and decided to push the toolhead at maximum velocity. It is now demanding 25 to 30 mm³/s of plastic flow, completely overwhelming your hardware.
The Mechanics Behind the Extrusion Failure
Now that the slicer is demanding an impossible amount of plastic, the physical hardware begins to fail in a cascading sequence. Experiencing clogs and error messages immediately after slicing a file is the direct result of this volumetric override. We need to break down exactly what is happening inside the hotend.
Your settings indicate you are printing standard PLA at a nozzle temperature of 205°C. At standard printing speeds, 205°C provides enough thermal energy to fully liquefy the filament before it exits the 0.4mm nozzle. The plastic flows smoothly, and the layer lines bond perfectly.
However, because the corrupted profile has doubled the toolhead speed, the filament is spending half the time inside the heated melt zone. The plastic simply does not have enough time to absorb the heat. It remains semi-solid, dramatically increasing the internal pressure inside the nozzle assembly.
Extruder Gear Grinding and Clogs
As the semi-solid plastic hits the restricted nozzle orifice, it creates a massive physical bottleneck. The dual-drive extruder gears are still trying to push the filament down at the incredibly fast rate demanded by the corrupted slicer file.
Because the plastic cannot exit the nozzle fast enough, the backpressure overcomes the grip of the extruder gears. The sharp steel teeth of the gears begin to grind away the outer shell of the filament strand. This creates a fine plastic dust that fills the gear teeth, completely eliminating their ability to grip.
This is the exact mechanism causing your Orca Slicer version update extrusion issue. The printer is not actually clogged with debris; it is suffering from a “cold extrusion” jam caused by excessive volumetric demands. The printer’s firmware detects this lack of movement, triggering the extrusion error messages on your screen.
The Problem with Copied Retraction Settings
Your imported profile brought over a retraction setting of 1.2mm. On a direct-drive system, 1.2mm is generally a safe and effective distance. However, retraction relies on molten plastic behaving predictably.
When the filament in the melt zone is highly pressurized and semi-solid due to printing too fast at 205°C, pulling it back 1.2mm is ineffective. The pressure simply expands to fill the void.
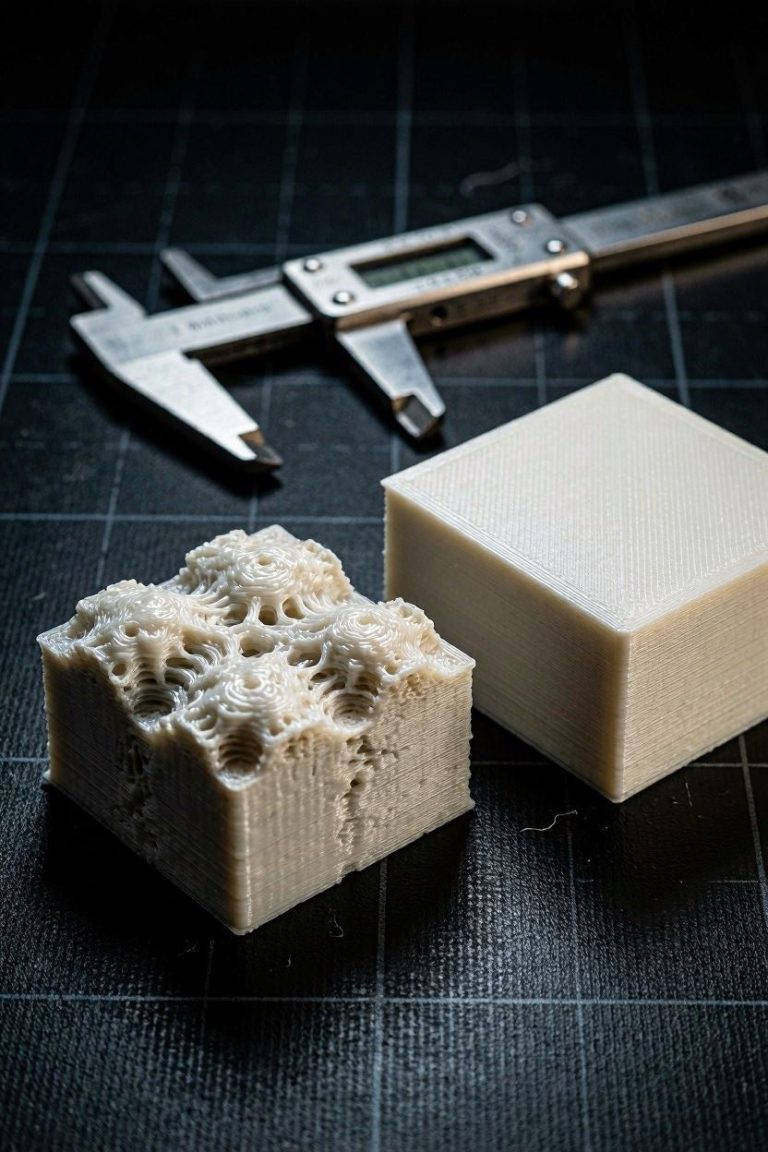
When the nozzle travels across the printed part, this residual pressure oozes out, creating the severe stringing and blobs visible on the internal geometries of your test parts.
[EXTERNAL LINK: A comprehensive engineering resource explaining the thermodynamic properties of polymer filament and volumetric flow rates in desktop 3D printing.]
Step-by-Step Resolution for Your Orca Slicer Version Update Extrusion Issue
To permanently eliminate this Orca Slicer version update extrusion issue, we cannot simply tweak a few speed settings. The underlying JSON architecture of your copied profiles is inherently unstable. We must perform a clean software reset and rebuild your configurations natively within the new version interface.
This process ensures that all new software variables are properly initialized. While it may take ten minutes to re-enter your temperatures and retraction lengths, it is the only way to guarantee mathematical stability during the G-code generation phase.
Follow these 7 exact steps to purge the corrupted data and synchronize your machine with the new slicing engine.
Step 1: Nuke the Corrupted AppData Directory
Because you transitioned from a portable version to an installer-based version, you now have conflicting user data directories. The installer version writes its profile data to a hidden system folder on your primary hard drive.
First, close the slicer completely. In Windows, press the Windows Key + R to open the Run dialog box. Type %appdata% and press Enter. This opens your Roaming application data folder.
Locate the specific software folder. This folder contains the corrupted profiles you copy-pasted. Delete this entire folder. Do not worry; when you relaunch the application, it will generate a completely fresh, uncorrupted directory with the correct architecture.
Step 2: Re-Establish the Machine Baseline
Open the newly installed slicer version. You will be greeted by the initial setup wizard, just as if you had installed the software for the first time. Proceed through the network configuration and arrive at the Printer Selection screen.
Do not attempt to import any old files. Instead, use the built-in search function to locate your exact printer model. Ensure you select the specific profile designated for your firmware (such as Klipper), as standard Marlin profiles use entirely different G-code acceleration commands.
By selecting the native system profile, you are importing a file that has been mathematically verified by the development team to work with the new version. This instantly resets your baseline speeds, accelerations, and custom start G-code macros to safe, functional levels.
Step 3: Rebuilding the Filament Profile
Next, we must natively input your preferred filament parameters. Click the edit icon next to the default generic PLA profile. This opens the specific filament configuration matrix.
Navigate to the basic settings tab and input your proven temperatures: 205°C for the nozzle and 60°C for the heated bed. Transition to the setting overrides tab to lock in your mechanical retraction limits. Set your retraction length back to 1.2mm.
Ensure your retraction speed is set between 30mm/s and 40mm/s. Pulling the filament back too quickly can cause the molten plastic to separate from the solid strand, introducing air bubbles into the hotend chamber. Save this profile as a new custom name.
Step 4: Synchronizing Pressure Advance Variables
Pressure Advance (PA) is a method of predicting and compensating for the elasticity of molten plastic inside the hotend. It commands the extruder motor to push extra plastic at the start of a line and retract slightly before the end of a line.
In older slicer versions, PA was often handled exclusively through a line of custom G-code. The new version has a dedicated UI checkbox for Pressure Advance right inside the filament profile. If your copied profile had a G-code PA command, and the new UI also applied a PA value, you were “double-applying” the pressure mathematics.
Double PA results in violent, erratic extruder motor movements that shred the filament instantly. Ensure that you are only declaring your Pressure Advance value in the dedicated UI box, and completely remove any custom macros from your start G-code.
Step 5: Verifying Machine Acceleration Limits
Modern firmware machines are fast, but the slicer must know exactly how fast it is allowed to push them. Navigate to the Machine Settings tab and review the acceleration limits.
Your copied profiles likely overwrote these limits, allowing the slicer to calculate travel times using infinite acceleration, which is why your estimated print time was halved. Check your actual configuration file on your machine and locate the max acceleration variable.
If your machine is physically capped at 3000 mm/s², you must ensure the slicer machine limits mirror this exact number. If the slicer requests 10,000 mm/s², the firmware will aggressively reject the command, causing stuttering toolhead movements that ruin the consistency of the extruded plastic lines.
Step 6: Running the Built-in Volumetric Flow Test
Once your software is cleanly reset, you need to manually calibrate the Max Volumetric Speed limit. This is the ultimate failsafe against a returning Orca Slicer version update extrusion issue. The software includes a fantastic suite of native calibration tools.
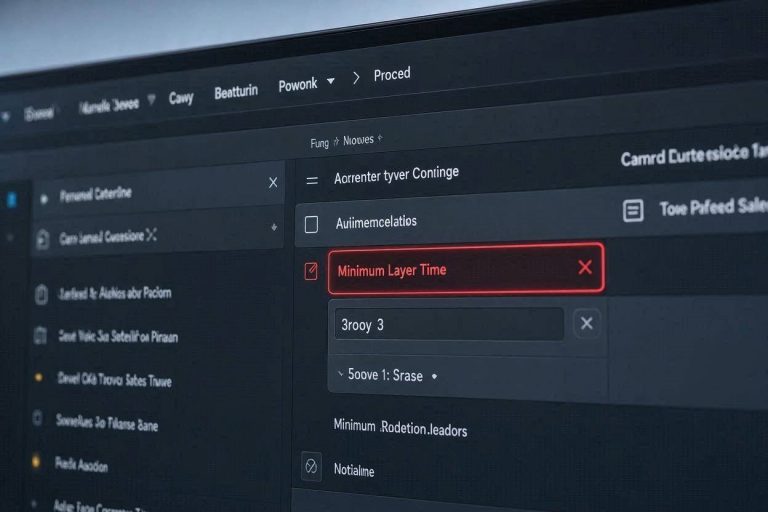
Click on the “Calibration” tab at the top of the screen and select the “Max Volumetric Rate” test. This macro will generate a specialized tower on your build plate. As the tower prints higher, the slicer intentionally commands the printer to extrude plastic faster and faster.
You must sit and watch this print closely. Eventually, the speed will outpace the hotend’s ability to melt the plastic. You will hear the extruder gears start to “click” or skip, and the printed layers will immediately look matte, rough, and full of gaps.
Step 7: Setting the Final Safety Threshold
Once you hear the extruder clicking, note the physical height of the test tower at the exact point of failure. Cancel the print immediately.
Refer back to the slicer interface; the software will tell you exactly what volumetric flow rate corresponds to that physical Z-height. If the tower failed at 18 mm³/s, you now know your absolute physical limit.
Navigate to your filament profile settings. Locate the Max Volumetric Speed variable. Input a value that is roughly 10% lower than your failure point (e.g., 16 mm³/s). Save the profile. You have now established an unbreakable mathematical safety limit that will completely prevent any future high-speed clogs or extrusion failures.
Read the related article titled “First Layer Not Sticking? How to Fix 3D Print Warping & Spaghetti
Premium Upgrades to Prevent High-Speed Hotend Clogs
If you enjoy the halved print times that the corrupted profile provided and want to actually print at those extreme speeds safely, you must address the physical bottleneck: your stock hotend. Consumer hotends are excellent for standard printing, but they cannot melt plastic fast enough for competitive high-speed profiles.
Upgrading your core extrusion ecosystem to professional, enthusiast-grade components permanently eliminates the volumetric flow limitations that trigger an Orca Slicer version update extrusion issue.
Transitioning to High-Flow Precision Nozzles
The most cost-effective way to drastically increase your Max Volumetric Speed without replacing the entire print head is upgrading the nozzle geometry. Standard brass nozzles have a simple, straight internal bore. When printing fast, only the plastic touching the outer walls of this bore gets heated, leaving the core of the filament cold and solid.
To solve this, upgrade to a premium high-flow nozzle, such as a CHT (Core Heating Technology) nozzle. These advanced nozzles feature a specialized internal geometry that splits the filament strand into three separate flow paths.
By splitting the plastic, you massively increase the surface area exposed to the heated metal. This allows the polymer to melt completely, even when the slicer commands extreme speeds. Installing a high-flow nozzle instantly increases your volumetric flow ceiling, eliminating speed-induced clogs.
Upgrading the Entire Hotend Ecosystem
For ultimate reliability and speed, completely replacing the stock hotend assembly is the permanent solution. High-performance, all-metal hotends utilize advanced bimetallic heatbreaks and elongated melt zones to process filament effortlessly.
An elongated melt zone gives the plastic substantially more physical space and time to absorb heat before reaching the nozzle tip. This means you can keep your temperatures at a safe level while printing at blistering speeds, without ever experiencing a skipping extruder gear.
Implementing Active Professional Filament Dehydration
The severe stringing visible in failed prints indicates that your filament may also be suffering from moisture contamination. Standard polymers absorb ambient room humidity. When wet filament enters a high-speed melt zone, the water boils instantly, creating steam pockets that disrupt extrusion pressure.
To ensure your filament never contributes to an Orca Slicer version update extrusion issue, you need an active, heated filament storage ecosystem. Dedicated filament dryers allow you to bake the moisture out of your spool while actively feeding it into the printer.
Printing directly out of a heated chamber ensures the material enters the extruder gear assembly in a perfectly pristine, predictable state. This guarantees smooth, consistent extrusion lines without the popping, bubbling, or stringing artifacts that ruin dimensional accuracy.
Post-Update Preventative Maintenance Checklist
To ensure your ecosystem remains stable and you never experience a catastrophic Orca Slicer version update extrusion issue again, integrate these critical checks into your regular machine maintenance workflow:
- Always Rebuild Major Profiles: Whenever a slicer jumps a full version number, never use the export/import config feature. Take 15 minutes to manually transcribe your temperatures, retractions, and flow limits into a freshly generated system profile.
- Clear Extruder Gear Debris: Disassemble your toolhead cover and use a stiff nylon brush to clean the teeth of your dual-drive gears. The grinding caused by the profile error has likely packed the teeth with plastic dust, severely limiting their grip for future prints.
- Verify Firmware Updates: Slicer updates often utilize newer G-code commands. Ensure your control board is running the latest stable release of its respective firmware to guarantee flawless command translation.
- Perform a Cold Pull: The clogs generated by the excessive speeds may have left charred, degraded plastic carbonized to the inner walls of your nozzle. Perform a high-temperature cleaning pull to extract this debris and restore your nozzle’s internal flow geometry.