5 Crucial Tips for a 3D Printed Keycaps Raised Letters Fix in 2026
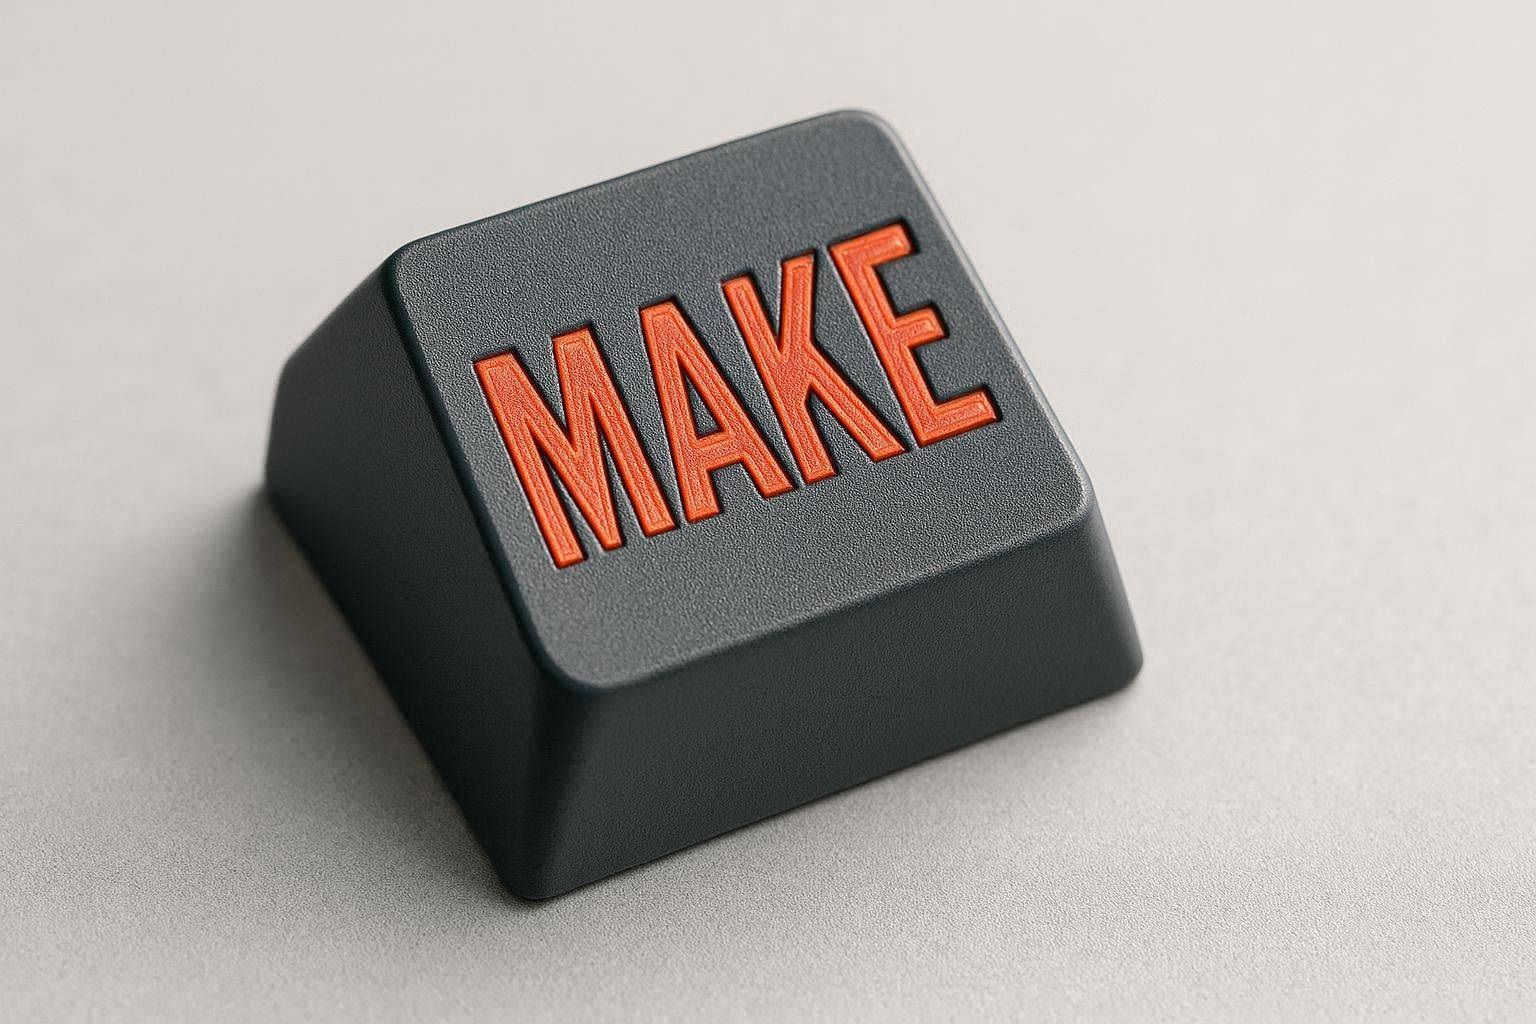
Printing tiny functional components like mechanical keyboard keycaps is one of the most demanding challenges in desktop manufacturing. Implementing a clean 3d printed keycaps raised letters fix requires a complete pivot from standard slicing approaches, as micro-scale geometries reveal every minor calibration flaw. If your custom keycaps keep coming out with blobby text, stringy corners, or rough top surfaces, standard global profiles are actively working against your success.
When printing ultra-small details like alphanumeric legends on a keycap stem housing, traditional plastic deposit behaviors break down. The toolhead spends too much time executing rapid directional turns over a tiny surface area, causing severe heat accumulation and plastic distortion.
This deep technical diagnostic guide will walk you through the precise settings adjustments, model design methodologies, and slicer kinematics required to secure smooth, sharp legends on every keycap you produce.
The “Quick Answer” / Key Takeaways Box
- Activate Top Layer Ironing: Turn on “Iron all top layers” in Bambu Studio or OrcaSlicer, adjusting ironing speed to 30mm/s and flow to 12-15% to smooth out raised legend steps.
- Invert the Model Geometry: The most robust 3d printed keycaps raised letters fix is modifying the model to have recessed letters, allowing the keycap to be printed completely face-down on a smooth PEI plate.
- Reduce Small Perimeter Speed: Force the printer to slow down to 15-20mm/s for top surface outer walls to give the plastic adequate time to cool between rapid toolhead turns.
- Tighten Extrusion Flow: Drop your top surface flow multiplier by 2-3% to prevent small-area pressure buildup from causing plastic to ooze over the edges of tiny letters.
What Causes Messy Raised Letters on 3D Printed Keycaps?
To successfully achieve a 3d printed keycaps raised letters fix, we must understand the spatial mechanics of the plastic being extruded. When a printer encounters an embossed letter on a tiny keycap top, it is forced to execute a sequence of micro-perimeters. The nozzle moves in small circles or sharp angles, laying down minuscule lines of molten material while generating intense localized radiant heat.
Because the keycap top surface has a small surface area, the nozzle remains directly above the freshly deposited plastic for the entire duration of the top layer print. This creates a severe heat accumulation zone. The plastic never has the chance to fall below its glass transition temperature before the next line is laid down, leading to structural sagging, bleeding edges, and messy text.
Furthermore, the rapid start-and-stop movements trigger rapid pressure fluctuations inside the hotend nozzle cavity. When the printer tries to retract and advance filament over sub-millimeter distances, the physical inertia of the molten plastic causes delayed responses. This manifests as blobs at the start of letters and severe thinning or gaps at the end of text lines.
The Problem with Small Perimeter Flow Accumulation
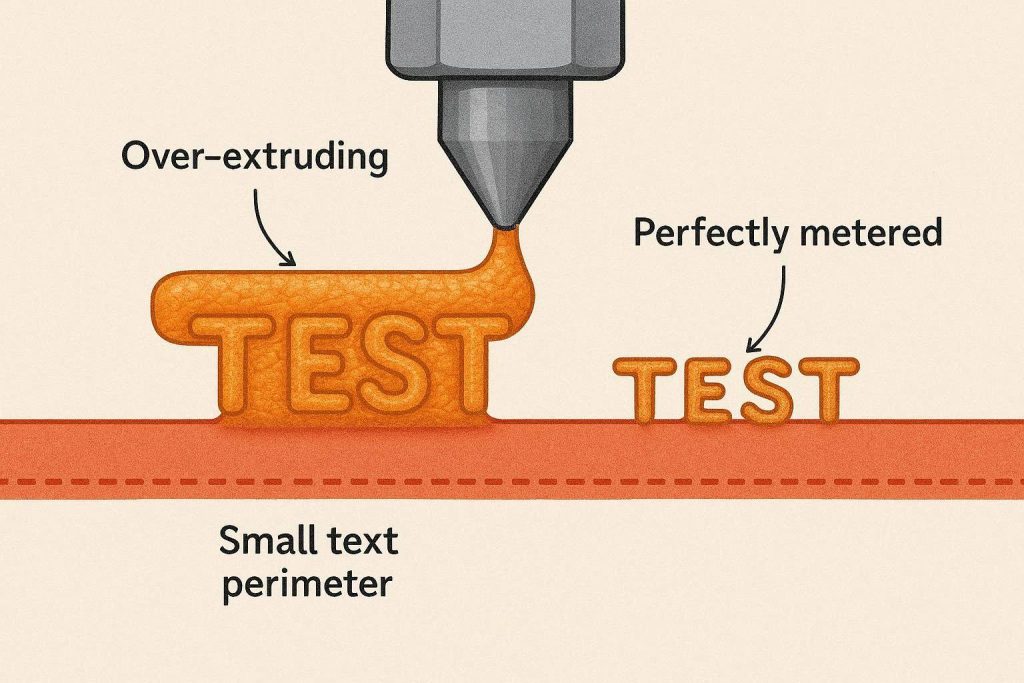
The primary mechanical driver of messy raised text is the phenomenon known as volumetric pressure accumulation. In standard printing zones, the extruder operates under a stable continuous flow state where input force matches output volume. However, small perimeters force the motion system to decelerate violently to navigate tight radiuses.
If your slicer does not perfectly compensate for this deceleration by dropping the extrusion volume matching the speed curve, over-extrusion is guaranteed. The excess plastic has nowhere to go but up and out, spilling over the pristine borders of the letter. This completely ruins the sharp crisp corners required for text legends to look visually professional.
To correct this, advanced flow dynamics management is mandatory. We must force the slicer to treat these topmost layers with highly specialized flow limits, reducing the physical volume of material pushed through the nozzle orifice during slow, high-precision maneuvers.
Step-by-Step Slicer Legend Optimization
Resolving these text anomalies requires adjusting several distinct settings inside Bambu Studio, OrcaSlicer, or PrusaSlicer. We cannot rely on automatic presets, as they are optimized for large, macro-scale items like storage boxes or mechanical brackets. Follow this technical sequence to restructure how your machine handles micro-features.
Step 1: Implementing and Tuning Top Surface Ironing
Ironing is the process of running the hot nozzle tip back across the finished top layer without extruding a full line of plastic. Instead, it pushes a tiny fraction of material (around 10-15% flow) while physically smoothing out the ridges left behind by standard paths. This acts as a mechanical iron, turning a rough, lined surface into a flat, injection-molded finish.
To apply this as a 3d printed keycaps raised letters fix, navigate to the Quality tab in your slicer and enable “Ironing.” Select “All top surfaces” to ensure both the main keycap face and the tops of the raised letters receive the treatment.
[Bambu Studio Ironing Optimization Profile]
Ironing Type: All Top Surfaces
Ironing Speed: 25 - 35 mm/s
Ironing Flow: 12% - 14%
Ironing Line Spacing: 0.15 mm
Setting the speed too high will cause the nozzle to tear the plastic rather than melt it smooth. Keep the ironing speed locked between 25mm/s and 35mm/s. Ensure your ironing flow is conservative; exceeding 15% will cause excess plastic to plow in front of the nozzle, depositing unsightly ridges along the outer perimeter of your lettering.
Step 2: Optimizing Cooling and Small Area Layer Times
Because localized heat is the enemy of small text, your cooling fan profiles must be configured aggressively for the final layers of the keycap. Under the Filament Settings tab, locate the cooling threshold matrix. You must configure the slicer to drastically slow down the print head if a layer takes less than a few seconds to complete.
Set your “Minimum layer time” to 8 seconds. If the raised lettering layer takes only 3 seconds to print, the slicer will automatically calculate a uniform speed reduction to stretch the layer out to 8 seconds. This gives your part cooling fan crucial extra time to blast the tiny text with cold air, solidifying the plastic structural geometry before the nozzle returns for the next loop.
Additionally, force the “Minimum print speed” down to 10mm/s. This ensures that even when the printer slows down to preserve layer times, it does not drop into a complete stall, which would cause heat to transfer directly from the stationary heater block into the model.
Step 3: Flipping the Design Paradigm to Recessed Letters
If software modifications fail to achieve the desired text clarity due to hardware limitations or extreme filament properties, you must alter the physical geometry of the model. The absolute most reliable 3d printed keycaps raised letters fix used by enthusiast keyboard designers is switching from raised, embossed letters to recessed, debossed legends.
By recessing the text approximately 0.4mm into the keycap face, you completely invert the manufacturing orientation. You can now rotate the model 180 degrees in your slicer and place the keycap face entirely flat against the build plate.
Printing the face directly against a smooth or textured PEI plate utilizes the absolute mechanical flatness of the bed to form the text surface. The text gaps are formed by the printer simply skipping those paths on the first layer. When you peel the cap off the plate, the main face is completely smooth, and the lettering is perfectly crisp, flush, and defined without needing any top-surface ironing or speed reductions.
The Premium Upgrade: High-Precision Precision Toolheads
When mass-producing complex micro-components like custom artisan keycaps, standard consumer hotends eventually meet their physical limitations. Upgrading your core extrusion ecosystem to professional, enthusiast-grade components will permanently eliminate text bleeding and surface finish issues.
Investing in high-end hotends removes the physical tolerances and flow lag that cause small perimeters to fail. These premium components ensure that what your slicer calculates is executed with absolute mechanical accuracy at the nozzle tip.
Upgrading to Precision Hardened Micro-Nozzles
The standard 0.4mm nozzle is a fantastic general-purpose tool, but its physical tip radius is often too wide to resolve the sharp internal corners of small fonts. To achieve an immaculate finish on text legends, consider upgrading to a premium 0.2mm or 0.25mm hardened steel nozzle kit.
Retailers like MatterHackers supply ultra-precise replacement nozzles that reduce the extruded bead width by half. This massive reduction in line thickness allows the printer to resolve micro-details that are geometrically impossible with a larger orifice.
A smaller nozzle diameter drastically reduces the volumetric pressure inside the melt zone chamber. This smaller melt pool responds instantly to extruder retraction commands, completely eliminating the oozing, blobbing, and stringing that typically destroys the readability of small raised text on keycaps.
Advanced Multi-Material Extrusion Systems
For the ultimate keycap legend clarity, printing the keycap body in one color and the text legend in a contrasting color yields results that mirror factory double-shot injection molding. Implementing this requires a highly precise multi-material automated management system.
Utilizing an advanced material switching system allows your slicer to execute distinct toolhead paths for the text and the shell. When using this method, ensure that your purge settings are perfectly tuned to prevent dark filaments from bleeding into light text lines.
By combining multi-color capability with a pristine, smooth PEI build sheet from reputable automated manufacturing suppliers, you can print keycaps face-down with contrasting color flush legends. The resulting components feature laser-sharp text boundaries that are physically incapable of wearing off over time, providing a professional grade aesthetic.
[INTERNAL LINK: Placeholder for an article titled “The Ultimate Guide to Upgrading Your 3D Printer’s Extruder Gears”]
[Keycap Legend Slicing Variable Matrix]
+----------------------+--------------------+--------------------+
| Parameter            | Embossed (Raised)  | Debossed (FaceDown)|
+----------------------+--------------------+--------------------+
| Layer Height         | 0.10 mm - 0.12 mm  | 0.20 mm (Base)     |
| Top Ironing          | Enabled (12% Flow) | Disabled           |
| Orientation          | Right-Side Up      | Inverted (180 Deg) |
| Small Wall Speed     | 15 mm/s            | 40 mm/s            |
+----------------------+--------------------+--------------------+
Advanced Mechanical Calibration for Tiny Details
If your slicer settings are optimized but your raised letters still present unequal line widths or rough outer walls, the issue stems from uncompensated mechanical tolerances within your 3D printer’s drive system. Tiny micro-steps amplify mechanical issues that are invisible on large models.
Tuning Pressure Advance and Linear Advance
Pressure Advance is a firmware-level algorithm that compensates for the elasticity of molten filament inside the hotend. As the toolhead slows down for a tight corner on a letter, the firmware actively backs off the extruder motor before the corner is reached, preventing the stored pressure from bursting out and creating a blob.
To calibrate this, print a specialized K-factor calibration tower using your keycap filament profile. Look for the region along the print where the sharp transitions show neither thinning nor bulging.
Input this exact K-factor value into your slicer’s custom filament start G-code. A perfectly tuned Pressure Advance profile ensures that the flow rate scales linearly with toolhead velocity, keeping your keycap lettering outlines completely uniform from the first character to the last.
Eliminating Axis Backlash and Belt Slapping
Because keycap text letters require motion increments as small as 0.05mm, any physical slack in your X or Y axis belts will completely distort the font geometry. If your circular letters (like ‘O’ or ‘Q’) look like distorted ovals or have uneven line pairings, your belts are loose.
Pluck your belts like a guitar string; they should emit a low, clear bass note, indicating proper tensioning without over-loading the stepper motor bearings. Check the grub screws locking the drive pulleys to the motor shafts. If these pulleys slip even a fraction of a millimeter during rapid directional changes, your small detail perimeters will skew, destroying the clarity of your raised legends.
Preventative Maintenance Checklist for Micro-Scale Printing
To keep your 3D printer running at peak precision for detailed artisan manufacturing, execute these preventative checks prior to initiating a high-detail print job:
- Deep Clean the Nozzle Exterior: Heat your toolhead to 250°C and scrub the outer nozzle face thoroughly with a brass wire brush. Any residual plastic baked onto the tip will grab onto small perimeters, dragging them off the print.
- De-grease the Build Sheet: Wash your print plate with standard degreasing dish soap and warm water. Finger oils completely destroy the micro-adhesion required to hold down tiny support structures or keycap edges.
- Purge and Clean Internal Fluidics: Run a high-temperature nylon cleaning filament through the hotend block to draw out any charred, degraded PLA remnants that could trigger intermittent micro-clogs during low-flow ironing stages.
- Verify Axis Linear Rod Lubrication: Apply a thin, uniform coating of premium synthetic grease to your linear guide rails or rods. Sticky linear bearings introduce minute stepping friction that ruins small text geometry curves.