Prusa MINTEMP Error Fix: 5 Exact Steps to Diagnose Thermistor Failures
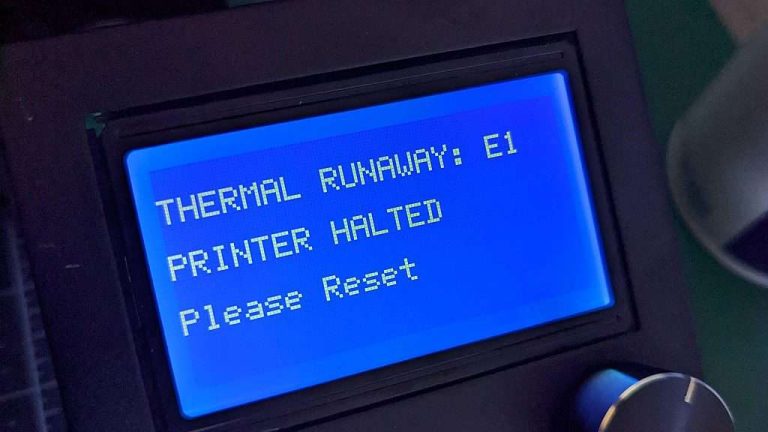
Encountering a sudden, screeching alarm the moment you power on your 3D printer is incredibly jarring. The Prusa MINTEMP error fix is one of the most critical diagnostic workflows a machine operator must master. This specific alphanumeric halt code is a hard-coded safety mechanism designed to prevent the printer from operating blindly without accurate temperature data.
When your Einsy RAMBo motherboard displays the MINTEMP warning, it means the onboard microprocessor is reading a temperature that is physically impossible—or dangerously close to freezing. Attempting to bypass this error by resetting the machine repeatedly can result in severe firmware corruption or physical damage to the heating cartridge. This guide will break down the exact electrical tolerances, resistance values, and mechanical inspection points required to isolate the failure.
The “Quick Answer” / Key Takeaways Box
- The 15°C Firmware Threshold: The Prusa firmware is hard-coded to trigger MINTEMP if the ambient temperature reading drops below 15°C (59°F).
- Zero Resistance Indicates a Break: A reading of 0°C or a negative value means the electrical circuit connecting the thermistor to the motherboard is completely severed.
- The Extruder Wire Loom: The most common point of failure is microscopic wire fractures inside the braided cable bundle that moves with the X-axis carriage.
- Multimeter Verification: A healthy stock Prusa hotend thermistor must measure exactly 100k Ohms at standard room temperature (25°C).
The Physics Behind the MINTEMP Halt
To successfully execute a Prusa MINTEMP error fix, you must understand how the machine reads thermal data. The printer utilizes an NTC (Negative Temperature Coefficient) 3950 thermistor. This component is essentially a tiny glass bead containing a resistor whose electrical resistance drops as the temperature rises.
The motherboard sends a tiny voltage through this circuit and measures the returning resistance. If the wire snaps entirely, the resistance becomes infinite. The motherboard’s logic interprets infinite resistance as absolute zero (or a drastically negative temperature), triggering the MINTEMP halt. If the ambient room temperature is genuinely below 15°C, the firmware also panics, assuming the sensor is compromised.
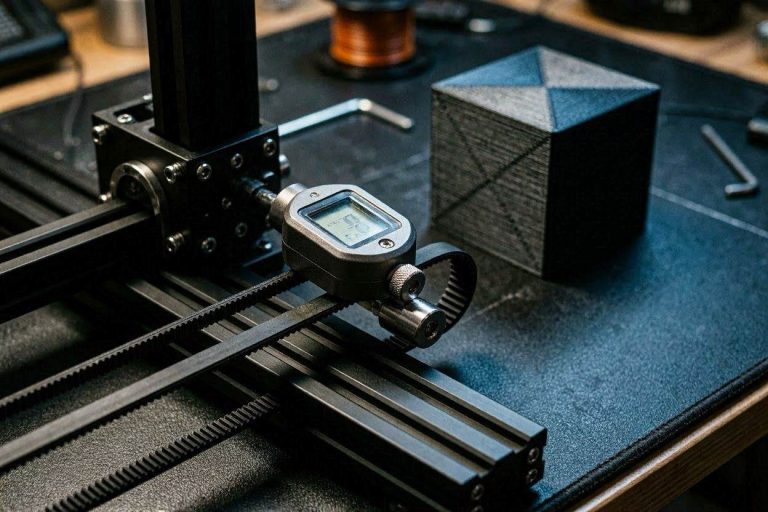
[IMAGE PLACEHOLDER: A close-up graphic showing a fractured copper wire inside a thermistor cable sleeve next to a 3D printer hotend + Alt text: Identifying microscopic wire breaks during a Prusa MINTEMP error fix.]
Step 1: The Ambient Temperature Verification
Before tearing apart your extruder assembly, you must rule out environmental variables. Prusa machines are highly sensitive to cold environments. If you operate your machine in a basement, garage, or near a drafty window during winter, the ambient temperature may easily drop below 15°C.
If the LCD screen reads 12°C for both the hotend and the bed, your hardware is perfectly fine. The room is simply too cold. Grab a standard hair dryer and gently blow warm air over the print bed and the extruder for 60 seconds. Once the thermistor registers an ambient temp above 15°C, press the reset button (X) on the LCD module, and the error will clear.
Step 2: Isolating the Hotend vs. the Heated Bed
If the room is warm but the alarm still sounds, look closely at the LCD screen to identify which sensor has failed. The firmware distinguishes between the hotend and the heated bed.
If the screen explicitly says “MINTEMP BED,” the failure is located in the thermistor taped to the bottom of the magnetic PCB. If it simply says “MINTEMP,” the failure is isolated to the hotend thermistor located inside the E3D V6 aluminum heater block. Identifying the specific component is critical before beginning any electrical surgery.
Step 3: Visual Inspection of the X-Axis Loom
The hotend thermistor features incredibly fragile, hair-thin wires. Because the print head constantly moves back and forth along the X-axis, these wires are subjected to thousands of bending cycles. Over time, metal fatigue causes the copper strands to snap internally, even if the exterior plastic insulation looks flawless.
Unzip the textile sleeve protecting the wires routing from the extruder to the electronics box. Gently massage and wiggle the thermistor cable while watching the LCD screen. If the temperature wildly fluctuates between 0°C and 20°C as you bend the wire, you have found the internal fracture. The entire thermistor must be replaced.
Step 4: Motherboard Multimeter Diagnostics
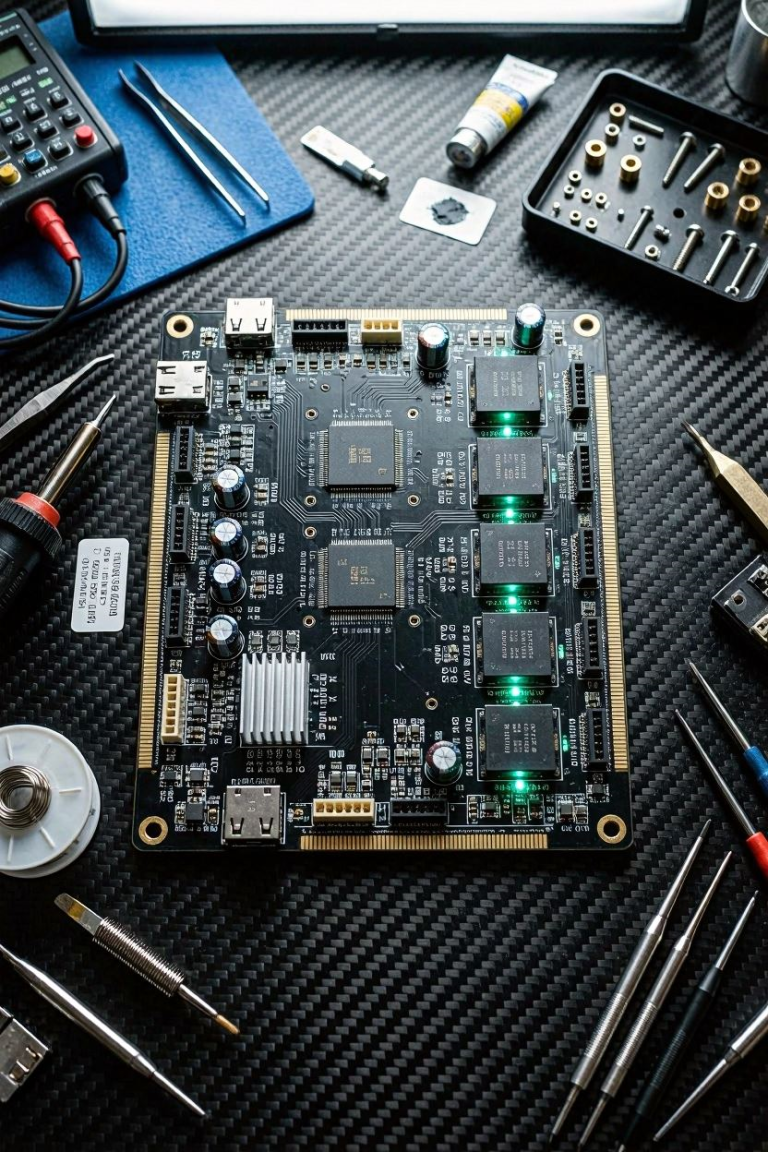
If wiggling the wire produces no changes, you must test the raw electrical continuity at the motherboard level. Unplug the machine from the wall power. Open the Einsy RAMBo electronics enclosure and locate the thermistor plugs.
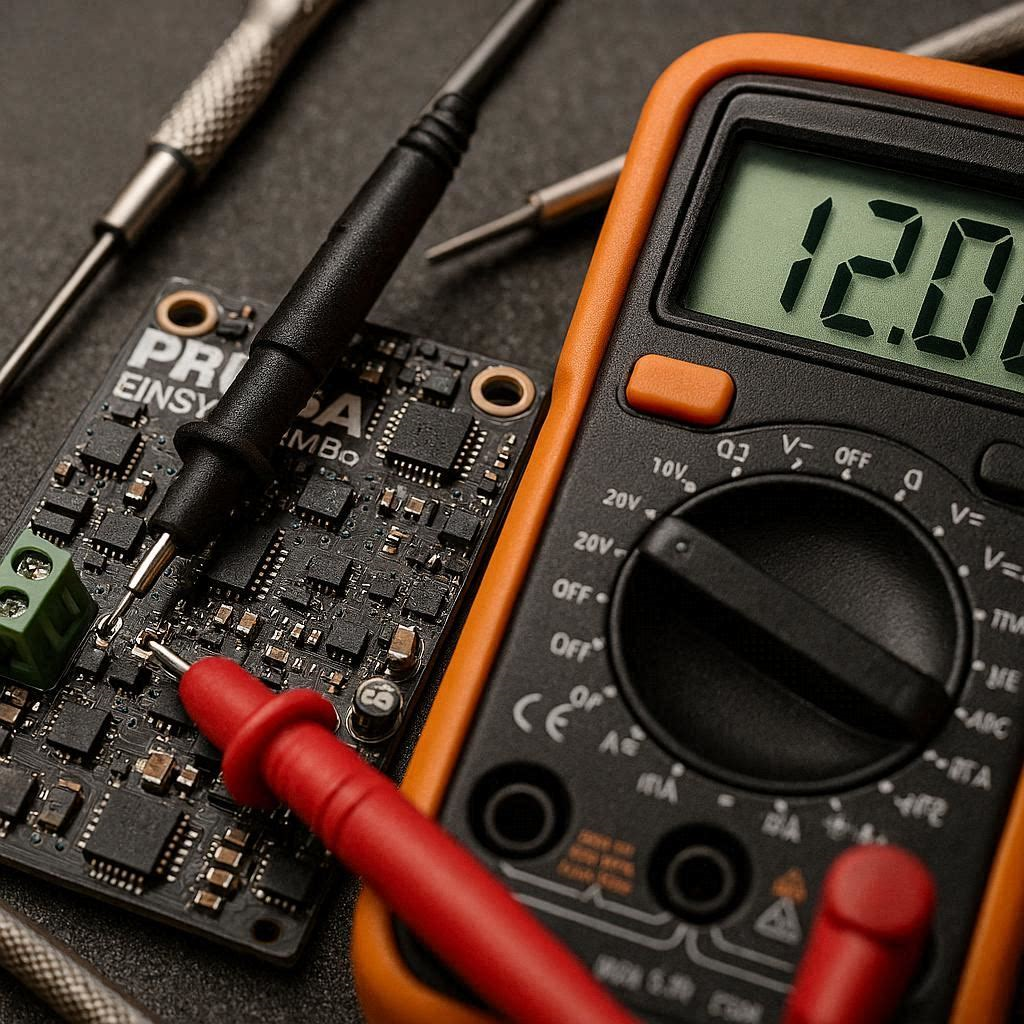
Set your digital multimeter to the 200k Ohm resistance setting. Unplug the suspected thermistor and place your probes into the tiny metal crimps of the JST connector. At 25°C, a healthy thermistor should read roughly 100,000 Ohms (100kΩ). If the multimeter reads “OL” (Open Loop) or infinite resistance, the circuit is definitively broken.
[EXTERNAL LINK: Fluke Multimeter Technical Guide for NTC Resistors]
The Affiliate / Monetization Section: Premium Hardware Upgrades
Constantly replacing fragile glass-bead thermistors is a frustrating drain on your manufacturing uptime. If you want to permanently eliminate the risk of delicate wire fractures, you must transition away from stock, consumer-grade components and invest in professional hardware.
Instead of relying on a tiny set screw to hold a glass bead in place, upgrade your hotend to an encapsulated thermistor ecosystem. Brands like Slice Engineering manufacture premium thermistors encased in highly durable, threaded brass cylinders. These screw directly into the heater block, providing vastly superior thermal conductivity and complete immunity to crushing or wire strain. You can source these direct-fit upgrades through dedicated networks like ShareASale via authorized distributors like MatterHackers. Coupling a premium thermistor with an all-metal hotend replacement guarantees absolute reliability and entirely prevents future MINTEMP electrical shorts.
[INTERNAL LINK: The Ultimate Guide to Upgrading 3D Printer Motherboards]
Preventative Maintenance & Custom Setup Hack
The ultimate custom setup hack to permanently prevent ambient-related MINTEMP errors is constructing a thermally insulated enclosure. By housing your printer inside a custom acrylic or specialized tent enclosure, you trap the residual heat generated by the power supply and stepper motors. This ensures the microclimate around the machine never drops below 15°C, even in an unheated winter garage. Furthermore, always utilize robust zip-ties to anchor the wire loom directly to the print head housing; leaving zero slack at the insertion point ensures the fragile thermistor wires never bend during rapid X-axis travel.