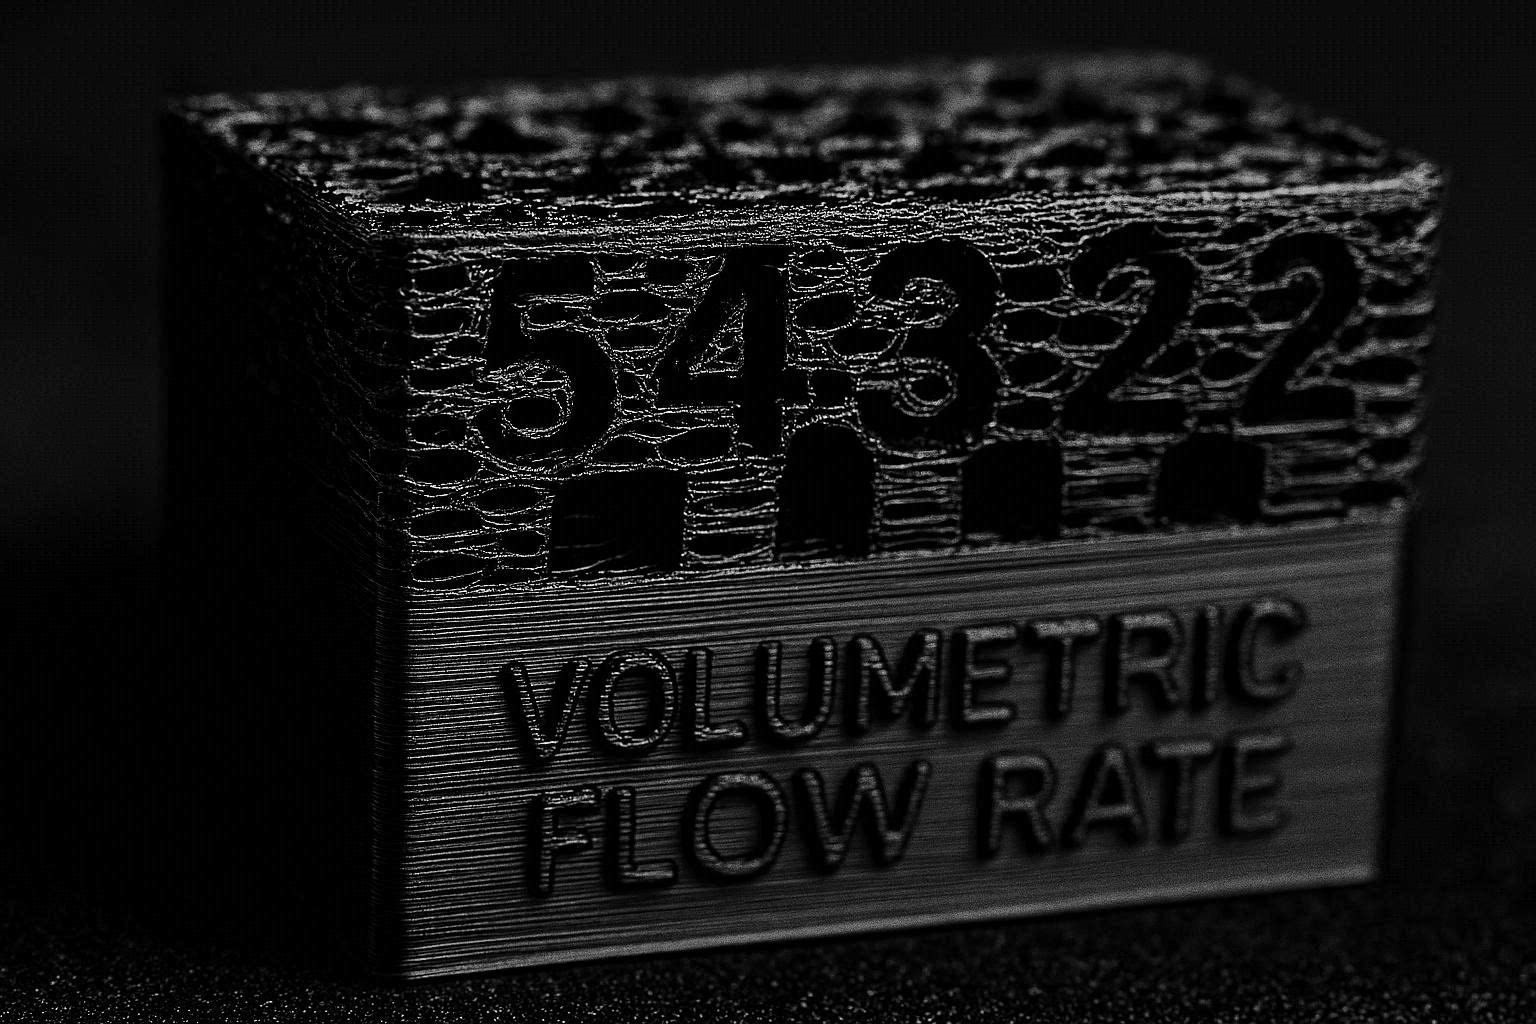
The Ultimate Guide to OrcaSlicer Volumetric Flow Rate Calibration (Unlock Maximum Speed)
When operators upgrade to modern, high-speed 3D printers or switch from PLA to advanced engineering polymers like PETG or ABS, they often run into a hard, physical barrier. Despite setting the slicer travel speeds to blistering rates like 300 mm/s or 500 mm/s, the printer begins to click, grind, and violently under-extrude.
The harsh reality of additive manufacturing is that motion speed is rarely your bottleneck; melting speed is. Welcome to the definitive diagnostic guide on OrcaSlicer volumetric flow rate calibration. If you want to push your machine to its absolute kinematic limits without stripping your filament or causing catastrophic print failures, you must understand the thermodynamic limits of your hotend.
In this manual, we will explore the physics of volumetric flow, how to generate the built-in diagnostic benchmarks in OrcaSlicer, and how to calculate your machine’s exact maximum melting capacity for any given spool of material.
The Physics of Volumetric Flow Rate (VFR)
Before we adjust software parameters, we must understand the math governing your hotend. Volumetric Flow Rate (often abbreviated as VFR or Max Volumetric Speed) is the absolute volume of plastic your hotend can successfully melt and push through the nozzle in one second. It is measured in cubic millimeters per second (mm³/s).
When you command your printer to move at a specific speed, the slicer calculates the required flow rate using this equation:
Q=w⋅h⋅v
Where:
- Q = Volumetric Flow Rate (mm³/s)
- w = Line Width (mm)
- h = Layer Height (mm)
- v = Print Speed (mm/s)
If you use a standard 0.4mm nozzle with a 0.2mm layer height and ask the printer to move at 200 mm/s, the required flow rate is 16 mm³/s.
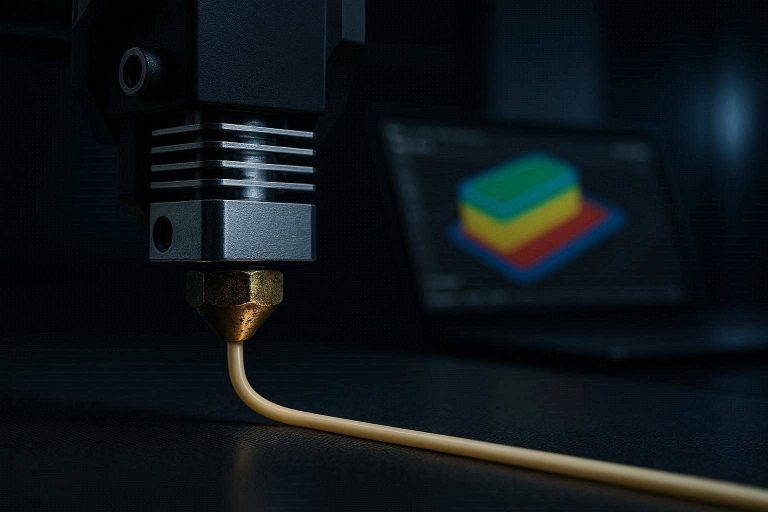
If your stock hotend can only physically melt 12 mm³/s of that specific polymer, it does not matter what speed you type into the slicer. The extruder gears will try to push solid, unmelted plastic into the nozzle. The pressure will spike, the gears will slip (causing the dreaded clicking sound), and your print will be riddled with gaps.
OrcaSlicer handles this brilliantly. By setting a “Max volumetric speed” limit in your filament profile, OrcaSlicer will automatically cap your print speeds to ensure you never exceed the thermodynamic limits of your hotend.
Symptoms of Exceeding Your Maximum Volumetric Flow
How do you know if you need an OrcaSlicer volumetric flow rate calibration? Look and listen for these three primary hardware failure symptoms:
- The Extruder “Click of Death”: As the extruder stepper motor attempts to force cold filament into a saturated melt zone, the gears will physically skip backward to relieve the pressure, emitting a loud clicking or thumping sound.
- Severe Under-Extrusion at High Speeds: Your first few layers (which print slowly) look perfect, but infill and long, straight outer walls look spongey, weak, and stringy.
- Glossy to Matte Transitions: When plastic is extruded at the perfect temperature, it generally has a glossy finish. When you push filament through the hotend too quickly, it doesn’t have time to fully absorb the heat. This results in a dull, matte finish and terrible layer adhesion.
Step-by-Step OrcaSlicer Volumetric Flow Rate Calibration
OrcaSlicer features a built-in benchmarking tool specifically designed to push your hotend to the point of failure so you can accurately measure its limits.
Step 1: Prepare the Hardware and Material
Volumetric flow is entirely dependent on the specific chemical viscosity of the filament and the thermal conductivity of your nozzle. Therefore, you must run this test for every new material type you use (e.g., PLA flows much faster than PETG or TPU).
- Dry the filament: Wet filament boils in the nozzle, creating false pressure spikes that invalidate the test.
- Set the nozzle temperature: Set your printing temperature to the manufacturer’s recommended high-end limit (e.g., if the spool says 200°C–220°C, test at 220°C to maximize flow).
Step 2: Generate the Benchmark
- Open OrcaSlicer and select your desired Printer and Filament profiles.
- In the top menu bar, click Calibration -> More -> Max Volumetric rate.
- A dialog box will appear. You will need to set the testing parameters:
- Start Volumetric Speed: For standard hotends, start at 5 mm³/s. For high-flow hotends, start at 10 mm³/s.
- End Volumetric Speed: For standard hotends, set to 20 mm³/s. For high-flow hotends, set to 35 mm³/s.
- Step: Leave this at the default 0.5 mm³/s.
- Click OK. OrcaSlicer will generate a solid block or a spiral vase structure. As the Z-axis rises, the slicer injects custom G-code to incrementally increase the print speed (and thus, the volumetric flow).
Step 3: Print and Monitor
Send the file to your printer. Do not walk away. You must monitor this print. As the tower gets taller, the printer will move faster. Eventually, the hotend will fail to keep up. You will hear the extruder begin to click, or you will see the extruded plastic become severely shredded and broken. Once the failure is obvious and the plastic is no longer laying down smoothly, cancel the print.
How to Read the Results and Calculate Max Flow
Remove the failed test block from the build plate. Look closely at the walls under bright, directional lighting.
- Locate the Failure Point: Start from the bottom (which should look perfect) and move your eyes upward. Find the exact horizontal line where the plastic transitions from smooth and solid to matte, pitted, or under-extruded.
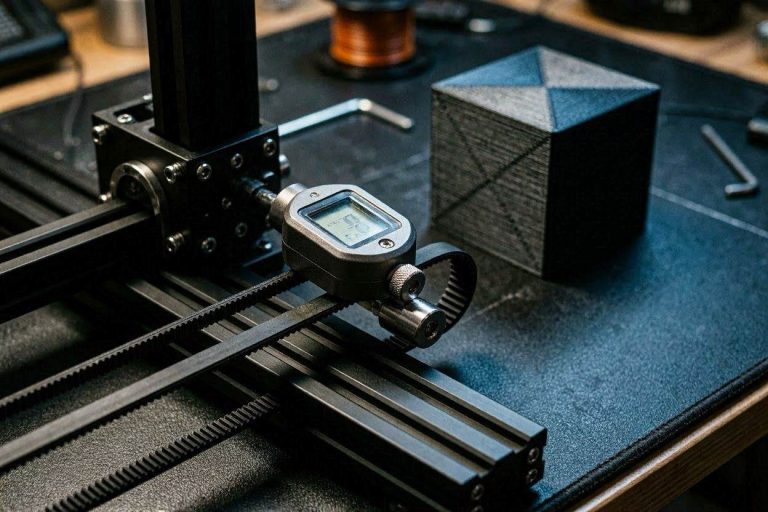
- Measure the Height: Use digital calipers to measure the exact height from the bottom of the print to that line of failure in millimeters (let’s say it failed at exactly 16.5 mm high).
- Apply the Formula: Use the formula provided in the OrcaSlicer calibration menu to find your absolute maximum flow:
Flow=Start+(Height⋅Step)
For example, if your Start was 5, your Height was 16.5, and your Step was 0.5: Flow=5+(16.5⋅0.5)=13.25
Your absolute physical limit is 13.25 mm³/s.
The Safety Margin
You never want to run your machine at its breaking point. To ensure reliable printing across various models and environmental temperatures, subtract a 10% safety margin from your calculated limit. 13.25⋅0.90=11.92 Your final, calibrated volumetric flow rate is 11.9 mm³/s.
Inputting the VFR into OrcaSlicer
Now that you have your golden number, you must save it in the correct location. Because this metric is tied directly to the chemical viscosity of the plastic, it belongs in the Filament Profile, not the Printer Profile.
- In the left-hand panel of OrcaSlicer, click the Edit Preset icon (the small gear) next to your selected Filament.
- Navigate to the Basic Information tab.
- Scroll down to the Volumetric speed limitation section.
- Input your calculated number (e.g., 11.9) into the Max volumetric speed text field.
- Click the save icon and rename your profile (e.g., “Generic PETG – VFR Calibrated”).
From now on, regardless of how fast you set your outer walls, infill, or travel speeds, OrcaSlicer will autonomously throttle the toolhead’s velocity to ensure the requested volume never exceeds 11.9 mm³/s. You are now protected from high-speed under-extrusion.
Breaking the Bottleneck: High-Flow Hardware Upgrades
If you have performed your OrcaSlicer volumetric flow rate calibration and are disappointed that your printer is bottlenecked at 12 mm³/s, software can no longer help you. To unlock the true kinematic speed of a CoreXY or high-speed bed slinger, you must upgrade your thermodynamic hardware.
- CHT (Core Heating Technology) Nozzles: Standard brass nozzles melt filament from the outside in. CHT nozzles feature internal copper splitters that divide the filament into three separate strands inside the melt zone. This massively increases the heated surface area, often boosting a standard hotend’s VFR by 30% to 50%.
- High-Flow Ceramic Heater Blocks: Upgrading your entire hotend assembly to a high-wattage ceramic ring heater (like the Rapido or Bambu Lab high-flow aftermarket hotends) allows the printer to maintain target temperatures effortlessly, even when pushing 30+ mm³/s of polymer.
By marrying high-performance thermal hardware with rigorous OrcaSlicer benchmarking, you will achieve the holy grail of additive manufacturing: flawless, dimensionally accurate parts printed at blistering speeds.
One Comment