The Ultimate Firmware Guide: Ender-3 V4.2.2 + Sprite Pro + CR Touch (Stop the Headaches!)
From an asset management perspective, upgrading your 3D printer is supposed to increase your manufacturing yield. You invested capital into a Creality Sprite Pro direct-drive extruder and a CR Touch leveling probe to transform your original Ender-3 into a high-performance production asset. Instead, your investment is currently sitting paralyzed on your workbench because of a software bottleneck.
Welcome to 3derrorfix.com. If you have spent days scouring forums for an “Ender-3 V4.2.2 + Sprite Pro + CR Touch firmware (.bin)” file and hitting paywalls, dead links, or incompatible versions, you are not alone.
You have created what the 3D printing community calls a “Frankenstein” build. You are combining the original Ender-3 (with the legacy blue knob LCD) with a V4.2.2 32-bit motherboard, and topping it off with a modern Sprite Pro toolhead. Creality does not officially host a .bin file for this specific combination.
In this comprehensive diagnostic manual, we will break down exactly why you cannot find this file, how to implement a “No-Code” workaround to get your printer running today, and the safest avenues to procure the correct Marlin build for your specific hardware.
The “Quick Answer” / Key Takeaways Box
- The Hardware Conflict: Creality only provides official Sprite Pro firmware for the Ender-3 V2/S1 (which use the color DWIN screens). They do not support the legacy blue knob LCD with the Sprite Pro out of the box.
- The “No-Code” Workaround: You can download the official Creality “Ender-3 V4.2.2 + CR Touch” firmware. Once installed, you simply use the printer’s screen to manually change your E-steps to 424.9 and input the Sprite’s probe offsets.
- The Temperature Limit: The workaround above limits your hotend to 260°C. To unlock the Sprite Pro’s true 300°C all-metal capability, a custom Marlin
.binfile is mandatory. - The Best Free Solution: If you cannot code, using the TH3D Unified 2 Firmware is the easiest route. It requires zero coding knowledge—you simply delete two slashes (
//) in a text file to select your hardware, and the software builds the.binfor you.
Why This Specific .bin File Doesn’t Exist on Creality’s Website
To solve the software failure, you must understand the hardware ecosystem. Your machine consists of:
- Original Ender-3 Frame & Screen: Uses the
CR10_STOCKDISPLAY(blue knob screen). - V4.2.2 Mainboard: Featuring the
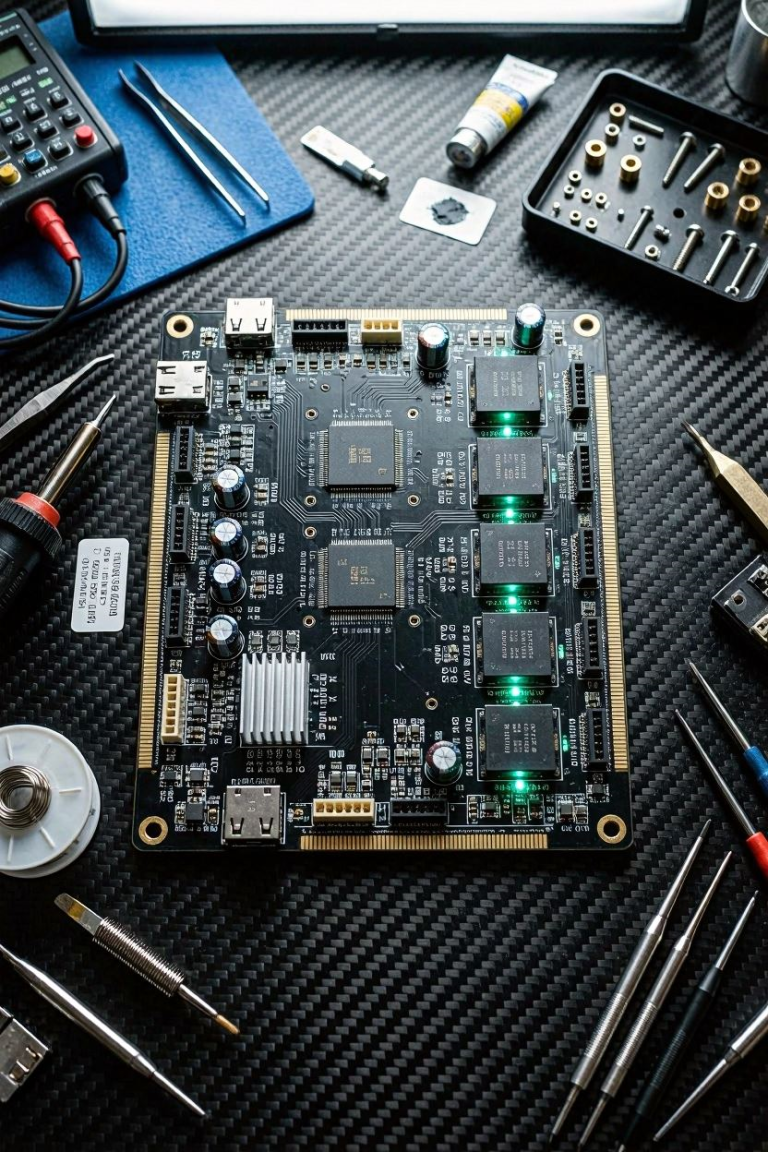
STM32F103RET6CPU. - CR Touch: Utilizing the dedicated 5-pin port on the motherboard.
- Sprite Pro Extruder: A direct-drive, all-metal hotend capable of 300°C, requiring specific E-steps (424.9) and a massive shift in the CR Touch X/Y probe offsets.
When Creality released the Sprite Pro upgrade kit, they targeted the Ender-3 V2 and the Ender-3 Pro. They abandoned firmware support for the original blue-screen Ender-3. If you download the official Sprite firmware, your blue screen will light up, emit a continuous screaming beep, and remain completely blank.
You are left with two options: utilize a clever EEPROM workaround, or source a custom Marlin compilation.
Strategy 1: The “No-Code” Workaround (Get Printing Today)
If you absolutely cannot compile firmware, refuse to pay for a builder service, and just want your machine operational right now, you can trick the machine using official firmware.
You do not need a “Sprite Pro” specific firmware to make the extruder spin. You only need firmware that supports your motherboard, your screen, and your CR Touch. The rest can be calibrated manually.
Step 1: Download the Base Firmware
- Go to the official Creality firmware download page.
- Navigate to the Ender-3 (Original) section.
- Download the firmware labeled Ender-3 Marlin2.0.6 CR-Touch AL (Ensure it is for the V4.2.2 board, not the V4.2.7 board).
- Place this
.binfile on a formatted (FAT32, 4096 allocation size) SD card. Ensure the filename is short and unique (e.g.,firmware_123.bin). - Insert the SD card while the printer is off, and turn it on. The screen will stay blank for 10 seconds, then boot up. Your CR Touch and screen now work.
Step 2: Calibrate the Sprite Pro via the LCD
Right now, the printer thinks it still has the stock Bowden extruder. You must manually program the Sprite Pro kinematics into the EEPROM memory.
- On your printer’s screen, navigate to Configuration -> Advanced Settings -> Steps/mm.
- Change the E-Steps from the default 93.0 to 424.9.
- Navigate back to Advanced Settings -> Probe Offsets.
- Change the X Offset to -31.5.
- Change the Y Offset to -49.5.
- Scroll down and click Store Settings (This is crucial, or it will erase when you power down).
The Caveat: Your printer will now print perfectly. The CR Touch will probe the bed accurately, and the extruder will push the exact right amount of plastic. However, standard Creality firmware has a hard-coded thermal limit of 260°C. You will not be able to print high-temperature Nylons or Polycarbonates until you install custom Marlin firmware.
Strategy 2: Using the TH3D Unified 2 Firmware (The Easy Compile)
If you want to unlock the full 300°C potential of your Sprite Pro but are terrified of coding, the TH3D Unified 2 Firmware is your ultimate asset.
TH3D is a highly respected 3D printing company that took the impossibly complex Marlin source code and stripped it down into a user-friendly, dummy-proof system. You do not write a single line of code.
The Execution Workflow:
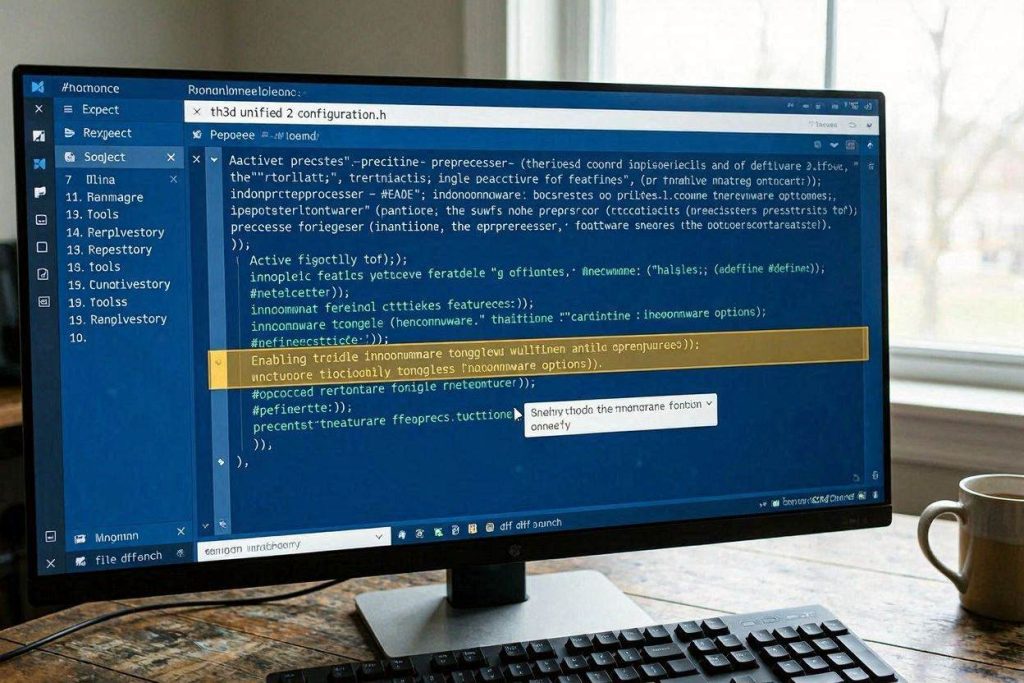
- Download VS Code: Download and install Microsoft Visual Studio Code (free software).
- Download TH3D Unified 2: Download the firmware package for the “Ender 3 with V4.2.2 Board” from the TH3D website.
- Open the Configuration File: Open the folder in VS Code and click on the
Configuration.hfile. - Uncomment Your Hardware: You will see a list of hardware options. To activate a feature, you simply delete the two slashes (
//) in front of it.- Remove
//in front of#define ENDER3_V422_BOARD - Remove
//in front of#define CRTOUCH - Remove
//in front of#define CUSTOM_PROBE_OFFSETS(and enter X -31.5 and Y -49.5) - Remove
//in front of#define HIGH_TEMP_THERMISTOR(This unlocks 300°C)
- Remove
- Hit the Checkmark: Click the “Build” checkmark at the bottom of the screen. The software will automatically compile a perfect
.binfile tailored exactly to your Frankenstein build.
Strategy 3: Accessing Pre-Compiled Binaries and Services
If downloading VS Code is still outside your operational comfort zone, you must rely on community repositories or paid algorithmic services.
1. The ShinyUpgrades GitHub Repository
The 3D printing community maintains vast repositories of pre-compiled binaries. The GitHub user “ShinyUpgrades” maintains one of the largest databases of Creality .bin files. You can navigate to their repository, filter by “Ender 3”, select the “V4.2.2” folder, and search for Ender3_V422_Sprite_CRTouch.bin.
2. Marlin Firmware Service (Paid Web Builder)
If you refuse to compile but want a highly customized firmware, services like Marlin Firmware Service (marlin.crc.id.au) allow you to generate a .bin file via a web interface. You pay a small donation (often $15 or less), select your printer, board, extruder, and probe from a dropdown menu on their website, and their cloud servers generate the exact .bin file for you to download. For operators looking to bypass the learning curve entirely, this is an excellent use of capital.
Post-Installation Hardware Calibrations
Once you successfully flash your new Ender-3 V4.2.2 Sprite Pro CR Touch firmware, your operation is not finished. You have replaced the entire thermodynamic and kinematic system of your toolhead. You must run these three calibrations before starting a print:
1. PID Autotune (Thermal Stabilization)
The Sprite Pro utilizes a different heater cartridge and thermistor than the stock hotend. If you do not tune it, the temperature will swing wildly, causing thermal runaway errors.
- Connect your printer to your PC using Pronterface (or use the LCD menu if your custom firmware supports it).
- Send the G-code command:
M303 E0 S210 C8(This runs 8 heating cycles at 210°C). - Save the results by sending:
M500.
2. Z-Offset Calibration
Because you installed a new CR Touch and a new nozzle, the physical distance between the probe trigger point and the nozzle tip has changed completely.
- Heat the bed to 60°C.
- Home the printer (
G28). - Lower the Z-axis to 0.0.
- Use a piece of paper and slowly decrease the Z-offset (into the negative numbers, e.g., -1.25) until the nozzle lightly drags on the paper.
- Store Settings.
3. Slicer Retraction Adjustment
The Sprite Pro is a direct-drive extruder. If you slice a file using your old Bowden retraction settings (e.g., 6.5mm), you will immediately pull molten plastic into the heat break and permanently clog your new $100 extruder.
- Open OrcaSlicer, Cura, or Bambu Studio.
- Change your Retraction Distance to 0.8mm.
- Change your Retraction Speed to 35 mm/s.
Quick-Action Preventative Maintenance Checklist
To maintain your newly upgraded manufacturing asset and prevent future downtime, implement this checklist:
- Format Your SD Card: Once you have flashed your firmware, delete the
.binfile from your SD card. If you leave it on the card, the printer will attempt to re-flash itself every time you turn it on, causing unnecessary wear on the EEPROM flash memory. - Check the CR Touch Cable: The single rainbow ribbon cable connecting the CR Touch to the V4.2.2 board is highly susceptible to electromagnetic interference (EMI). Route this cable away from the heavy stepper motor cables to prevent false probe triggers.
- Verify CPU Lettering: Creality V4.2.2 boards shipped with two different CPUs during the chip shortage. Look closely at the largest black chip on your motherboard. If it says
STM32F103RET6, you have 512k of flash memory. If it saysRCT6, you only have 256k, and you may need to disable certain firmware features (like Arc Support) to make the.binfile fit.
By leveraging the “No-Code” EEPROM workaround or utilizing simplified compilation engines like TH3D, you can bypass the paywalls and firmware dead-ends. Lock in your E-steps, calibrate your Z-offset, and unleash the true manufacturing potential of your Sprite Pro and CR Touch ecosystem.