7 Powerful Fixes for a Bambu Lab A1 Mini Bad First Layer in 2026
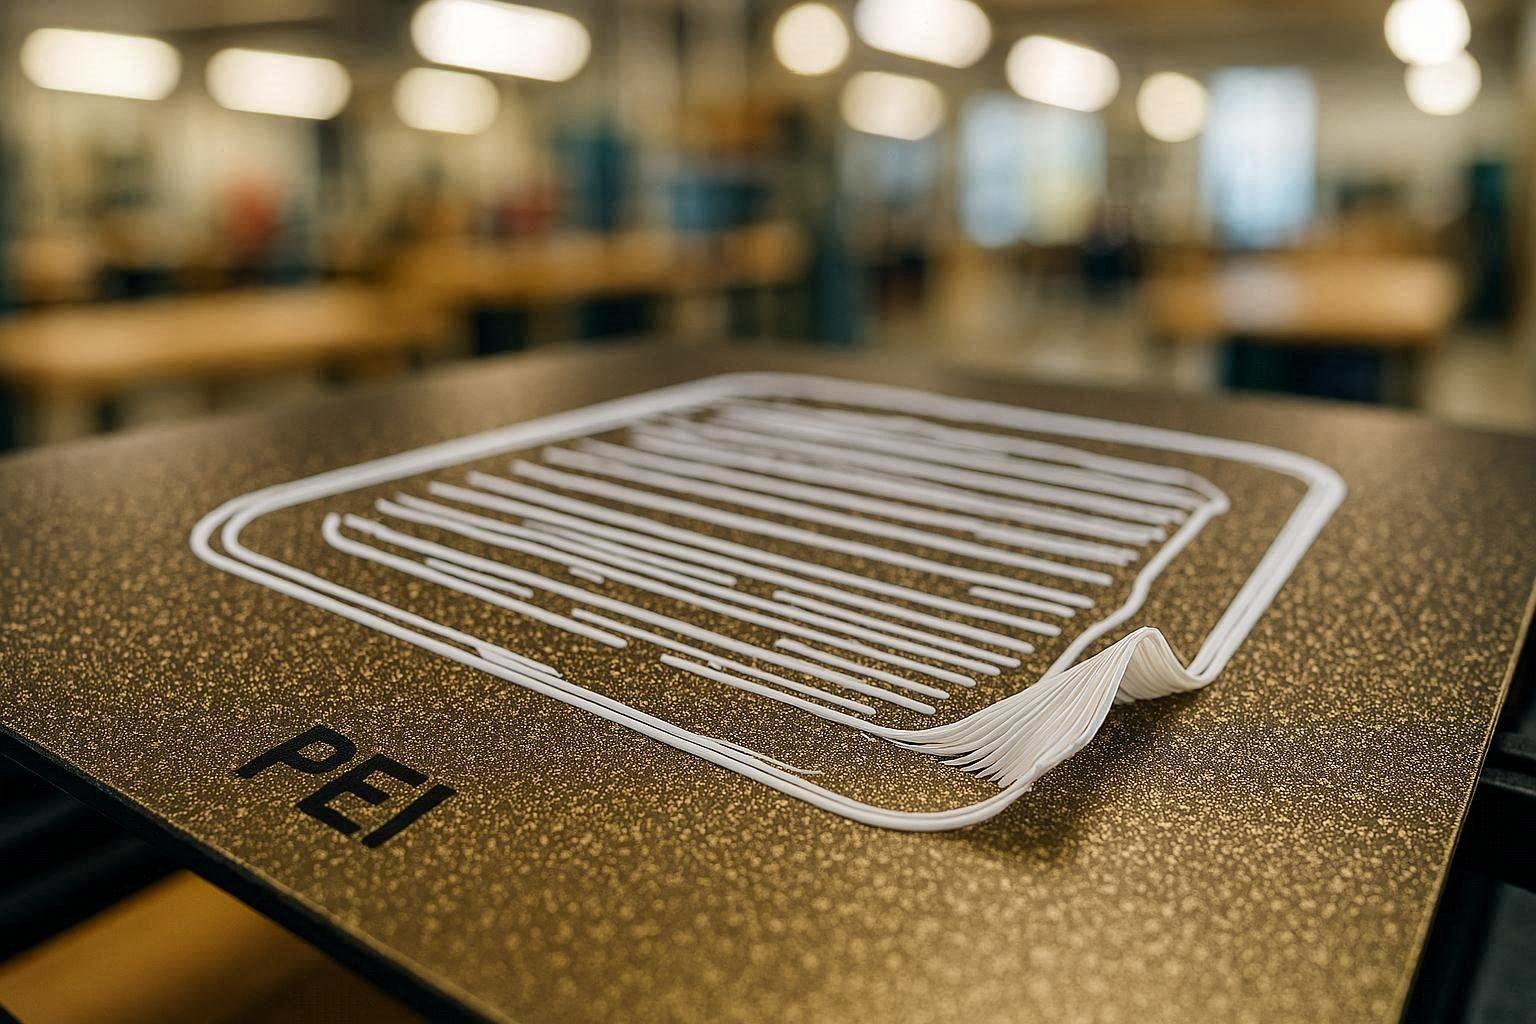
If you are dealing with a strangely bad first layer where the plastic peels off at the corners and leaves weird gaps between the lines, you are not alone. Diagnosing a Bambu Lab A1 Mini bad first layer can be incredibly frustrating, especially when you have already leveled the bed and dried your filament. When standard fixes fail, you have to look deeper into the specific slicing kinematics and hardware limitations of your machine.
This guide breaks down the exact technical parameters causing your printing failures. We will analyze specific slicer settings, temperature thresholds, and hardware configurations to get your printer back to laying down flawless plastic.
The “Quick Answer” / Key Takeaways Box
- Layer Height Ratio: Printing a 0.3mm layer height with a standard 0.4mm nozzle is too high. The filament is not squishing into the bed, causing gaps and poor adhesion. Drop the initial layer height to 0.2mm.
- Bed Temperature Reduction: A 65°C bed is too hot for PLA+ and exceeds its glass transition temperature. This causes the bottom layers to stay soft and peel or warp upwards at the corners. Drop it to 55°C.
- Z-Hop Adjustments: A 0.4mm spiral Z-hop combined with a massive 700mm/s travel speed can physically rip a poorly adhered first layer right off the build plate.
- Extrusion Width: Ensure your line width settings match your physical nozzle diameter to prevent “weird holes” between the printed lines.
What Causes a Bambu Lab A1 Mini Bad First Layer?
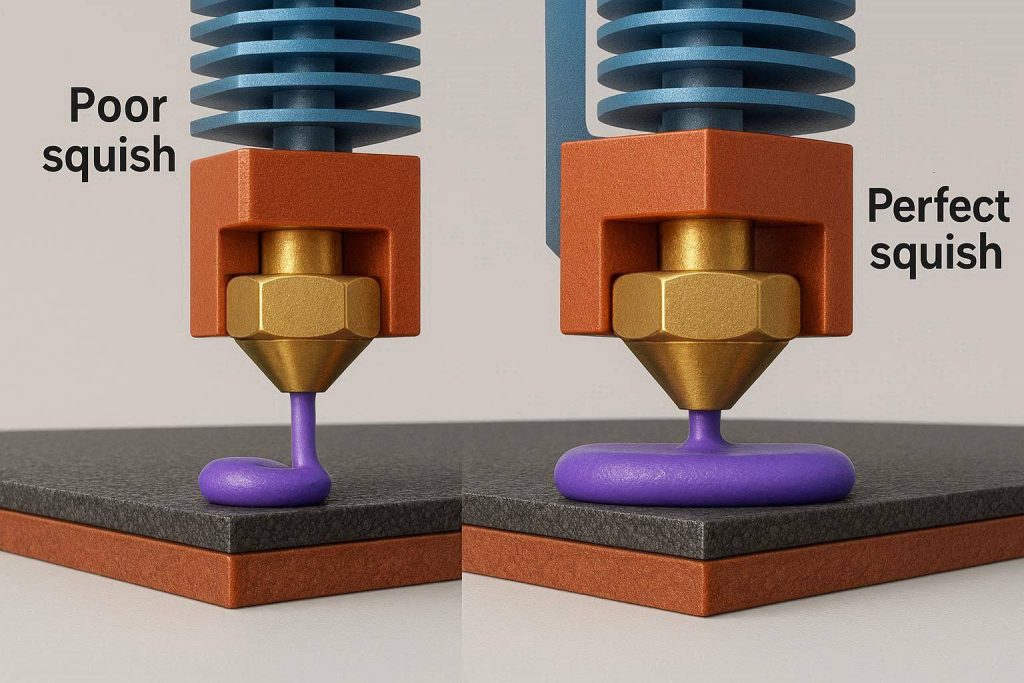
When diagnosing a Bambu Lab A1 Mini bad first layer, the symptoms usually point to a mechanical mismatch between what the slicer is requesting and what the hardware can physically execute. Peeling corners and holes in the print surface indicate a severe lack of “squish.” Squish is the mechanical action of the nozzle pressing the molten plastic flat against the build surface.
Without proper squish, the filament comes out like a round cylinder rather than a flattened oval. Round filament lines have very little surface area touching the PEI bed. This lack of surface area creates a weak bond, allowing the internal stress of the cooling plastic to easily pull the corners off the plate.
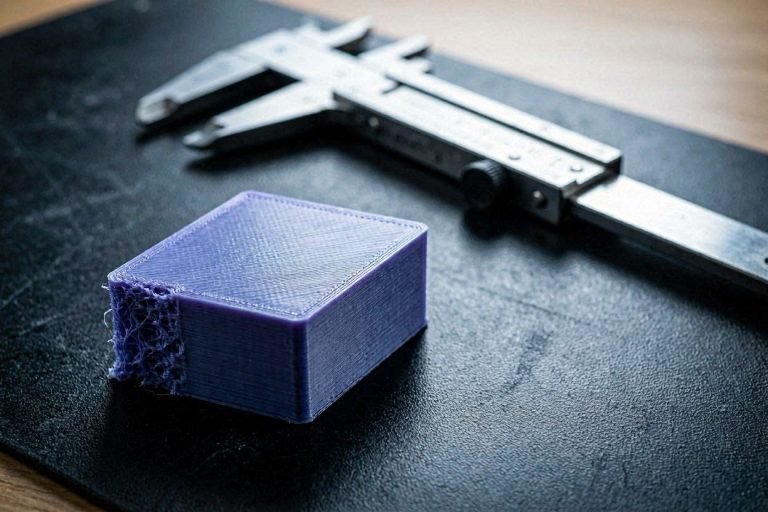
The gaps or “weird holes” you see are the literal physical spaces between these round cylinders of plastic. To fix this, we have to adjust the specific slicer parameters that control how the A1 Mini deposits material.
The Nozzle to Layer Height Ratio Trap
The most critical error leading to a Bambu Lab A1 Mini bad first layer is setting your layer height too close to your physical nozzle diameter. A 0.3mm layer height on a 0.4mm nozzle is operating at 75% of the nozzle’s maximum physical limit. This is mathematically too high for a stable first layer.
At 0.3mm, the nozzle does not have the physical leverage to press the plastic down. It is essentially dropping the filament onto the bed rather than ironing it into the texture of the PEI plate. This instantly causes severe adhesion failures, regardless of how clean your bed is.
For a 0.4mm nozzle, your absolute maximum first layer height should be 0.2mm or 0.24mm. If you switch to your 0.6mm nozzle, a 0.3mm layer height is perfectly acceptable because it allows for proper geometric squish. Always keep your first layer height at or below 60% of your nozzle diameter.
Glass Transition and Bed Temperature Errors
The second major contributor to a Bambu Lab A1 Mini bad first layer is the bed temperature. Sunlu PLA+ generally performs best with a bed temperature between 50°C and 60°C. Setting your bed to 65°C pushes the PLA past its glass transition temperature.
When the bed is too hot, the first few layers of plastic never fully solidify. They remain in a semi-melted, rubbery state. As the upper layers print and cool, they contract, creating an upward pulling force.
Because the bottom layer is still soft from the 65°C bed, it cannot resist this pulling force. The result is the corners peeling off the bed, a phenomenon known in 3D printing as “warping” or “elephant’s foot.” Dropping the bed temperature to 55°C will lock the first layer into a solid state, anchoring the corners firmly to the PEI surface.
Step-by-Step Slicer Troubleshooting
Even with perfectly dried filament, incorrect slicing parameters will ruin a print. We need to optimize your specific settings in Bambu Studio or OrcaSlicer to stabilize the extrusion. The settings provided in your raw notes contain several conflicting parameters that are actively fighting against bed adhesion.
Let’s break down the exact speed, retraction, and travel settings causing your print failures. By adjusting these specific metrics, you will drastically increase your success rate on both smooth and textured PEI plates.
Step 1: Adjusting Initial Layer Speeds
Your initial layer speed is set to 35mm/s, and your initial infill is set to 55mm/s. While the Bambu Lab A1 Mini is famous for its extreme speed, the first layer is not the place to rush. 35mm/s is generally safe, but if you are experiencing a Bambu Lab A1 Mini bad first layer, you need to slow it down further.
Reduce your initial layer speed to 25mm/s, and drop your initial layer infill to 30mm/s. This slower pace allows the molten PLA+ more time to transfer heat to the bed and flow into the microscopic pores of the textured PEI plate.
Additionally, your travel speed is set to an aggressive 700mm/s. When the print head moves that fast across a freshly laid, poorly adhered line of plastic, the aerodynamic drag and nozzle proximity can literally pull the plastic off the bed. Lower your initial layer travel speed to 300mm/s to prevent this violent disruption.
Step 2: Refining Retraction and Z-Hop Dynamics
Your retraction length is set to 0.8mm at a speed of 30mm/s. This is a very standard and reliable setting for the A1 Mini’s direct-drive extruder. However, the combination of your Z-hop settings is highly problematic.
You are utilizing a 0.4mm Z-hop configured to a spiral pattern, combined with a 2mm wipe distance. A 0.4mm hop is unnecessarily high. When the nozzle lifts that far, it can leave a microscopic string or blob attached to the print.
When the nozzle returns and begins extruding again, it can catch on these tiny blobs. If the first layer is already weak, the nozzle will rip the entire section off the bed. Reduce your Z-hop to 0.2mm and change the pattern from spiral to a standard vertical lift or slope to minimize surface disruption.
Step 3: Mastering Extrusion Width and Flow
The “weird holes” between your printed lines indicate an under-extrusion issue relative to your line width. If your outer wall is printing at 120mm/s and your inner wall at 150mm/s, you must ensure your volumetric flow can keep up.
For a 0.4mm nozzle, your initial layer line width should actually be slightly wider than the nozzle itself. Set your initial layer line width to 0.45mm or even 0.5mm. This forces the extruder to push more plastic out, forcing the lines to overlap slightly and eliminating those holes.
The Premium Upgrades: Hardware Fixes for Perfect Layers
Sometimes, software tweaks are not enough to overcome physical hardware limitations. Upgrading a few key components can permanently eliminate a Bambu Lab A1 Mini bad first layer. By investing in enthusiast-grade hardware, you remove the environmental variables that ruin prints.
The stock equipment provided with consumer printers is built to a price point. Upgrading your build surfaces, hotend components, and filament management systems will drastically elevate your machine’s reliability.
Upgrading the Build Surface Ecosystem
If you have cleaned your PEI bed with isopropyl alcohol and are still failing to get adhesion, your build plate might be physically exhausted. Standard PEI sheets lose their chemical adhesion properties over time after repeated heating and cooling cycles.
The permanent fix is upgrading to a premium, enthusiast-grade build surface. Companies like MatterHackers offer specialized LayerLock surfaces or advanced G10 Garolite plates that provide vastly superior grip compared to stock metal sheets.
These premium plates grab onto PLA+ relentlessly when hot, completely preventing corner warping. Once the plate cools down to room temperature, the prints practically release themselves without requiring a scraper.
Professional Filament Management
You mentioned your Sunlu PLA+ was dried, which is an excellent first step. However, ambient room humidity can ruin a spool in a matter of hours, especially in coastal or damp environments. A simple food dehydrator is not a permanent solution for serious 3D printing.
To ensure your filament never causes a Bambu Lab A1 Mini bad first layer, you need an active, heated filament storage ecosystem. Solutions like the Polymaker PolyBox or dedicated active dryers sold through specialized retailers like ShareASale’s 3D printing partners will change your workflow.
These premium dryers allow you to print directly out of the heated chamber. This ensures the PLA+ enters the extruder gear assembly in a perfectly pristine, moisture-free state, guaranteeing smooth, consistent extrusion lines without popping or bubbling.
[INTERNAL LINK: Placeholder for an article titled “The Ultimate Guide to Upgrading Your 3D Printer’s Extruder Gears”]
Precision Nozzle Replacements
If you swapped between your 0.4mm and 0.6mm nozzles and still experienced the exact same holes and gaps, you may be dealing with internal nozzle wear. Brass and standard stainless steel nozzles degrade over time, especially if you ever print with abrasive, matte, or glow-in-the-dark filaments.
When the internal geometry of a nozzle degrades, the plastic does not flow straight down. It curls up around the nozzle tip, dragging the first layer and creating massive gaps.
Upgrade your hotend ecosystem by purchasing premium hardened steel or ruby-tipped nozzles. These precision-machined components maintain their exact internal diameter for thousands of hours, ensuring your extrusion width remains mathematically perfect on every single print.
[IMAGE PLACEHOLDER: A professional studio shot of a premium 3D printer hardened steel nozzle next to a worn-out brass nozzle, highlighting the precision machining. Alt text: A premium hardware upgrade to fix a Bambu Lab A1 Mini bad first layer.]
Advanced Diagnostics: When Settings Aren’t the Problem
If you have adjusted your layer heights, slowed down your travel speeds, and dropped your bed temperature, but the printer still fails, we have to look at the machine’s mechanical health. A Bambu Lab A1 Mini bad first layer can occasionally be traced back to overlooked maintenance issues.
Inspecting the Extruder Gear Assembly
The A1 Mini relies on a precise set of dual-drive gears to push the filament into the hotend. If these gears are filled with plastic dust, they will slip.
When the extruder gears slip, the printer thinks it is pushing 100% of the required plastic, but only 80% is actually coming out of the nozzle. This creates severe under-extrusion, leading to the exact “weird holes” you described.
Disassemble your toolhead cover and use a stiff nylon brush to clean the teeth of the extruder gears. Check the tension arm spring to ensure it is applying adequate pressure against the filament path.
Firmware and Bed Mesh Recalibration
The Bambu Lab A1 Mini utilizes an automated bed tramming and mesh leveling sequence before every print. However, if the nozzle tip has a tiny microscopic blob of hardened plastic on it during the probing sequence, the entire mesh will be generated incorrectly.
The printer will think the bed is physically lower than it actually is. This causes the printer to print in mid-air, entirely ruining the first layer squish.
Always heat your nozzle to 250°C and wipe it down with a brass wire brush before running a full machine calibration. After the nozzle is perfectly clean, force a manual re-calibration of the bed mesh through the printer’s touchscreen interface to overwrite any corrupted leveling data.
Preventative Maintenance Checklist for the Bambu Lab A1 Mini
To ensure you never have to deal with a Bambu Lab A1 Mini bad first layer again, integrate these quick checks into your daily printing workflow.
- Wash with Dish Soap: Isopropyl alcohol only smears finger oils around the PEI plate. Take the plate to the sink and scrub it vigorously with standard dish soap and warm water to fully degrease it.
- Verify Layer Heights: Always check your slicer preview before hitting print. Ensure your first layer height never exceeds 0.2mm when using a 0.4mm nozzle.
- Monitor Ambient Drafts: Even if you think there are no drafts, an HVAC vent kicking on across the room can instantly warp the corners of a large PLA+ print. Consider building a simple draft shield or enclosure.
- Regular Firmware Updates: Always ensure your Bambu Studio and printer firmware are up to date, as the manufacturer frequently releases silent updates that refine the machine’s motion kinematics.
One Comment